In a nutshell
- 💇♀️ Coconut oil’s high lauric acid content penetrates the cortex to cut protein loss, manage porosity, and cushion strands during colouring without blocking colour payoff.
- 📝 Pre-dye protocol: use virgin, cold-pressed oil on dry hair, apply lightly (more for coarse/curly textures), wait 2–12 hours, and do not rinse before colouring; cleanse gently after with sulphate-free shampoo.
- 🧪 Evidence and limits: studies and stylists report reduced breakage and better elasticity; avoid heavy saturation that can slow lift or repel direct dyes, and keep oil off sensitive scalps.
- 🎨 Tailor to hair type: go ultra-light on fine or resistant roots, richer on porous ends; for bleach, pair with a bond builder and keep consistency—light, repeatable pre-oiling beats occasional heavy soaks.
- ✨ Results you can feel: softer, glossier lengths with fewer snapped ends and less frizz, especially on pre-lightened or high-porosity hair, while maintaining predictable shade results.
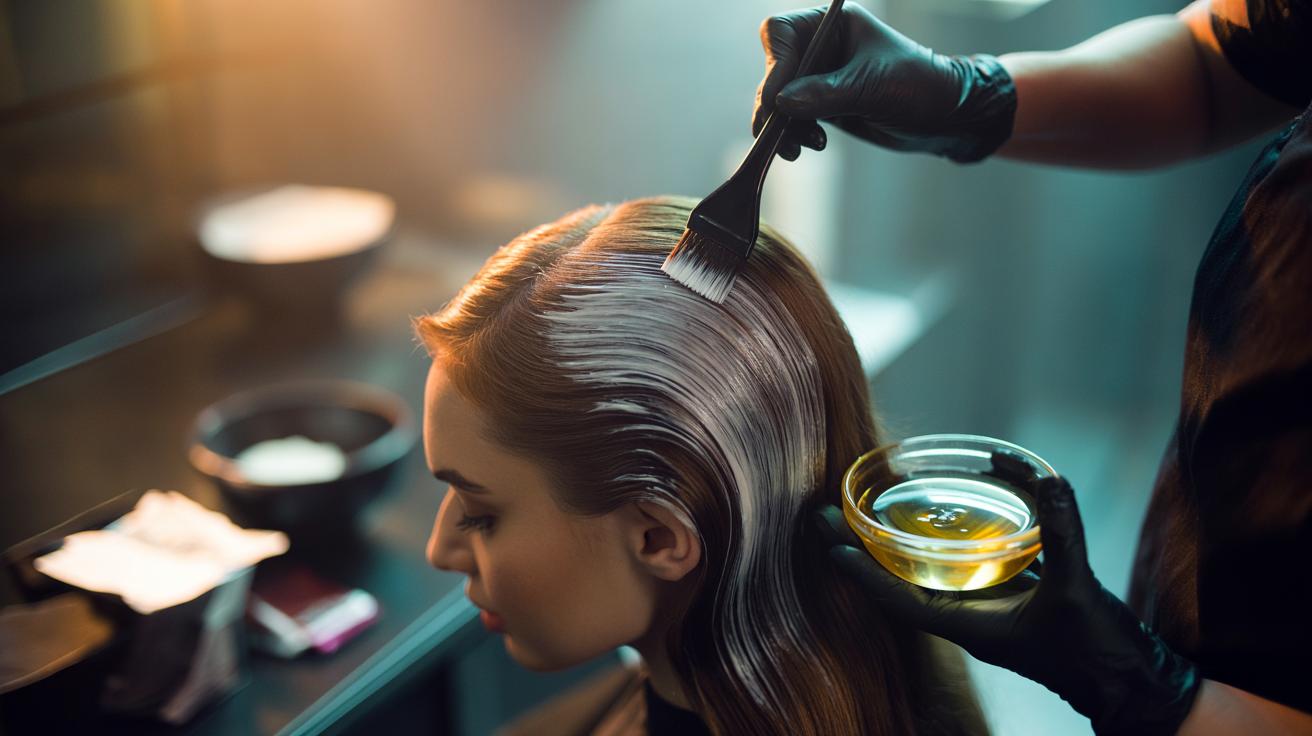
Coconut oil has become a backstage essential in British salons and bathrooms alike, not for a beachy sheen but for its quiet ability to fortify hair before harsh chemical work. Used correctly, it acts as a buffer ahead of colouring and bleaching, helping reduce breakage and dryness without derailing your shade goals. The secret lies in its unique chemistry and a few practical tweaks to your routine. Below, we unpack how it works, who benefits most, and the steps that ensure colour payoff stays on target while damage is kept to a minimum. The aim isn’t to dodge dye— it’s to save strands.
How Coconut Oil Shields Hair During Colouring
The protective power of coconut oil hinges on its high concentration of lauric acid, a straight-chain fatty acid that can slip into the hair’s cortex and bind with keratin. By penetrating rather than merely coating, it reduces protein loss during the wetting and oxidative stages of colouring. This internal cushioning can temper swelling, limiting cuticle lift and the roughened surface that often follows a strong developer. In practice, that means fewer snapped ends, less straw-like stiffness, and a smoother finish once you rinse. Crucially, this isn’t a plastic wrap barrier: oxidative dyes and bleach can still do their job.
On the surface, a light hydrophobic film helps manage porosity, slowing the rush of water into the fibre and making processing more even on previously compromised lengths. That can reduce patchy uptake on porous tips while keeping mid-lengths from overdrying. Coconut oil reduces the “shock” of processing; it doesn’t block pigment formation. The result is often a more predictable lift or deposit with improved post-colour combability, particularly on wavy, curly, or high-porosity hair that tends to fray under stress.
Pre-Dye Protocol: How to Use Coconut Oil for Maximum Protection
Choose virgin, cold-pressed coconut oil. Melt a teaspoon between your palms and work through dry hair from mid-lengths to ends, focusing on the oldest, most fragile sections. Fine hair needs a whisper; coarse or curly textures can take more. Avoid a greasy scalp if you’re prone to sensitivity. Apply at least two hours before colouring— many prefer overnight— and do not rinse before your appointment or at-home process. Blot excess with a microfibre towel to prevent drips. Keep bowls and tools free of metal as usual, and follow your dye’s timing strictly.
| Hair Type | Amount | When to Apply | Notes |
|---|---|---|---|
| Fine/Low Porosity | Pea-sized for whole head | 2–4 hours pre-colour | Blot well to avoid slip |
| Medium/Normal | 1–2 teaspoons | 4–8 hours pre-colour | Target mid-lengths and ends |
| Coarse/Curly/High Porosity | 2–3 teaspoons | Overnight pre-colour | Add a light second pass to driest tips |
| Bleach Retouch | Thin veil on previously lightened areas | 2–12 hours pre-bleach | Keep new growth lightly coated only |
Do patch-test if you’re new to coconut oil. Don’t saturate so heavily that dye can’t reach the fibre evenly, and avoid layering silicones on top. Keep oil application lightest where the colour must take most reliably— roots and resistant greys. After processing, wash with a gentle, sulphate-free shampoo to remove residues without stripping fresh pigment, then seal with a pH-balancing conditioner.
Evidence and Limits: What Science and Stylists Agree On
Laboratory studies on coconut oil’s penetration and its impact on protein loss during grooming show convincing reductions versus mineral or sunflower oil, thanks to lauric acid’s affinity for hair proteins. Salon experience mirrors this: when used before bleach or oxidative dyes, clients report softer feel, lower breakage, and better elasticity. The benefit is protective, not prohibitive: coconut oil won’t prevent lift or deposit when applied sensibly. It shines on pre-lightened, sun-worn, or heat-stressed hair that would otherwise fray under peroxide.
There are limits. A heavy, waxy layer can slightly slow lift on resistant hair, especially with low developer. Direct dyes and semi-permanent fashion shades may be repelled if the hair is overly slick. This is not a miracle shield; it’s a smart buffer that reduces, not eliminates, chemical stress. If you have scalp concerns or a history of follicular acne, keep oil off the skin. Always follow brand timings; extending development won’t increase protection and may overprocess the cuticle.
Shades, Textures, and Timing: Tailoring the Method to Your Hair
Fine, virgin hair tends to resist oil and dye alike, so keep application ultra-light and prioritise even distribution. Coarse, curly, and coily textures absorb more and reap bigger gains: the oil curbs swelling, frizz, and split-prone ends during lightening. For stubborn greys, use a minimal veil on the root area to avoid slip while still adding a cushion to porous mid-lengths. For direct dyes (vivid blues, pinks), cleanse lightly before colouring so the hair isn’t too slick to grab pigment. With demi-permanents, a thin pre-oil can help prevent banding on porous zones.
Bleach processes are where coconut oil’s buffer earns its keep. Apply the night before, keep the coating sheer on new growth, and richer on old lengths. Pair with a bond builder if your colourist recommends it, then lock in with acidic conditioner post-rinse. Consistency matters more than quantity: a repeatable, light pre-oil routine produces steadier results than occasional heavy soaks. Space heat styling for a few days after colouring to let the cuticle settle and lipids rebalance.
Coconut oil before colouring isn’t a fad; it’s a practical pre-treatment that protects hair’s structure while letting pigment do its work. By targeting fragile lengths, managing porosity, and keeping application measured, you can step out with brighter colour and softer feel— not the tell-tale crunch of overprocessed ends. If your strands are already stressed, this small tweak can be the difference between glossy and brittle. Will you try a light pre-oil the next time you colour, and how will you tailor it to your texture, shade choice, and schedule?
Did you like it?4.3/5 (29)