In a nutshell
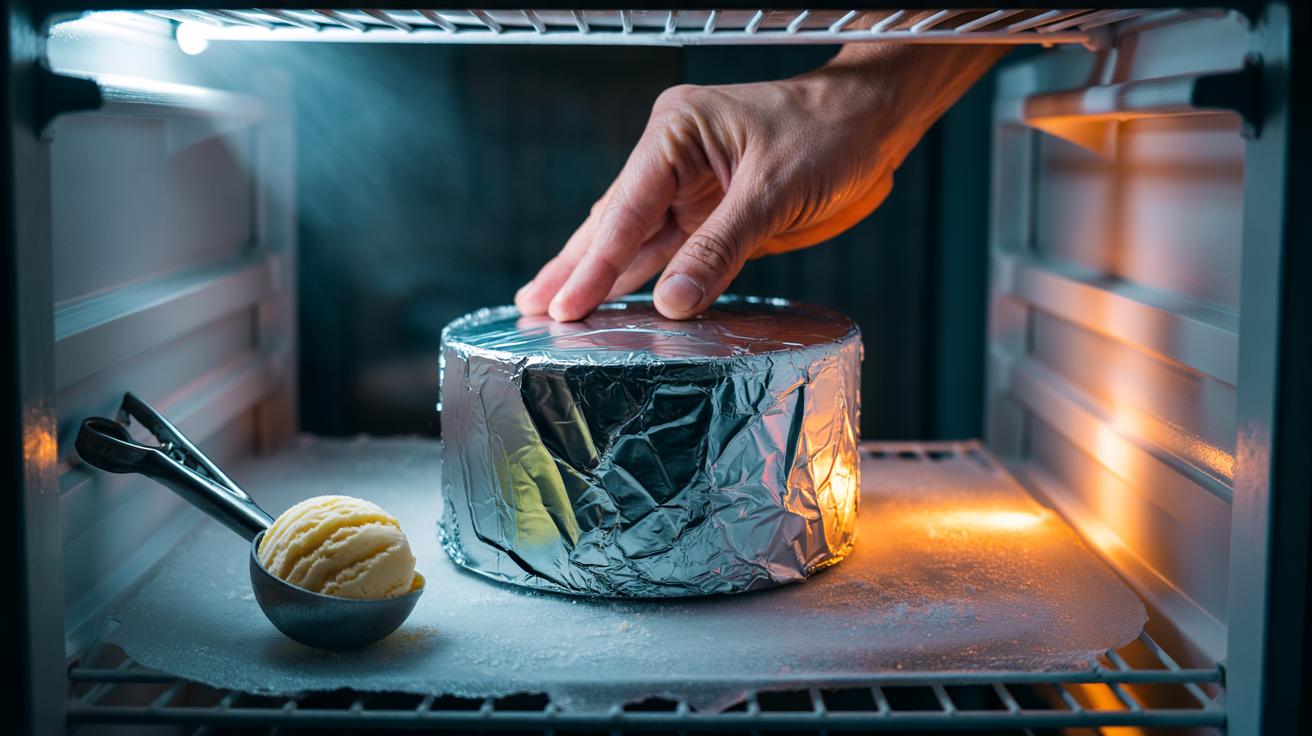
- 🍨 Use a direct-contact aluminium foil seal pressed onto the ice cream surface to block air, limit evaporation, and keep the texture scoopable.
- 🧊 Ice cream hardens due to growing ice crystals, freezer burn, and temperature swings; store tubs in the back of the freezer, not the door.
- 🧻 For best protection, smooth the surface, apply cling film or parchment directly on top, then add heavy-duty foil and the lid; replace the wrap after each use.
- 📦 Optimise storage: use shallow containers, decant large tubs into smaller ones to reduce openings, and prioritise stable, cold zones in the freezer.
- 🥄 Serve smart: warm and dry the scoop, work quickly, and temper in the fridge for 10 minutes—never microwave the tub—to prevent crystal growth.
Everyone loves a midnight spoonful of ice cream, no one loves the rock-solid struggle that turns a treat into a chisel job. The fix is surprisingly low-tech: aluminium foil, used cleverly, can keep your favourite gelato, sorbet, or classic vanilla at a reliably scoopable consistency. The trick isn’t mystical—just physics and a bit of kitchen discipline. By limiting air, moisture loss, and temperature shock, you slow down the growth of ice crystals and fend off freezer burn. Pressing foil into direct contact with the surface is the game-changer. From step-by-step wrapping to storage strategy, here’s how to keep every tub creamy, ready, and weeknight-friendly.
Why Ice Cream Goes Rock-Hard in the Freezer
Hard ice cream starts with water turning to larger, crunchier crystals. In a domestic freezer, temperature swings from door openings, crowded shelves, and defrost cycles invite crystal growth. Each thaw-and-chill loop reshapes tiny crystals into big, gritty ones. Air sneaks in, moisture sneaks out. That’s freezer burn: a kind of dehydration that dulls flavour and texture. Keep the surface sealed and the temperature steady to stop the cycle.
There’s also overrun—the air whipped into ice cream during churning. Airy tubs warm faster on the counter, then refreeze in jagged fashion. Plant-based bases can be even more fickle, with fats that set hard when chilled too far. Your freezer’s -18°C target is important, but where you place the tub matters more. Shelves at the back are stable. The door is a weather system. Avoid storing ice cream in the door if you value a smooth scoop. When you reduce air exposure and swings in heat, softness lasts longer between servings.
The Foil Fix: Step-by-Step for Scoopable Tubs
Foil works because it creates a direct-contact seal that limits evaporation and shields the surface. Here’s the drill. Smooth the top of the ice cream with a clean spoon after serving, creating an even plane. Tear a piece of heavy-duty aluminium foil large enough to cover the surface and sides. Press the foil gently but firmly right onto the ice cream—no gaps, no bubbles. Fold excess up the inner wall of the tub. Add the lid, then an elastic band if it’s loose. Orientation of foil’s shiny side? It scarcely matters here; contact is what counts.
Want belt-and-braces? Press a sheet of cling film or baking parchment directly onto the surface first, then foil on top. This combo mimics pro “direct contact” wraps that pastry chefs use to prevent skinning and ice buildup. Label the lid with the date and flavour. Return the tub to the coldest, most stable zone of your freezer, ideally the back middle shelf. Reapply fresh foil after every scoop session; torn, sugary foil won’t protect properly and can imprint off flavours over time.
| Wrap Option | Contact With Surface | Strengths | Watch-outs |
|---|---|---|---|
| Heavy-duty foil | Direct | Fast, blocks air, reusable | Can tear; replace when sugared |
| Cling film + foil | Direct (double) | Best seal; less frosting | Extra step; cling film contact with fatty flavours |
| Parchment + foil | Direct | No plastic contact; neutral odour | Parchment can lift if not snug |
| Silicone lid | Indirect | Reusable; tidy | Needs foil/paper for true contact seal |
Storage Tactics That Supercharge the Foil Trick
Think of your freezer as microclimates. The back stays cold; the door fluctuates wildly. Never store tubs in the freezer door. Use shallow containers for homemade batches so the mass chills evenly and softens predictably at serving. Pre-chill the tub before refreezing the lid; a minute on a metal baking tray can drop surface temperature quickly, limiting ice growth. If you buy large tubs, decant into two smaller ones, each with its own foil contact seal. You’ll open them less, cutting down on temperature shock.
Serving protocol matters. Warm a scoop in hot water, dry it, then glide—don’t hack. Return the tub to the freezer as soon as you’ve plated; aim for under 90 seconds on the counter. If the ice cream is already too firm, temper it in the fridge for 10 minutes rather than blasting it at room temperature. Room warmth softens edges while the centre stays rock-like; the fridge evens the curve. Do not microwave the whole tub. You’ll get a soupy rim and a frozen core, then a lattice of large crystals after refreezing. A final layer of fresh foil after every session keeps things calm between spoons.
In short, the path to scoopable bliss is practical: direct-contact foil to block air, stable cold to halt crystal growth, and a brisk serving routine to avoid thaw-refreeze damage. It’s a tiny habit that pays off nightly. Your tubs taste fresher, feel silkier, and last longer. Press, seal, store smart—and reclaim that effortless curl of the scoop. Which part will you try first: a tighter foil seal, smarter freezer placement, or a new tempering routine for your favourite flavour?
Did you like it?4.3/5 (27)