In a nutshell
- 🥒 Transform leftover veg into crisp overnight fridge pickles: pack jars with aromatics, pour hot brine, chill; peak crunch in 12–24 hours.
- 🧪 Dial in flavour: 1:1 vinegar-to-water (5% acidity), 2–3% salt for firm texture, optional sugar or honey; add spices in the jar for cleaner extraction.
- 🛡️ Stay safe and crunchy: fridge-only, finish within 2–4 weeks, ice-bath veg and add tannins (grape/cherry leaves or tea) to preserve snap.
- 🥔 Grow more in less space with the potato bury method: use tall bags/containers, indeterminate/maincrop varieties, and a loose, rich mix; bury stems gradually to encourage extra tubers.
- 📈 Follow the schedule for yields: hill every 7–10 days, switch to potash feed mid-season, and expect up to 4–6 kg per 40–50L bag with good moisture and airflow.
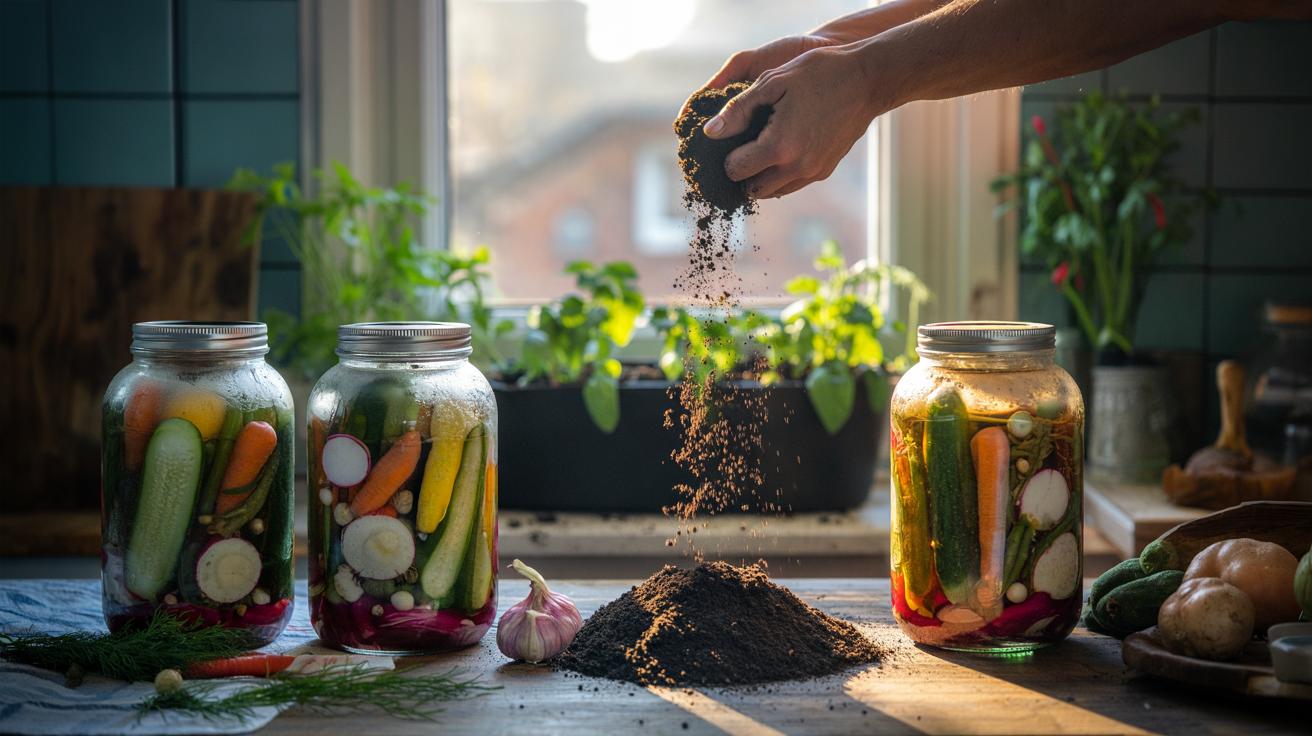
In kitchens and gardens across Britain, two small hacks are quietly transforming how we eat and grow. On the plate, the overnight fridge pickle turns odds-and-ends veg into crisp, tangy snacks with almost no effort. Out back, the potato bury method coaxes more tubers from tiny spaces, giving balcony gardeners and allotment newbies a yield they didn’t think possible. What unites them is low-cost practicality and speed: quick vinegar alchemy in the fridge, and a simple layering trick in soil that stacks harvests vertically. With a jar, a kettle, and a bag of compost, you can start both today, reclaiming flavour and space while keeping waste down.
The Overnight Fridge Pickle Recipe That Turns Any Veg Into Crunchy Snacks
Clear a shelf in the fridge and gather sturdy veg: cucumbers, carrots, radishes, onions, green beans, cauliflower. Slice to even thickness for uniform brining. Pack tightly into clean jars with aromatics—garlic, dill, mustard seeds, peppercorns, chilli flakes. Quickly heat a brine of 1 cup 5% white vinegar + 1 cup water + 1 tbsp non-iodised salt + 1–2 tbsp sugar until dissolved, not boiling. Pour hot over veg, tap to release air, and seal. Cool, then chill. By breakfast, a bright snap replaces limp scraps, and most veg hit peak crunch within 12–24 hours.
For extra bite, pre-salt watery veg: toss slices with 1 tsp salt, rest 20 minutes, rinse, and pack. This draws moisture, leaving space for flavour. Keep slices thick for cucumbers, thinner for carrots. Swap in apple cider vinegar for a rounder profile, or rice vinegar for delicacy. Fridge pickles aren’t shelf-stable preserves, but they deliver speed, freshness, and a clean sour-salty balance that complements sandwiches, grain bowls, and cheeseboards.
Brine Ratios and Flavor Tweaks
Think of brine as a grid you can tweak. The safe, bold base is 1:1 vinegar to water with 5% acidity vinegar; go to 2:1 for punchier sour, or 1.5:1 for a middle path. Salt governs crunch and savoury depth: 1 tbsp per 500 ml brine is crowd-pleasing; move toward a 2–3% salt solution (by weight) for firmer textures. Sugar softens edges and boosts aromatics—honey for floral sweetness, brown sugar for warmth, or none at all for a deli-style bite. Adjust sweetness sparingly; you can’t dial back.
Aromatics are your signature. Ginger and sesame seeds lean Asian; dill, coriander seed, and garlic feel classic; turmeric brings colour and earthy notes. Add whole spices to the jar, not the pot, to avoid over-extraction. For heat, pair chilli flakes with black pepper for layered spice. Use sturdy veg that can handle acid: courgette, fennel, and kohlrabi shine. If your water is hard, choose distilled or filtered to avoid cloudiness and metallic notes.
Food Safety and Crunch Insurance
Always keep fridge pickles refrigerated. They’re quick-pickled, not canned, so aim to finish within 2–4 weeks. Start with clean jars and freshly washed produce; a quick blanch for green beans or cauliflower reduces surface microbes and deepens colour. Stick to vinegars labeled 5% acidity. If you prefer milder brine, compensate with colder storage and faster turnover. Never attempt room-temperature storage with diluted brines; the safety margin relies on acidity and cold.
For crunch, temperature and tannins help. Chill veg in an ice bath for 15 minutes before packing to firm cell walls. Slip in a grape, cherry, or oak leaf—natural tannins slow pectin breakdown; a pinch of black tea leaves works too. Avoid iodised salt, which can cloud brine and muddy flavour. Don’t overheat the brine; boiling softens veg prematurely. If garlic turns blue, it’s a harmless pigment reaction, not spoilage. When in doubt, trust your senses: off smells or fizz mean discard.
The Potato Bury Method for Tiny Gardens
Imagine growing potatoes like a rising cake: start shallow, then bury the stems bit by bit as foliage reaches upward. Each hilling covers emerging stolons, encouraging more tubers along the buried stem. In containers, sacks, or stacked crates, this vertical real estate turns a square foot into litres of productive soil. It’s the simplest path to a near twofold return in tight quarters, provided you manage light, moisture, and nutrition.
Choose indeterminate or long-season varieties (often sold as maincrop) that keep producing along extended stems—think Cara, Maris Piper, or Desiree. Early, determinate types still benefit from hilling, but gains are smaller. Use breathable grow bags (30–50 litres) or tall containers with drainage. A loose mix—roughly 50% mature compost, 30% peat-free fibre or coir, 20% aeration (perlite or woodchip fines)—encourages root exploration. Water deeply, then let the top few centimetres dry. Feed with a balanced, low-chloride fertiliser rich in potassium for tuber bulking.
Step-by-Step Planting and Hilling Schedule
Pre-sprout seed potatoes in a bright, cool spot until sturdy chits form. Fill your container with 10–15 cm of mix, set three seed potatoes in a 40-litre bag, eyes up, and cover with 8–10 cm of soil. As stems reach 15–20 cm, add soil to bury the lower two-thirds, repeating every 7–10 days. Keep leaves exposed and tip growth unburied. Never bury the growing tip entirely, or you’ll stall the plant. Mulch with straw to buffer moisture and prevent greening.
| Week | Action | Notes |
|---|---|---|
| 0 | Plant chitted seed; cover 8–10 cm | Water in; place in full sun |
| 2 | First hill to half the stem height | Add slow-release fertiliser |
| 3–5 | Repeat hilling every 7–10 days | Maintain even moisture |
| 6–8 | Stop hilling; switch to potash feed | Remove flowers to focus tubers |
| 10–14 | Harvest new potatoes | Feel near the top layer |
| 16–20 | Main harvest after foliage yellows | Dry tubers before storage |
Troubleshooting, Yields, and Tiny-Space Economics
Consistent moisture is non-negotiable: drought checks growth and misshapes tubers; waterlogging invites rot. Use a finger test—water when the top 3–4 cm are dry. Prevent greening by ensuring hilled soil or mulch fully covers shoulders. Watch for blight in damp spells; prune affected leaves promptly and improve airflow. If scab appears, keep soil slightly acidic and avoid fresh manure mid-season. A little vigilance multiplies returns.
What does success look like? A well-managed 40–50 litre bag can yield 4–6 kg of maincrops—often double the take from an un-hilled, shallow container. Financially, a couple of seed packs, one bag, and peat-free compost repay in flavour and volume within a season. For storage, cure in a dark, airy space for 10 days, then keep cool and dry. Save your smallest, healthiest tubers for next year’s early start, closing the loop on cost and convenience.
Pickling and burying reward patience measured in hours and weeks: a briny snap tomorrow, a sack of spuds by summer’s turn. Both cut waste and maximise small spaces, without specialist kit. Try a jar with lunchbox veg and set a grow bag by the back door, and you’ll taste and see the difference fast. The real fun begins when you make the methods your own—new spice blends, different varieties, smarter hilling. Which twist will you test first, and what will you measure to prove it works in your home?
Did you like it?4.4/5 (25)