In a nutshell
- 🔬 The science: Tarnish is silver sulphide; the peel’s latent oils, waxes, and fine starches smooth the surface, boosting reflectivity for an instant shine on light tarnish.
- 🛠️ How-to: Clean the piece, rub with the inner peel for 30–90 seconds, rotate to fresh peel, then rinse and buff; test first on silver plate and finish with anti-tarnish storage.
- ⚖️ Method match-up: Banana peel is very low-abrasion and fast; baking soda handles moderate tarnish but can scratch; commercial polish gives the most even, longer-lasting results.
- ⚠️ Limits: Best for light to moderate tarnish; struggles with crevices and heavy patina; wash off residues to avoid stickiness and stop if base metal shows on plated items.
- 🌱 Practical take: A cost-free, eco-friendly touch-up that delivers quick cosmetic wins; use between deeper cleans and pair with dry, sulphur-free storage to preserve the shine.
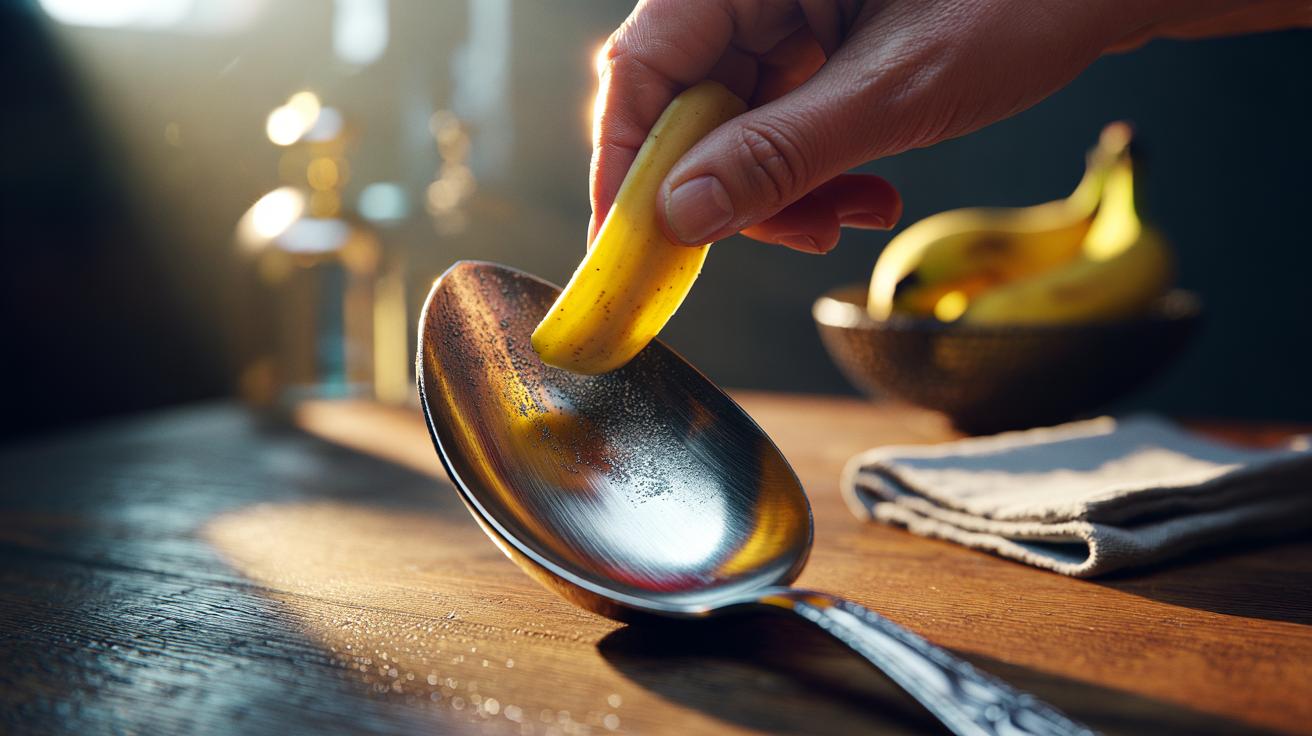
That black haze dulling your heirloom teaspoons or locket isn’t dirt; it’s silver sulphide, the familiar tarnish that steals a cherished shine. An unassuming fix is sitting in the fruit bowl. The inner side of a banana peel carries latent oils, natural waxes, fine starches, and trace minerals that can coax brightness back in moments. Rubbed lightly across a silver surface, the peel’s blend acts like a gentle polish, loosening tarnish while laying down a fleeting, glossy film. The effect can be startlingly quick on lightly tarnished pieces, and it costs nothing. Here’s how the trick works, when to use it, and what to expect versus traditional cleaners.
How Latent Oils Trigger a Rapid Shine
Silver tarnish forms when sulphur compounds in air react with the metal to create a dark layer of silver sulphide. The inside of a banana peel contains micro-quantities of lipids and natural waxes that spread easily, plus fine starches that behave as mild, uniform micro-abrasives. As you rub, these particles help dislodge the thin sulphide layer without gouging the surface, while the oils fill microscopic scratches to boost reflectivity. Trace potassium salts aid gentle lifting of grime. The fast “pop” of brightness is largely optical: the surface becomes smoother and the temporary hydrophobic film increases lustre. It’s chemistry and optics working together, not magic.
The peel’s sugars and esters contribute slip and a subtle, short-lived sheen that looks like a professional buff. This is why results can appear instant on flatware or jewellery with minimal detailing. On intricate filigree or heavy patina, the peel’s action is too mild to penetrate crevices. The peel works best on light to moderate tarnish, not on encrusted or neglected silver. After polishing, washing away residues prevents stickiness that could attract dust. Consider the banana trick a quick refresh rather than a deep restoration.
Step-by-Step: Polishing with a Peel
1) Wash the silver in warm water with a drop of mild washing-up liquid, then dry with a soft microfibre cloth. Clean metal responds faster and more evenly. 2) Break a fresh banana and use the white, inner surface of the peel. 3) With gentle pressure, rub in small circles for 30–90 seconds per area. Rotate to a fresh patch of peel as it greys. Always test a discreet spot first, especially on plated items. 4) For creases, press the peel’s edge into details but avoid force on sharp corners.
5) Rinse under lukewarm water to remove oils and loosened sulphides. 6) Pat dry immediately and buff with a clean cloth until the bright, even shine emerges. 7) If needed, repeat once. Stop if you see base metal peeking through on silver plate. The effect is quick: many pieces regain a high gloss within a minute, though deep stains will persist. Finish by storing silver in anti-tarnish pouches or wrapped in sulphur-free tissue. This keeps the peel’s effort from being undone by household air and humidity.
What Tests Show: Banana vs. Baking Soda vs. Polish
Informal trials on everyday items show the peel excels at quick cosmetic lifts, while other methods suit stubborn tarnish. The comparison below summarises typical outcomes on cutlery and a locket with standard household tarnish. Choose the method that balances speed, risk, and the finish you want.
| Method | Abrasiveness | Time to Visible Shine | Best For | Risks/Notes |
|---|---|---|---|---|
| Banana peel | Very low | 30–90 seconds | Light tarnish; quick touch-ups | Leaves residue; wash off. Limited on heavy tarnish. |
| Baking soda slurry | Moderate | 2–4 minutes | Moderate tarnish; textured items | Can scratch if rubbed hard; rinse thoroughly. |
| Commercial polish | Low to moderate (with chemical chelators) | 1–3 minutes | Uniform shine; heavier tarnish | Chemical odour; follow maker’s guidance. |
In side-by-side use, the banana peel impressed for speed and a pleasing glow, helped by its lubricating oils. Baking soda shifted darker patches more reliably but demanded cautious technique. Branded polish delivered the most even results on older pieces and retained brilliance longer. For eco-friendly upkeep between deeper cleans, the peel is a savvy stopgap, especially when followed by proper rinsing and dry storage in anti-tarnish sleeves.
As a thrifty, low-impact polish, the banana peel is a small domestic revelation: accessible, gentle, and surprisingly effective on everyday tarnish. The secret lies in its latent oils, waxes, and fine starches that smooth surfaces and revive lustre in seconds, provided you treat the metal kindly and clean away residues. Keep expectations realistic for antiques, plated items, and carved details, and lean on stronger methods when tarnish is advanced. Use the peel for fast cosmetic wins; reserve specialised polishes for deep restoration. Which pieces in your home are you tempted to try first, and how will you judge the balance between convenience, conservation, and long-term care?
Did you like it?4.5/5 (21)