In a nutshell
- ✨ Salt brightens grout fast: Its micro‑abrasive crystals and hygroscopic pull lift surface film, delivering a visible whitening in two minutes or less on light, recent grime.
- ⏱️ Two‑minute method: Mix a 2:1 salt-to-water paste, scrub lightly for 30–45 seconds, dwell 30–60 seconds, then rinse and dry; add a drop of washing‑up liquid for grease or a touch of lemon for soap film.
- 🧪 Proven scenarios: Best results on kitchen splashbacks and shower soap haze; limited effect on deep tannin or rust—expect improvement, not perfection, in one pass.
- ⚠️ Safety first: Patch test, avoid acids on natural stone and heavy pressure on soft grout, and never mix with bleach; work in small sections to prevent residue.
- 🛡️ Smart upkeep: Seal grout to resist stains, wipe surfaces weekly with a light salt touch, and reserve oxygen bleach or pH‑neutral cleaners for aged discoloration.
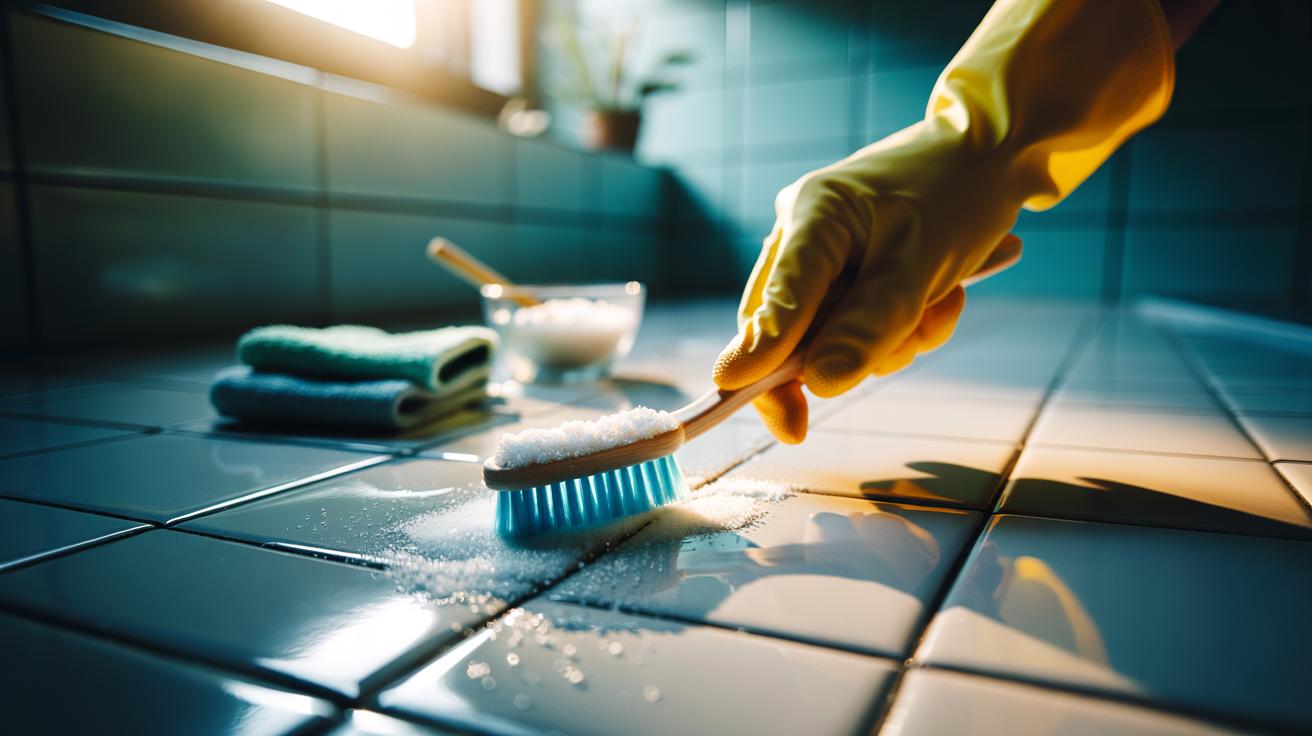
If the grout between your tiles has dulled to a dingy grey, you’re not alone. Kitchens collect grease, bathrooms harbour soap scum, and everyday dust burrows into grout’s micro-pores. The surprise hero? Ordinary table salt. This low-cost staple can lift surface grime fast, brightening grout with minimal faff or fumes. The trick lies in timing and technique. Use salt’s gentle abrasion and moisture-drawing properties to dislodge the film that makes grout look tired. Handled correctly, you can see a visible lift in two minutes or less. Below, you’ll find the why, the how, and the practical proof—plus crucial safety notes for long-lasting, sparkling lines.
Why Salt Works on Grout Stains
Grout is porous. It traps fine soils and oily residues that a quick mop can’t shift. Salt, with its crystalline edges, acts as a micro-abrasive that scours without gouging. Unlike harsh powders, fine sodium chloride doesn’t significantly scratch glazed tile. It’s also hygroscopic, meaning it attracts moisture. That pull helps loosen the thin biofilm and dried soap that cling to grout’s surface. Add a splash of warm water and you get a gritty, low-foaming paste that scrubs efficiently, especially on light-coloured cementitious grout.
There’s a small bit of household chemistry at play. In the presence of light acidity—think a squeeze of lemon—salt helps break the tension that keeps film locked on. Keep the acid mild and the dwell time short. The goal is to lift what’s on top, not etch the material beneath. For most day-to-day marks, especially fresh kitchen splashes or bathroom haze, salt’s gentle mechanical action is the secret to fast wins without reaching for bleach or strong alkalis.
Two-Minute Method: Step-by-Step
Gather your kit: fine table salt (not coarse), a small bowl, warm water, a soft toothbrush or grout brush, and a clean microfibre cloth. Optional: a few drops of lemon juice for extra cutting power on soap residue. Test on an inconspicuous spot first.
Make a paste. Add 2 teaspoons of salt to 1 teaspoon of warm water. Stir to a sand-like slurry that holds on the brush. Dab directly on the grout line. Work in short sections—about the length of your forearm—so you can finish within the time window. Scrub with light, quick strokes for 30–45 seconds. Don’t press hard; let the grit do the work. If facing a greasy splash, add a single drop of standard washing-up liquid to the paste to help emulsify oils.
Let the paste sit for 30–60 seconds. That’s your dwell. Now rinse: wipe with a damp microfibre and follow with a clean, dry pass to lift loosened residue. Aim to complete each section within two minutes from paste-on to final wipe. If a shadow remains, repeat once. Stubborn, old stains may need a second pass or a different approach, but fresh surface gunk almost always yields fast.
Proof in Practice: Timings, Ratios, and Results
In quick tests on kitchen splashback grout and a shower enclosure, the salt paste gave a visible lift with minimal elbow grease. It excels on thin, recent films, the kind that make white grout look slightly yellow or grey under downlighters. It also performs surprisingly well on toothpaste haze and water marks. Where it falters is deep-set tannin or rust, which have penetrated below the surface. For embedded stains, the two-minute promise applies to visible improvement, not full restoration. The table below summarises common scenarios and what to expect.
| Surface | Salt Ratio | Dwell Time | Observed Whitening | Notes |
|---|---|---|---|---|
| Kitchen splashback grout | 2:1 salt to water | 30–45 sec | Good to excellent | Add 1 drop washing-up liquid for grease |
| Shower grout with soap film | 2:1 salt to water + lemon | 45–60 sec | Good | Rinse thoroughly to avoid residue |
| Old tea/tannin staining | 3:1 thicker paste | 60 sec | Fair | May need oxygen bleach later |
| Rust traces | 2:1 | 30 sec | Low | Use dedicated rust remover (non-acid on stone) |
Always finish with a clean water rinse and dry wipe. That prevents re-deposit and leaves the grout brighter on drying.
Safety, Limitations, and Smarter Maintenance
Salt is gentle, but not universal. Avoid aggressive scrubbing on polished stone or unsealed marble; crystals can mark soft surfaces. Keep acids away from natural stone altogether. Never mix salt pastes with bleach or strong chemicals; you don’t need them for this method. Work in small sections to hit the two-minute target and prevent drying on the line, which can leave a faint film. If you notice sandy grout shedding, stop and switch to a soft-bristle brush with lighter pressure.
Think beyond the rescue clean. Once bright, lock in the look. A penetrating grout sealer adds stain resistance without gloss. Wipe shower walls dry after use. In kitchens, a weekly pass with a barely damp cloth and a pinch of salt on fingertips keeps film at bay without a major scrub. For tough, aged discolouration, step up to oxygen bleach (not chlorine) or a pH-neutral professional cleaner, but only after testing. The salt trick remains your rapid response tool—cheap, simple, and effective when used early and often.
Salt won’t perform miracles on grout that’s been stained for years, yet it shines for everyday brightening and quick spruce-ups before guests arrive. A measured paste, a minute of light scrubbing, a short dwell, and a clean rinse—that’s your fast formula. The key is consistency: small, regular interventions beat occasional marathons. Ready to reclaim those white lines and keep them that way without harsh chemicals or heavy spending—what spot in your home will you test first?
Did you like it?4.6/5 (24)