In a nutshell
- 🧂 Dry brine 6–24 hours at 1.25–1.5% salt by weight; optional buttermilk soak, pat dry, 20–25 minutes at room temp, and a light baking powder dust for extra lift.
- 🥣 Double dredge: 70% plain flour + 30% starch (cornflour/rice/potato), bold seasoning, press for craggy bits, rest 10–15 minutes; a splash of vodka limits gluten for a lacier crust.
- 🍳 Temperature control: Fry in neutral oil (rapeseed/sunflower/groundnut) at 170–175°C; don’t crowd; cook to 74°C internal with clear timing cues by cut.
- ♨️ Resting on a rack 5–8 minutes sets crispness; optional second fry at 190°C for 60–90 seconds; hold at 90–100°C with door ajar and season while hot.
- 📊 Chef tips: Use the oil-temp table for visual cues, skim debris, strain and reuse oil; prioritise seasoning penetration, crust architecture, and heat management for consistent results.
Fried chicken tastes simple, but the path to a crust that crackles and a centre that stays succulent is often anything but. UK chefs swear by a disciplined three-step method that removes guesswork and delivers consistency at home. It starts with a dry brine and thoughtful prep, moves through a double dredge that builds delicate crags for superior crunch, and ends with temperature control and resting that lock in juiciness. Along the way, small choices—oil type, flour blend, resting times—make a big difference. Here’s how professionals structure the process so that every bite breaks cleanly and stays crisp long after it leaves the fryer.
Step 1: Dry Brine and Prep the Bird
Begin with pieces of similar size so they cook evenly—thighs and drumsticks are forgiving and stay juicy. Sprinkle 1.25–1.5% kosher salt by weight over the chicken (about 7–9 g per 600 g), add a pinch of sugar for balanced browning, then refrigerate uncovered on a rack for 6–24 hours. This dry brine penetrates seasoning, firms protein, and subtly dries the skin. If you prefer a tangy note, follow the brine with a short buttermilk bath (30–120 minutes) infused with bay, garlic, and a touch of hot sauce. Before dredging, drain well and pat the surface dry.
Moisture is the enemy of crispness, so keep the exterior as dry as possible while the inside stays seasoned and moist. Trim excess fat and any loose skin flaps that can cause greasy spots. For even cooking, rest the chicken at room temperature for 20–25 minutes before frying. Spice the surface lightly—white pepper, smoked paprika, celery salt—because seasoning in layers makes flavour pop without oversalting. If you want extra lift, dust pieces with a whisper of baking powder just before coating; it creates micro-bubbles that help the crust shatter.
Step 2: Double Dredge with Starch for Shatter
The professional trick is a flour blend that fries thin, glassy, and resilient. Use about 70% plain flour and 30% starch—cornflour (cornstarch), rice flour, or potato starch. Season the dry mix assertively: fine salt, white pepper, paprika, garlic and onion powders, plus a pinch of cayenne; a dash of MSG is a chef-approved shortcut to depth. Dredge the chicken, shake off excess, dip briefly back into buttermilk (or a water–buttermilk mix), then return to the flour for a second, firmer coat. Pinch and press so rough, craggy bits adhere; those ridges turn audibly crisp.
Let coated pieces rest on a wire rack for 10–15 minutes to hydrate the flour and set the crust. Season in layers, not all at once, and keep your station tidy: one “wet” hand, one “dry” hand to avoid gummy clumps. For ultra-fragile crunch, swap in a little rice flour, which fries lighter, or add 0.5% baking powder to the dredge. Some chefs whisk a spoon of vodka into the dip; because alcohol evaporates quickly, it limits gluten development and leaves a lacier shell. The goal: a thin, well-adhered coat that won’t shed in the oil.
Step 3: Fry at the Right Heat and Let It Rest
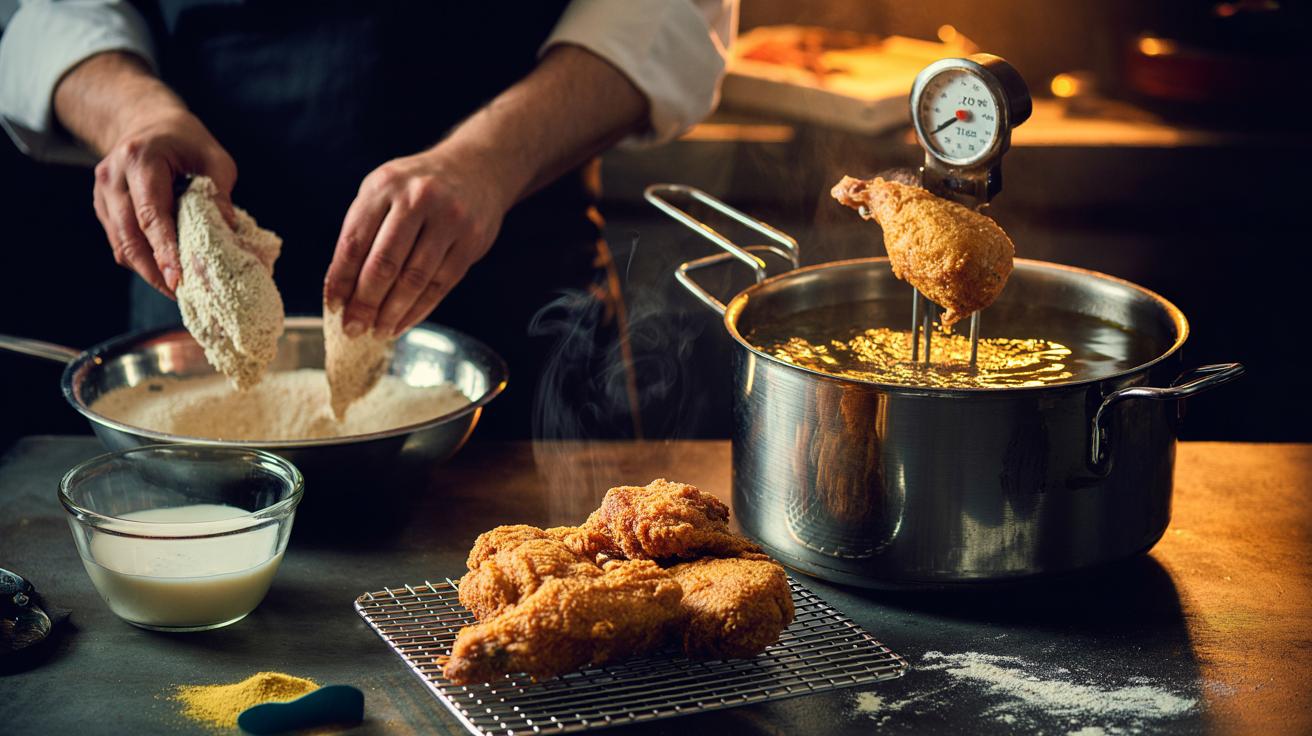
Choose a neutral, high-smoke-point oil—rapeseed (canola), sunflower, or groundnut—and fill the pot no more than one-third full. Heat to 170–175°C (338–347°F) and track with a clip-on thermometer; don’t crowd the pan or the temperature will plunge. Lower pieces in gently, skin-side down, and adjust the flame to hold 165–175°C. Cook in steady, uncluttered batches: wings 6–8 minutes; boneless thighs 8–10; bone-in thighs and drumsticks 12–14, turning occasionally. Skim foam and loose bits so they don’t burn and flavour the oil.
Target an internal temperature of 74°C (165°F) in the thickest part, then lift to a rack over a tray. Crispness sets as steam escapes, so rest 5–8 minutes before serving. For an extra-snappy shell, try a brief second fry: 190°C (374°F) for 60–90 seconds after a 10-minute rest. Sprinkle finishing salt or chilli powder while hot. To hold without sogginess, keep pieces on a rack in a 90–100°C (194–212°F) oven with the door slightly ajar. Strain and store oil; used, clean oil actually fries more evenly on the next round.
| Oil Temp (°C/°F) | Visual Cues | Approx. Time (Boneless Thigh) | Notes |
|---|---|---|---|
| 165°C / 329°F | Pale blond, slow bubbling | 10–11 min | Gentle cook; risk of greasy crust if held too long |
| 175°C / 347°F | Golden, lively bubbles | 8–9 min | Best balance of colour, crunch, and juiciness |
| 185°C / 365°F | Rapid bubbling, quick browning | 6–7 min | Use only for brief second fry to finish |
Master these three steps and you control the variables that matter: seasoning penetration, crust architecture, and heat management. A dry brine builds flavour from within, the double dredge creates a lacy, durable coating, and steady oil temperature ensures the inside cooks as the exterior crisps. From here, you can riff—swap spices, add chilli heat, or drizzle with hot honey—without losing the fundamentals. The method is forgiving, repeatable, and remarkably adaptable to wings, thighs, or plant-based alternatives. What twist will you try first: a peppery Nashville finish, a fragrant five-spice dredge, or a lemon–herb coating that cracks like glass?
Did you like it?4.5/5 (21)