In a nutshell
- 🧂 Salt works fast via abrasion and osmosis to lift grime and draw out moisture that bacteria need, delivering a quick reduction in surface contamination (but it’s not a steriliser).
- 🧽 Step-by-step: sprinkle coarse salt on a damp board, scrub with a cloth or lemon, rest 3–5 minutes, scrape the slurry, rinse hot, and dry on edge to prevent moisture traps.
- 🪵 Wood vs plastic: for wood, avoid soaking, use short contact times, and oil monthly; for plastic, follow salt with heat or an approved sanitiser, and use separate boards for raw and ready-to-eat foods.
- 🧪 Sanitising matters: after high-risk prep, apply 3% hydrogen peroxide or diluted bleach post-cleaning; never mix agents (e.g., vinegar + peroxide) and always rinse between steps.
- ⚠️ Safety and upkeep: salt helps odour control and daily resets, but replace deeply gouged, smelly boards; keep routines simple—clean, sanitise, dry thoroughly, and maintain with food-grade mineral oil.
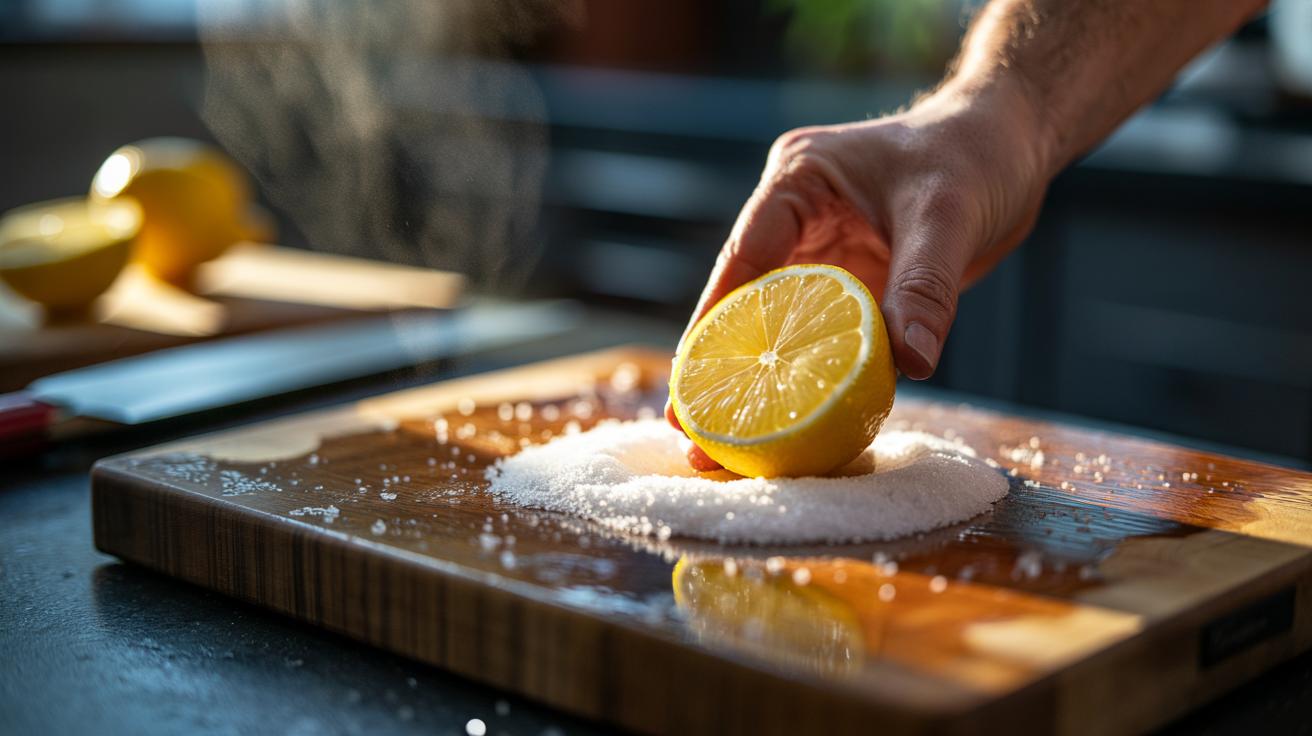
It’s the age-old trick professional chefs and thrifty home cooks share: grab the salt. On a well-used cutting board it does double duty, scouring the surface while drawing out moisture that lets bacteria thrive. That’s not marketing patter. It’s simple physics and kitchen practicality, working fast and without harsh chemicals. Coarse grains loosen grime. A brief brine lifts proteins and odours. Then a hot rinse and proper drying finish the job. It’s fast, cheap, and kinder to wood than bleach. Here’s how and why this works, what it can’t do, and when to switch tactics for wooden versus plastic boards so your prep remains safe.
Why Salt Works on Cutting Boards
Sprinkle coarse salt and you get two effects. First, abrasion. The crystals scrub away biofilm, dried juices, and stained fats that cling to shallow cuts. Second, osmosis. Salt pulls water out of the surface layer, creating a quick brine that dilutes and dislodges microbes, then wicks into cloth or paper as you wipe. On wood, that brine sits at the interface of the fibres, helping to purge residue from tiny end-grain pores. On plastic, it helps release gunk clamped in knife scores. The result is rapid reduction of contamination, good odour control, and a board that feels newly grippy under the knife.
There’s a limit. Salt does not sterilise. It lowers water activity and helps remove microorganisms; it doesn’t guarantee full kill, especially in deep cuts. Think of it as a swift “reset” between tasks, or as the cleaning phase before a proper sanitise. Contact time matters. Give salt two to ten minutes, depending on mess and board type. Add lemon for deodorising and mild acidity. Then rinse hot and dry upright. Quick. Effective for everyday prep. And gentle enough for heirloom beech or end-grain boards that hate soaking.
Step-by-Step Method: Clean, Deodorise, Sanitise
1) Sprinkle 1–2 tablespoons of coarse sea salt (or kosher salt) over a damp board. 2) With a clean cloth or half a lemon, scrub in tight circles, letting the crystals scour. 3) Leave for 3–5 minutes so a light brine forms. 4) Scrape off slurry with a bench scraper or the flat of a knife. 5) Rinse with hot tap water and wipe dry. For stubborn odours, repeat once with fresh salt and lemon. For plastic boards used with raw meat, follow with a food-safe sanitiser or 3% hydrogen peroxide, applied after rinsing and left for one minute, then rinse again. Always dry thoroughly, standing the board on edge to prevent trapped moisture.
| Salt Type | Grit Size | Best For | Contact Time | Notes |
|---|---|---|---|---|
| Coarse sea/kosher salt | Large crystals | Wood and plastic | 3–10 minutes | Superior abrasion; easy to brush off |
| Fine table salt | Small crystals | Light cleaning | 2–5 minutes | Less scrub power; dissolves quickly |
| Salt + lemon | Coarse + acidity | Odour removal | 5–10 minutes | Mildly brightens, helps cut fish/garlic smells |
A few safeguards. Do not mix vinegar and hydrogen peroxide in the same step. Rinse between different agents. Keep blades away from gritty patches to protect edges. If the board feels raised or fuzzy after rinsing, burnish with the back of a spoon and finish wooden boards with a thin coat of food-grade mineral oil to repel moisture and stains next time.
Wood vs Plastic: Choosing the Right Technique
Wood is forgiving yet particular. Its fibres swell and close, which can trap moisture if you soak it, but that same structure makes salt remarkably effective at surface cleaning. Use coarse salt, a lemon half as a natural handle, and short contact times. Rinse fast. Never soak wooden boards; prolonged water exposure leads to warping and glue-line failure. After cleaning, dry in a breezy spot and oil monthly. For deep cuts, sand lightly with fine paper, then salt-scrub to restore a smooth, hygienic surface. A well-kept beech or maple board will outlast several plastic ones and stay kinder to knife edges.
Plastic behaves differently. It doesn’t absorb, but it scars. Those grooves can harbour bacteria beyond salt’s reach. Salt still helps as a first clean, especially with a stiff brush. Follow with heat (dishwasher on the sanitise cycle if the board is rated dishwasher-safe) or with a safe sanitiser such as diluted bleach (per manufacturer’s guidance) or 3% hydrogen peroxide. Inspect under bright light. If cuts remain greyed or odorous after a thorough routine, retire the board or plane the surface. When in doubt, use separate boards for raw meat and ready-to-eat foods to reduce cross-contamination risk.
The Science and Safety Myths
Salt’s “quick draw” on microbes is about water activity. High-salt microenvironments make it harder for bacteria to maintain balance; many lose viability, and many more get lifted away with the brine. That’s why a few minutes of contact can deliver a meaningful drop in surface counts, especially after the abrasive scrub has broken the film that shelters them. Pairing salt with acidity (lemon) improves odour control and helps loosen proteins, but the hero remains the physical removal. It’s cleaning first, sanitising second. That order matters because sanitisers work best on already clean surfaces.
Now the myths. Salt is not a magic bullet. It won’t make a badly gouged board safe. It doesn’t replace sound habits: hot rinses, thorough drying, and tool segregation. Don’t chase viral hacks that add unnecessary chemicals. Keep it simple and consistent. Use salt for daily resets and smells. Bring in heat or approved sanitisers after high-risk prep. And be pragmatic: if your board smells off even when dry, or stays slimy, it’s time for deeper maintenance or replacement. Food safety isn’t glamorous, but it’s non-negotiable, and this humble mineral gives you a smart head start.
In a busy kitchen, the best routines are the ones you’ll actually follow. Salt turns cleaning into a quick, tactile habit: sprinkle, scrub, pause, rinse, dry. It rescues wood, tidies plastic, and buys you time before a deeper sanitise, all without harsh fumes or faff. Used intelligently, it’s an elegant fix to a messy problem. Ready to test it on tonight’s chopping board, or will you tweak the method with lemon, heat, or oiling to suit your kit and your cooking style?
Did you like it?4.2/5 (26)