In a nutshell
- 🧪 The science: acetic acid (~5%) lowers pH, disrupts mould biofilm, denatures proteins, and chelates mineral films—explaining visible results in about 10 minutes.
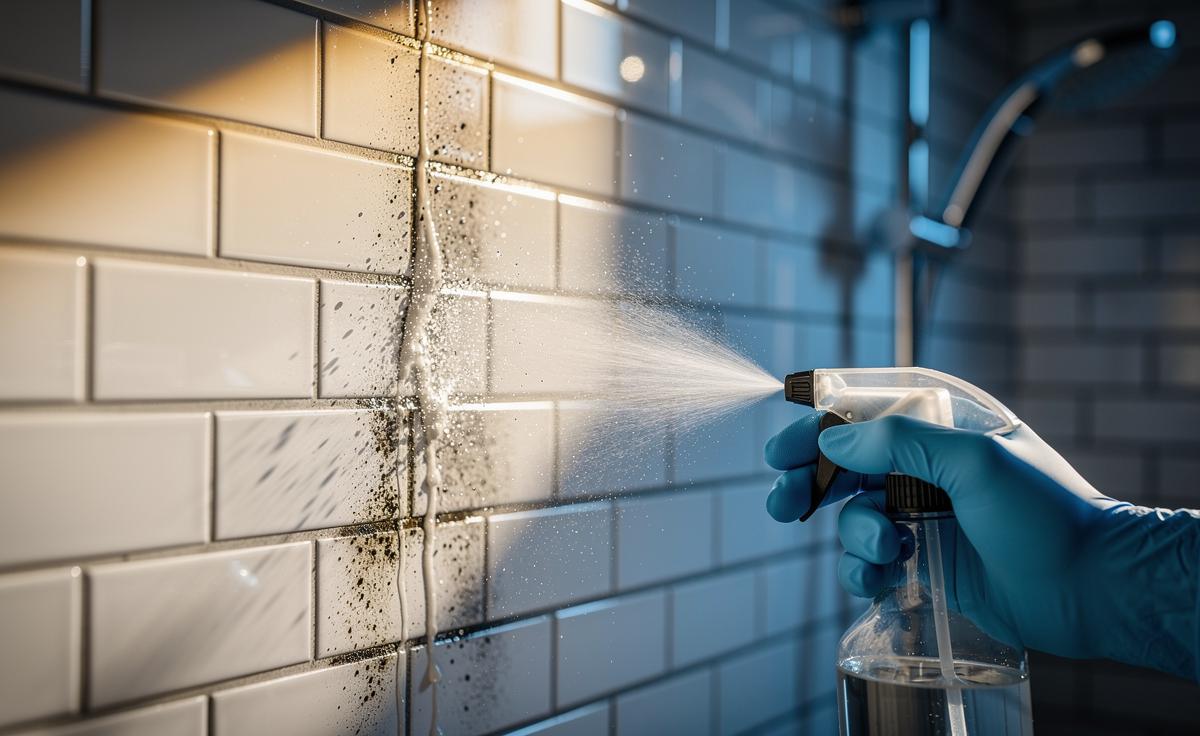
- 🧼 Method: Spray white distilled vinegar, allow a 10–20 minute dwell, scrub grout, rinse, and dry; re-wet stubborn areas and keep surfaces damp so the acid can work fully.
- ⚠️ Safety: Never mix vinegar with bleach (risk of chlorine gas), avoid use on natural stone, patch test grout, protect metal finishes, and ventilate throughout.
- ⏱️ Why 10 minutes: Optimal contact time lets acid penetrate biofilm without overwetting; if it dries, re-mist and reset the clock—warm vinegar can improve wetting.
- 🚿 Prevention: Daily squeegee, extractor on for 20 minutes, quick microfibre wipe-downs, and annual grout sealing—control moisture to control mould.
Bathroom mould loves warm grout lines, so it’s no surprise that many households wage a weekly battle with those dark specks. There is, however, a humble hero in the cleaning cupboard. White distilled vinegar may look unassuming, but it’s a powerful, low-cost, and eco-conscious answer to stubborn mould. Thanks to its naturally acidic profile, it can start breaking down growth in as little as 10 minutes. Used correctly, the effect is swift, visible, and surprisingly satisfying. Below, we explain the science, set out a simple step-by-step method, and share safety notes to help you restore tile shine without harsh fumes or expensive specialist products.
The Science Behind Vinegar’s Rapid Mould Control
At the heart of vinegar’s cleaning clout lies acetic acid, typically around 5% in standard white vinegar. Mould thrives in slightly alkaline, sticky biofilms. Vinegar flips that environment. It lowers surface pH, disrupts the extracellular polymeric substances that act like glue, and begins to denature fungal proteins. That triad—acidification, biofilm disruption, and protein damage—explains the quick visible change.
There’s another useful detail. Bathrooms accumulate mineral film from hard water. Those microcrusts protect spores and help them cling to grout. Acetic acid gently chelates mineral deposits, loosening the shield so the growth shakes free with minimal effort. In practice, that’s why a ten‑minute dwell often turns scrubbing from a battle into a breeze.
Vinegar’s action isn’t a bleach-like “whitening” that masks the problem. It tackles the conditions mould favours and destabilises the colonies themselves. On light or recent growth, ten minutes is usually enough to soften and lift. Heavier patches? Expect 20–30 minutes and a repeat pass. Either way, the foundation is the same: a safe acid that unpicks the mould’s structural advantages on tile and grout.
Step-by-Step Method: From Spray to Sparkle
Gather the basics: a spray bottle, white distilled vinegar, a dedicated grout brush or old toothbrush, a microfibre cloth, and gloves. Ventilation matters. Open a window or run the extractor. Never mix vinegar with bleach or products containing chlorine—dangerous gases can form.
For typical ceramic tiles and sealed grout, spray vinegar directly and let it sit for 10 minutes. This is the critical “dwell time.” It softens the biofilm so bristles can reach the root. For heavier staining, re-wet and extend the dwell to 20–30 minutes. Scrub grout lines with short, firm strokes, then wipe tiles with microfibre to lift residue. Rinse with warm water. Dry thoroughly to deny mould the moisture it craves.
| Surface | Vinegar Mix | Contact Time | Notes |
|---|---|---|---|
| Ceramic/Porcelain Tile | 1:1 vinegar:water | 10–15 minutes | Gentler on glossy glazes; buff dry. |
| Grout (sealed) | Undiluted | 10–20 minutes | Scrub with a grout brush; rinse well. |
| Silicone Sealant | Undiluted | 10–15 minutes | Patch test; repeat if staining persists. |
Tip for speed: warm the vinegar slightly in the bottle under hot water; warmth improves wetting. Finish with a squeegee after showers. Prevention equals less scrubbing.
Safety, Surfaces, and Common Mistakes to Avoid
Vinegar is tough on mould but not on every surface. Do not use it on natural stone such as marble, limestone, or travertine; acids can etch and dull the finish. If you’re unsure whether grout is sealed, test a discreet spot first. A darkening that lingers may signal unsealed grout—limit dwell time and rinse promptly.
Another common error is product stacking. People spray a bleach-based cleaner, see limited results, then add vinegar. Don’t. Mixing can release chlorine gas. Choose one method per session. If you’ve used bleach recently, rinse thoroughly and ventilate before switching to vinegar on another day.
Mind the fixtures. Extended vinegar contact can tarnish some metals, including certain aluminium or brass finishes. Wipe taps and trim quickly, then rinse. Keep bottles out of reach of children and pets. Strong odour? It dissipates as it dries; a final rinse and a brief fan cycle help. For persistent, widespread black mould, water ingress, or respiratory concerns, consult a professional to check ventilation, leaks, and possible hidden growth.
Storage is simple: label the spray, keep it capped, and refresh monthly. Fresh vinegar, fresher results.
Why Ten Minutes Often Does the Trick
Time on surface is the quiet secret. Ten minutes isn’t arbitrary. It’s long enough for acetic acid to permeate the slimy biofilm, loosen mineral bindings, and begin disrupting mould cell structures—yet short enough to avoid excess wetting that can drive spores deeper into porous grout. That balance makes a visible difference fast.
Soil load changes things. A lightly speckled grout line will lift after a single pass. A shower niche with months of buildup might need two or three rounds, spaced five minutes apart, and a slightly stiffer brush. Warmth speeds diffusion; so does keeping the surface uniformly damp throughout the dwell. If it dries, re-mist and reset the clock.
Finally, lock in your gains. After cleaning, run the extractor for 20 minutes, squeegee walls post-shower, and keep a microfibre cloth handy for quick wipes. Consider resealing grout annually. Control moisture, and you control mould.
Used with care, white vinegar is a nimble, budget-friendly tool that can conquer bathroom mould with a ten-minute head start and a little elbow grease. It works by changing the conditions mould depends on, not just by bleaching the stains you see. The payoff is cleaner grout, clearer tiles, and air you’re happy to breathe. Ready to try the method this week and track your own ten-minute turnaround—what spot in your bathroom will you tackle first?
Did you like it?4.6/5 (25)