In a nutshell
- 🧼 Baking soda lifts grime through mild alkalinity and gentle abrasion; it’s non-acidic and safer for cement grout—avoid premixing with acids to preserve cleaning power.
- ⏱️ Ten-minute method: mix 3–4 tbsp baking soda paste, apply a thin bead, allow dwell time of 5–8 minutes, scrub with a soft grout brush, then rinse and dry.
- 🧪 Stains and mould: reapply paste as needed and mist hydrogen peroxide (3%) to fizz before scrubbing; ventilate and never combine with bleach.
- 🪨 Surface-specific care: use light pressure on polished stone, shorten dwell on epoxy grout, and after cleaning older cement lines, seal to slow re-soiling.
- 🔁 Smart upkeep: keep a jar of powder and a dedicated grout brush; frequent short sessions prevent build-up and keep lines bright.
Brits love a simple fix, and few household heroes work harder than a tub of baking soda. In the bathroom or kitchen, dingy grout lines make tiles look tired, even when you’ve scrubbed the floor itself to a shine. The trick? Harness baking soda’s subtle chemistry and gentle abrasiveness to lift stubborn grime fast. Used correctly, it dislodges dirt and soap scum in under 10 minutes without harsh fumes or expensive products. The method is forgiving, budget friendly, and kinder to surfaces than many aggressive cleaners. And because it’s a dry powder turned into a paste, you control the texture, the dwell time, and the finish. Here’s how it works—and how to do it right.
Why Baking Soda Works on Grout
Baking soda—sodium bicarbonate—is a mild alkali. That matters. Many stains in grout come from greasy residues, soap scum, and body oils that cling to the microscopic pits of cementitious grout. In contact with moisture, bicarbonate helps loosen these soils, nudging oils into a form that rinses away more readily. It’s also gently abrasive. Those fine, cushiony crystals act like a very soft scouring pad, mechanically dislodging grime without gouging the grout. The combination is the magic: chemistry plus micro-scrub.
Because it’s non-acidic, baking soda is safer on most grout than vinegar-heavy brews, which can etch cement-based lines over time. Crucially, don’t premix with strong acids; neutralisation reduces cleaning power. Save fizz for the moment you need it, or skip it entirely. On sealed grout, the paste sits on the surface and still works; on unsealed grout, it reaches a little deeper. It also helps dry up damp films where mould starts. The result is practical: lifted grime, reduced odours, and brighter lines with surprisingly little elbow grease.
Ten-Minute Method: From Paste to Rinse
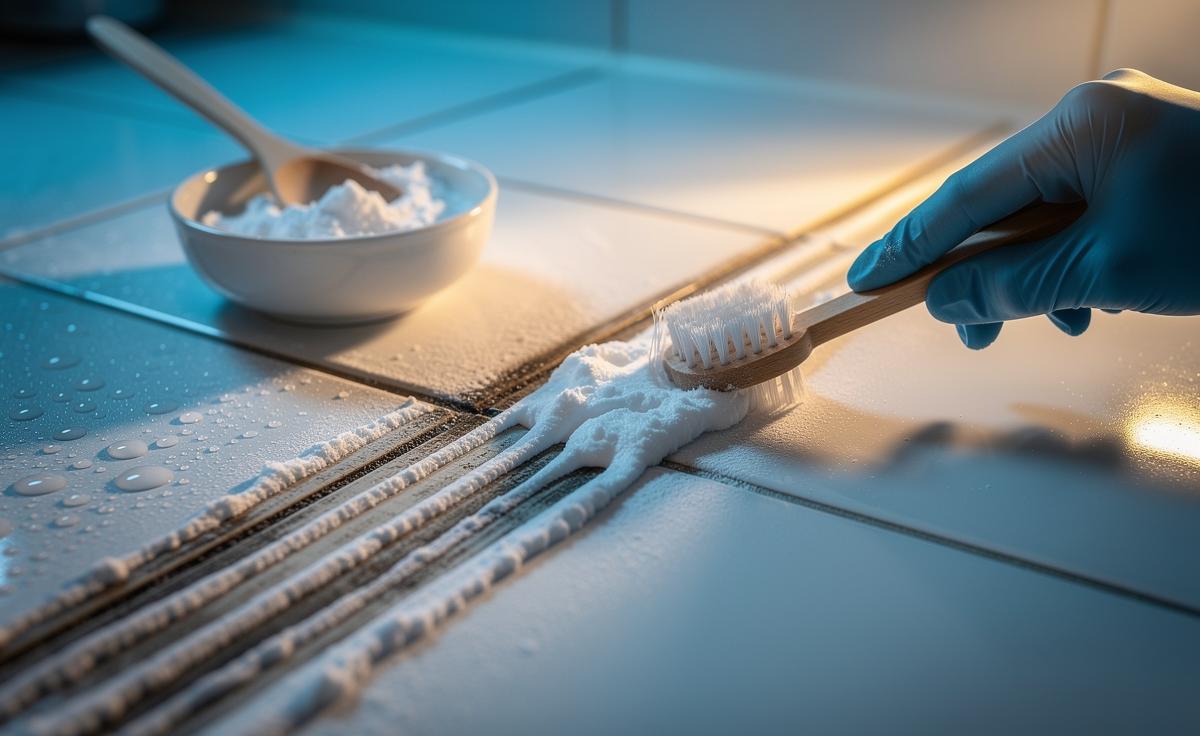
Start simple. Spoon 3–4 tablespoons of baking soda into a small bowl and add water a few drops at a time to make a spreadable paste—think yogurt, not soup. Use a finger, spatula, or an old toothbrush to butter the paste along the grout lines. Allow a short dwell time—about 5 to 8 minutes—to soften build-up and give the crystals time to work. Then scrub. Short, tight strokes along the lines, with occasional circles on stained patches, lift the loosened dirt. Rinse with warm water and wipe dry with a microfibre cloth. The whole cycle? Often under ten minutes for a few square metres.
| Step | Measure | Time |
|---|---|---|
| Mix paste | 3–4 tbsp baking soda + drops of water | 1 minute |
| Apply to grout | Thin, even bead | 1–2 minutes |
| Dwell | Dwell time matters | 5–8 minutes |
| Scrub and rinse | Soft brush + warm water | 2–3 minutes |
Need extra bite? Sprinkle a little dry powder onto the damp paste just before scrubbing for more micro-abrasion. For speed, a dedicated grout brush with stiff nylon bristles concentrates pressure. Always finish by rinsing and drying; leaving residue invites fresh dirt to stick. If you’re doing a whole room, work in small zones so the paste doesn’t dry out before you scrub.
Tackling Stains, Mould, and Different Surfaces
Not all grime is equal. Kitchen floors often carry oily films, so extend the dwell to the upper end of the window and scrub once more after a quick re-wet. In bathrooms, soap scum and hard water leave mineral traces; the baking soda paste still helps, but a second application on persistent patches can be worth it. For mouldy grout, apply the paste, then mist 3% hydrogen peroxide over the lines and let it fizz before scrubbing. The reaction helps lift organic staining while keeping fumes low. Ventilate, and wear gloves if skin is sensitive.
Mind your surfaces. Polished natural stone like marble or limestone can scratch: use a very soft brush, minimal pressure, and test a hidden spot. Avoid mixing baking soda with bleach; you don’t need it here, and splashes can discolour fabrics. Epoxy grout? It’s less porous, but the method still removes surface soils; just shorten dwell time and rely on the gentle abrasion. On older, unsealed cement grout, consider sealing once clean—less absorption means slower re-soiling. The golden rule is simple: tailor dwell, pressure, and rinse to the stain and the surface.
Fast, frugal, and effective—that’s the quiet power of baking soda on grout. It loosens oily films, scrubs without scratching, and restores crisp lines with a process you can complete on a weekday evening. Keep a small jar of powder and a dedicated brush under the sink, and you’ve got a maintenance routine that stops grime taking hold. Short, regular sessions beat marathon clean-ups every time. Ready to revive those grout lines, test a small patch, and time your own ten-minute turnaround—what surface in your home will you start with today?
Did you like it?4.5/5 (22)