In a nutshell
- 🧪 Harness kitchen chemistry: a mild alkaline baking soda paste softens carbonised grease via gentle saponification, so time replaces toil.
- 🥣 Mix and apply: use a 3:1 baking soda to water ratio with a dash of washing-up liquid, coat every rung, then wrap to stay moist for an 8–12 hour overnight dwell.
- 🚿 Morning clean: rinse with warm water and a non-scratch sponge, then spritz vinegar only after rinsing to lift any chalky film; dry fully before refitting.
- 🛡️ Safety first: wear gloves, protect surfaces, and avoid steel wool to prevent scratching chrome plating; keep paste off natural stone.
- ♻️ Prevention wins: use oven liners, wipe spills promptly, and do a quick monthly refresh—low odour, low cost, high impact for consistently clean racks.
You don’t need caustic sprays or hours of elbow grease to revive dull, blackened oven racks. A simple baking soda paste exploits kitchen chemistry to break bonds between burnt grease and metal, turning stubborn carbonised films into soft residue you can wipe away. It’s cheap, low odour, and forgiving. Better still, the method works while you sleep. Apply before bedtime; wake to racks that rinse clean with minimal scrubbing. In homes with children or pets, that lack of harsh fumes matters. This guide explains why sodium bicarbonate excels at the job, how to mix it for consistency, and the overnight routine that delivers a bright, silvery finish by morning.
Why Baking Soda Works on Burnt Grease
Baking soda is sodium bicarbonate, a mild alkaline powder that nudges baked-on fats towards saponification, the same chemistry that makes soap. Grease residues often contain oxidised lipids and acidic by-products. When the paste sits on that film, the alkalinity helps emulsify and loosen it, while the paste’s gritty texture gives safe, micro-abrasive action. The result isn’t brute force; it’s controlled softening. Alkalinity does the heavy lifting so your hands don’t have to. Because the solution is mild, it won’t strip the chrome plating found on most UK racks, and it won’t fill your kitchen with aggressive fumes.
Heat amplifies the effect, but you don’t need a hot soak. Leave the paste to dwell long enough and it migrates into crevices around the rungs, undermining the bond between carbonised spills and the metal. That’s why an overnight dwell works so well: time replaces effort. Unlike vinegar-first hacks, you avoid neutralising the alkali too early. Save acids for the rinse stage, where a light spritz can add fizz and help lift any grey film.
Step-by-Step: Mixing the Paste and Prepping Racks
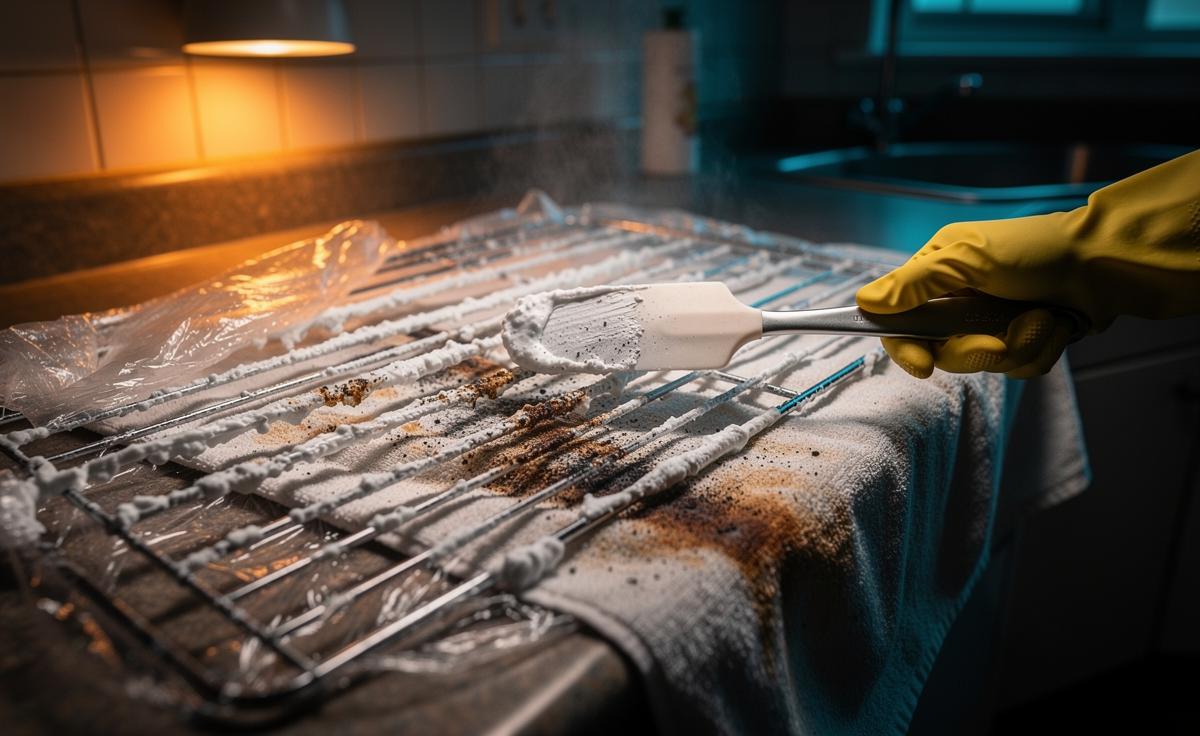
Start with a ratio of roughly 3 parts baking soda to 1 part water, aiming for a spreadable, peanut-butter thickness. Stir in one teaspoon of washing-up liquid per cup of powder for extra surfactant power. Remove racks when cool, shake off crumbs, and place them on old towels in a bath, a large tray, or a bin liner-lined floor to protect surfaces. Coat every rung and joint; edges hide the worst grime. Use a silicone spatula, gloved fingers, or a soft pastry brush for even coverage without scratching.
| Step | Key Details |
|---|---|
| Paste ratio | 3:1 baking soda to water; add a dash of washing-up liquid |
| Coverage | 2–3 heaped tablespoons per rack, more if heavily soiled |
| Dwell time | 8–12 hours for typical grease; up to 16 for thick carbon |
| Tools | Gloves, spatula/brush, old towels, non-scratch sponge |
To stop the paste drying out, loosely wrap racks in cling film or slide them into a clean bin liner and tie the end. This traps moisture so the chemistry keeps working. Don’t stack racks; give each a little air space so paste stays put. Safety note: baking soda is gentle, but wear gloves to avoid dry hands, and keep paste off natural stone surfaces—it can haze some sealants.
Overnight Dwell: Let Chemistry Do the Heavy Lifting
Once coated, leave the racks to rest. No heat. No scrubbing. This is the moment when time replaces toil. Over 8–12 hours, the paste softens polymerised grease and undermines carbon crusts that resisted day-time wiping. If you’ve sealed the racks in a bag, lay them flat so paste doesn’t slide. A quiet airing cupboard or under-sink cupboard is ideal—out of the way, room temperature, undisturbed.
In the morning, crack open the wrap and test a spot with a nylon brush. You’ll often see brown-grey slurry forming, proof that the film has detached. For very heavy buildup, re-wet the paste with a mist of warm water to re-activate it, then give it another 30 minutes. The key is patience, not pressure. Do not introduce vinegar yet; an acid hit now will simply neutralise the alkali and blunt the effect. If patches remain stubborn, dab on a fresh blob of paste rather than attacking with steel wool, which can score plating and invite rust.
Rinse, Detail, and Prevent Future Buildup
Rinse the racks under a warm shower or with a jug of hot water, guiding residue toward the drain. Use a non-scratch sponge to sweep away the softened grime. Now, and only now, deploy a light vinegar spritz: the fizz helps lift any chalky film and leaves a bright finish. Dry with a microfibre cloth to prevent water spots. The satisfying reveal is the silvery sheen of clean chrome and a rack that slides smoothly again. Refit only when fully dry; trapped water can spot or leave streaks in the oven’s heat.
To keep racks cleaner for longer, line the oven base with a reusable liner cut to size, catch spills early, and wipe rungs with a damp cloth after roasting. A lighter monthly refresh—1:1 baking soda and water for a quick smear—prevents stubborn layers from forming. Avoid caustic oven sprays on racks if you can; they can attack finish and produce sharp odours. The gentle method wins in everyday kitchens: low cost, low odour, high impact.
A tub of baking soda, a splash of water, and a quiet night are often all it takes to reset even the most neglected racks. It’s kinder to your lungs, your finish, and your wallet than harsh aerosols, and it fits easily into a weekday routine. Apply, leave, rinse—done before the kettle boils. Will you try the overnight paste on your next clean, or are you tempted to tweak the routine with a favourite brush or wrap to make it even faster in your kitchen?
Did you like it?4.6/5 (29)