In a nutshell
- 🧽 Baking soda (bicarbonate of soda) acts as a mild alkali and gentle abrasive, breaking mould biofilm while deodorising porous grout.
- ⏱️ Follow the 10-minute scrub: mix a 3:1 bicarb-to-liquid paste, dwell for 5–7 minutes, scrub 2–3 minutes, then rinse and buff.
- ✨ For stubborn patches, replace water with 3% hydrogen peroxide; a vinegar pre-spray can fizz but offers minimal extra cleaning power.
- ⚠️ Safety first: ventilate, wear gloves, and never mix with bleach; patch-test coloured grout and avoid acids on natural stone.
- 🛡️ Prevention: squeegee and dry after showers, run the fan for 15+ minutes, re-seal grout every 6–12 months, and do quick weekly maintenance.
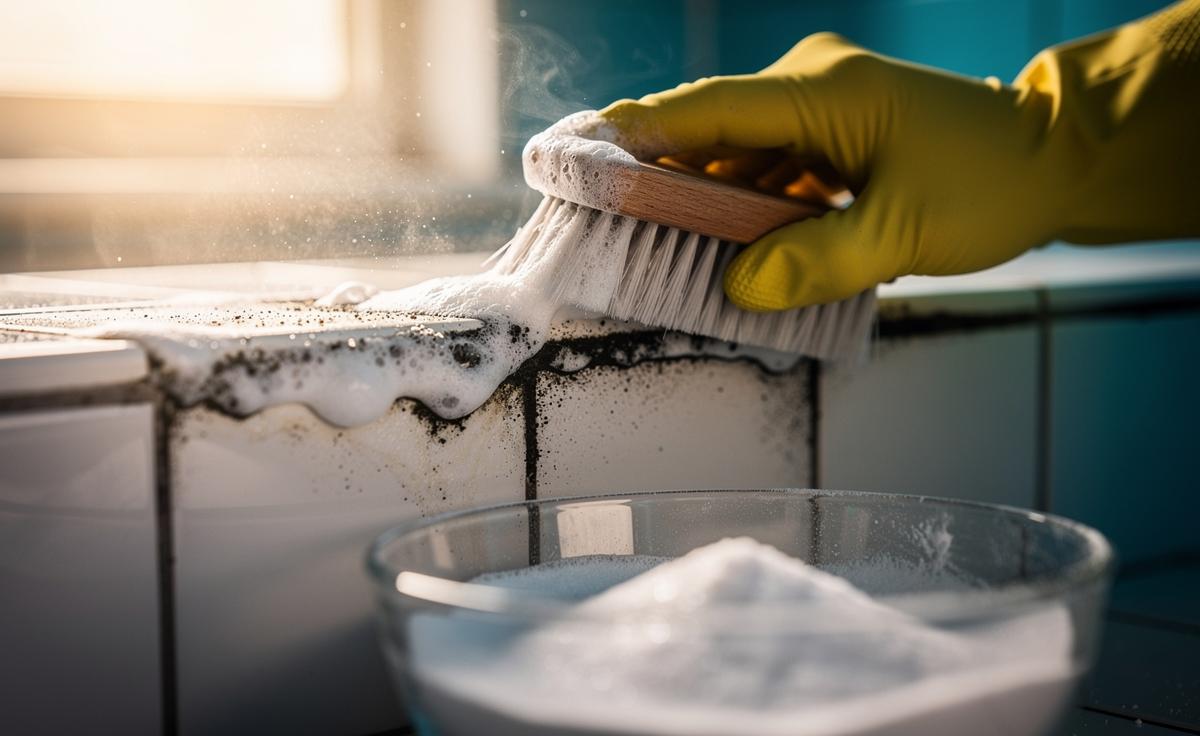
Shower grout turns from bright to blotchy astonishingly fast. Steam, soap scum, and stubborn mould colonise the tiny pores, leaving grey lines and black specks that mock your best intentions. Here’s the good news: a humble pot of baking soda—better known in the UK as bicarbonate of soda—can restore grout in minutes. With the right paste, a firm scrub, and a short dwell time, you can lift visible mould in about 10 minutes. This guide explains why it works, the precise method pros use, and the safety notes worth remembering. We’ll also show you how to keep grout cleaner for longer so the shine lasts past next weekend.
Why Baking Soda Works on Grout Mould
Bicarbonate of soda brings two useful traits: it’s a mild alkali and a gentle abrasive. The alkaline pH disrupts the micro-environment mould prefers, loosening the biofilm that binds spores to grout. At the same time, the fine crystalline particles provide controlled scouring without gouging the grout surface. This twin action—chemical shift plus micro-abrasion—lets you break the bond quickly and safely. It also deodorises, neutralising the musty odour that lingers after a hot shower.
Grout is porous. That porosity traps minerals and moisture, feeding discolouration. When you apply a slightly damp baking soda paste, it wicks into the pores just enough to lift grime, especially once activated by scrubbing. For light mould, water is sufficient. For stubborn spots, pairing the bicarb with 3% hydrogen peroxide increases oxidising power, brightening the lines without harsh bleach. Avoid mixing any cleaner with bleach, full stop. Most ceramic and porcelain tiles tolerate this method well, but test discreetly on coloured grout and avoid acids on natural stone. The process is simple, swift, and kinder to indoor air than many high-fume alternatives.
Step-by-Step: The 10-Minute Scrub
Gather a grout brush or old toothbrush, a soft cloth, bicarbonate of soda, clean water, and optional 3% hydrogen peroxide for heavy staining. Ventilate the room. Wear gloves and keep pets and children away until the floor is dry. In a small bowl, mix 3 parts baking soda with 1 part liquid to a spreadable paste—think thick yoghurt. For light mould, use water. For stubborn discolouration, use hydrogen peroxide instead of water.
Spread a thin bead along the grout lines. Let it sit for 5–7 minutes to soften the biofilm. Scrub with tight, back-and-forth strokes, increasing pressure on dark spots. Work in squares so you can rinse before residue dries. Rinse with warm water, then buff with a microfibre cloth to remove haze. Inspect. Repeat on any persistent patches. The key is dwell, then decisive friction. If you prefer a fizzing pre-spray, mist tiles with white vinegar first, wait one minute, then apply bicarb paste—but know the fizz is mechanical, not stronger chemistry.
| Item | Ratio/Detail | Notes |
|---|---|---|
| Bicarbonate of soda | 3 parts | Base of the paste |
| Water or 3% hydrogen peroxide | 1 part | Peroxide for stubborn mould |
| Dwell time | 5–7 minutes | Don’t let the paste dry out |
| Scrub time | 2–3 minutes | Use a stiff grout brush |
| Rinse and buff | Warm water + cloth | Removes residue haze |
Safety, Surfaces, and When to Switch Tactics
Never mix baking soda or peroxide with bleach. Chlorine gas and other by-products are dangerous in a small bathroom. Open a window or run the extractor. Gloves protect skin from dryness and grit. On natural stone such as marble, limestone, or travertine, avoid acidic pre-sprays and use pH-neutral stone-safe cleaners; bicarb’s mild alkalinity is usually fine, but always patch test. With coloured grout, test first to ensure no lightening. New grout (under 14 days) should be left to cure before any wet cleaning.
Sometimes stains are not organic mould but efflorescence—salts migrating to the surface. Bicarb won’t fully remove salt bloom; gentle brushing and dry wiping work better, followed by addressing moisture ingress. If grout remains dark after cleaning, the pigment may be permanently stained, or the sealer has failed. That’s your cue to re-seal or apply a grout recolourant. If an area keeps re-spotting, investigate leaks, failed silicone beadings, or poor ventilation rather than scrubbing endlessly. Use common sense: if you smell strong mustiness behind the wall, consult a professional to check for concealed damp.
Keep It Clean: Preventing Mould’s Return
Prevention is scandalously simple and wildly effective. Squeegee the tiles and glass after each shower. Wipe the grout lines with a dry microfibre cloth. Moisture control is the number one mould deterrent. Run the extractor fan during showering and for at least 15 minutes afterwards; if it’s weak, consider an upgrade with a higher extraction rate and run-on timer. Leave the screen or door ajar to vent steam. Once a week, do a 3-minute maintenance scrub with a thin bicarb paste or a pH-neutral bathroom cleaner before build-up returns.
Every 6–12 months, re-seal cementitious grout to reduce porosity and staining. Keep silicone seals intact to block water creep. Check corners and shower door tracks—mould loves hidden ledges. If humidity persists, a small desiccant dehumidifier in the bathroom can help between showers. Store a small jar of premixed paste under the sink for quick spot fixes, and label it clearly. A routine of quick dry-downs plus periodic sealing saves you from marathon cleans. Prevention doesn’t need chemicals, just consistency, airflow, and a decent brush.
Bicarbonate of soda earns its place in the cleaning cupboard because it works fast, costs pennies, and spares your lungs the sting of harsh bleach. With a short dwell and a confident scrub, it lifts mould and restores grout lines to their original brightness in about 10 minutes. Keep the room dry, the fan on, and the grout sealed, and you’ll stay ahead of the gloom. Small daily habits beat big weekend chores. What tweak will you make this week—stronger ventilation, a new squeegee, or a ready-made jar of paste—to keep mould from returning?
Did you like it?4.6/5 (29)