In a nutshell
- 🧼 Use white, non-gel toothpaste with gentle abrasives to lift wax and pigment from crayon marks without damaging most paint finishes.
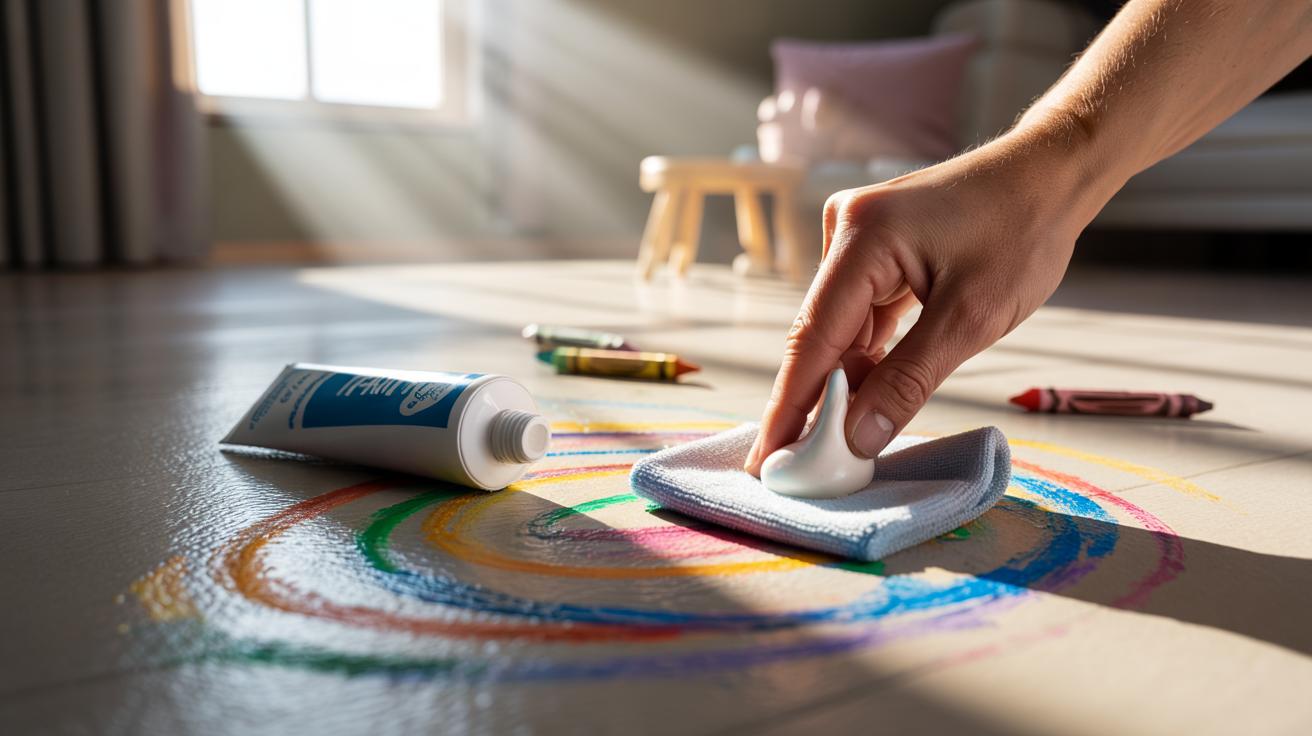
- 🪣 Follow a safe method: patch test, apply a pea-sized amount, rub in small circles with light pressure, wipe, and repeat brief passes—stop if paint transfers.
- 🧪 Choose wisely: avoid gels, charcoal, and harsh “whitening” pastes; standard white fluoride toothpaste suits washable emulsion, satin, and semi-gloss best.
- 🧯 Troubleshoot smartly: warm wax with a hair dryer, use mild dish soap for residue, and watch for burnishing or changing sheen as red flags to stop.
- 🛡️ Protect surfaces: skip toothpaste on unsealed wood or delicate wallpapers, consider washable paints in kid zones, and touch up with matching paint if needed.
Crayon on a freshly painted wall can feel like the end of a good decorating run. It isn’t. Armed with a tube of everyday white toothpaste and a soft cloth, you can lift those waxy swirls without wrecking the finish. The trick lies in gentle abrasives—tiny polishing particles that nibble at the wax but leave the paint intact. Think of it as a soft-focus buff rather than a scouring. Use light pressure, short sessions, and patience for the safest results. As a household fix, it’s cheap, quick, and surprisingly effective. Here’s the science, the method, and the mistakes to avoid—so your wall survives, and your sanity does too.
Why Toothpaste Works on Crayon
Crayon marks cling because they’re a mix of wax and pigment. Wax creates the smear; pigment delivers the colour. Standard white toothpaste contains low-level abrasives such as hydrated silica or calcium carbonate, particles designed to polish dental plaque without scratching enamel. On a wall, those same particles gently disrupt the wax layer, loosening pigment so it can be wiped away. Mild surfactants help lift the residue; humectants keep things workable. This is controlled abrasion, not a scrub-fest. Done right, you’re buffing the crayon rather than sanding the paint.
It’s also about compatibility. Most interior paints—especially washable emulsions or semi-gloss finishes—can tolerate light polishing. Matte and chalky paints are more delicate and will “burnish,” leaving shiny patches if overworked. That’s why a patch test matters. Compared with harsher solvents, toothpaste offers a friendlier pH and a predictable cut. It removes the waxy binder first, then the pigment slips. If you see paint colour on the cloth, stop immediately. The goal is to lift the crayon, not the wall’s finish.
Step-by-Step Method for Safe Removal
Start with a patch test in a low corner. Dab a pea-sized amount of white, non-gel toothpaste onto a damp microfibre cloth. Gently work in small circles over the mark for 10–15 seconds. Wipe with a clean, slightly damp cloth to check progress. Repeat in brief passes rather than one long session; fresh eyes prevent over-polishing. If the paint sheen changes or you feel tacky drag, stop. Always finish by wiping away residue and patting the area dry to avoid faint halos.
Adjust technique to the surface. On semi-gloss or satin, use lighter pressure, as these finishes can show polishing trails. For textured walls, use a soft, damp toothbrush to reach grooves, but keep strokes minimal. On tiles, plastics, or sealed wood, you can be slightly firmer—still cautious. Refresh the cloth often; spent residue acts like grit. If residue lingers, a drop of mild washing-up liquid on a damp cloth will clear it. Less pressure, more passes—that’s the winning formula.
Choosing the Right Toothpaste and Surface
The best option is a no-frills, white fluoride toothpaste with standard abrasivity. Avoid gels, heavy “whitening” formulas, or charcoal pastes; they’re either ineffective on wax or too aggressive on paint. Fragrance and flavour don’t matter. What matters is a smooth paste with fine polishing agents and no gritty add-ins. When in doubt, choose the simplest paste on the shelf. Match paste choice with surface resilience: washable emulsion handles modest buffing; flat, ultra-matte paint doesn’t.
| Toothpaste Type | Use on Walls? | Best For | Risks/Notes |
|---|---|---|---|
| White, non-gel | Yes | Washable emulsion, satin, semi-gloss | Gentle abrasives; patch test first |
| Gel toothpaste | Usually no | Non-porous surfaces only | Too slick; poor wax lift |
| Whitening/“microcrystal” | Use with caution | Tiles, sealed plastics | Higher abrasivity may burnish paint |
| Charcoal toothpaste | No | Hard, glossy non-paint finishes | Can scratch; may stain light paint |
For unsealed wood or delicate wallpapers, skip toothpaste entirely; try a white eraser or specialist cleaner. Soft surfaces absorb pigment—abrasion won’t help and may scar the fibres.
Troubleshooting, Stains, and When to Stop
If colour ghosts remain after two or three light passes, switch tactics. Soften the wax with warm air from a hair dryer on low, then lift residue with a clean paper towel and return to a brief toothpaste pass. For grout or textured plaster, a soft brush can dislodge pigment in recesses. Still stuck? A drop of mild dish soap on a damp cloth cuts remaining film. Never escalate to harsh solvents on paint—you’ll swap one problem for another.
Know the red flags. If the cloth shows paint colour, or the wall’s sheen turns patchy, stop. On matte finishes, burnishing appears as a smooth, slightly shiny spot—further rubbing worsens it. Accept a faint shadow rather than a visible polish mark. For repairs, touch in with matching paint after the wall dries fully. Prevention helps: choose washable paints for high-traffic areas, park a big roll of paper on a clip, and define a “yes” zone for art. Good boundaries beat frantic clean-ups.
Toothpaste won’t replace a professional decorator, but it’s a nimble first aid for crayon chaos. Controlled abrasion loosens wax while respecting paint, and the kit list couldn’t be simpler: paste, cloth, patience. The real art is restraint—short, gentle sessions and a timely stop if the finish protests. If you’ve rescued a wall this way, what surface and paste combination worked best for you, and where did you draw the line before calling in paint for a touch-up?
Did you like it?4.7/5 (22)