In a nutshell
- 🥖 Build crust with smart blends: white rice flour for neutrality, sorghum/buckwheat for colour, plus tapioca and potato starch for snap and shatter—keep ingredients certified gluten free to prevent cross-contamination.
- 💧 Control structure via high hydration (80–95%) and binders: psyllium husk for set and moisture, a touch of xanthan for adhesion, with optional tangzhong/scald to hold water so the crust dries crisp.
- 🔥 Master heat and steam: use a preheated steel/stone at 250°C, bake in a Dutch oven with steam for 12–15 minutes, then vent and drop to ~220°C, finishing with convection; cool fully after reaching 98–100°C internal.
- 🧰 Refine the finish: brush with a rice flour slurry or aquafaba, dust with rice flour for rustic fissures, score boldly, and do not slice warm; re-crisp soft loaves at 200°C for 8–10 minutes.
- 🎯 Think in dials—blend, bind, steam, dry: tweak ratios, proofing, and bake profile to achieve an audibly crisp gluten-free crust that rivals artisan wheat bread.
Think gluten-free bread must choose between flavour and texture? UK bakers are proving otherwise. The quest for an audibly crisp crust now sits at the heart of a gluten-free renaissance, where science meets craft. The secret lies in balancing starches, wholegrain flours, clever hydration, and disciplined heat management. From tapioca’s snap to rice flour’s gentle toast, each component plays a role in crackle and colour. Add to that strategic steam, mindful fermentation, and a rigorous cool-down, and the results rival artisan wheat loaves. Good gluten-free crust is not a compromise; it’s a formula—and once you understand the levers, you can pull them at home with confidence.
Flour Blends That Brown and Crackle
Start with a base that toasts well and carries clean flavour. A classic combination blends white rice flour for neutrality, sorghum or buckwheat for warmth and colour, and two crisping agents: tapioca starch for blistered snap and potato starch for shattery edges. Avoid gritty textures by sieving and using finely milled flours. Keep blends strictly gluten free and certified to prevent cross-contamination, especially if baking for someone with coeliac disease. Small additions of maize starch or cornflour can help glass the crust, though too much can dull flavour. Aim for variety: the crust’s symphony comes from different granulations and gelatinisation points.
| Ingredient/Technique | Role in Crust | Suggested Ratio/Metric |
|---|---|---|
| White rice flour | Clean flavour, gentle browning | 30–40% of total flour |
| Sorghum or buckwheat | Nutty depth, colour | 20–30% |
| Tapioca starch | Elastic blistering, crackle | 15–20% |
| Potato starch | Shatter, rapid drying | 10–15% |
| Fine salt + sugar | Maillard browning, flavour | 2% salt, 1–2% sugar |
Consider a teaspoon of cocoa powder or a splash of black treacle for colour without bitterness. For a rustic finish, dust the banneton with rice flour, which dries faster than starch and encourages a matte, crackly sheath.
Hydration, Binders, and the Science of Crisp
Gluten-free dough thrives as a batter-like mass. Target hydration of 80–95%: wet enough to gel starches and fuel open crumb, yet not so slack it collapses. The keystone is psyllium husk, which builds a moisture-retaining network that sets firmly in the oven. Xanthan gum adds adhesion but can toughen; use sparingly or pair with psyllium for balance. A small quantity of oil (1–2%) helps heat conduction on the surface, while a touch of sugar hastens browning. The wetter the dough, the thinner and crisper the crust—if heat and steam are managed well.
For an extra-thin shell, try a gluten-free scald or tangzhong: pre-gel 5–10% of the flour with water to a paste, then blend back once cool. This boosts moisture retention in the crumb, letting the crust dry hard without leaving the interior parched. Add a pinch of fungal amylase (gluten-free certified) to nudge the Maillard reaction, or substitute with a small spoon of rice syrup in sweet-lean doughs.
Fermentation, Heat, and Steam: Professional Techniques at Home
Flavour and crust develop in tandem. Build a gluten-free sourdough starter with rice or buckwheat flour, or use a poolish-style preferment for sweetness. A short autolyse (flour and water only) hydrates starches before adding salt and binders. Cold-retard shaped dough for 8–16 hours to deepen taste and promote surface drying; that slightly leathery skin turns into crunch in the oven. Under-proofing is kinder than over-proofing for crispness, as excess gas weakens the set.
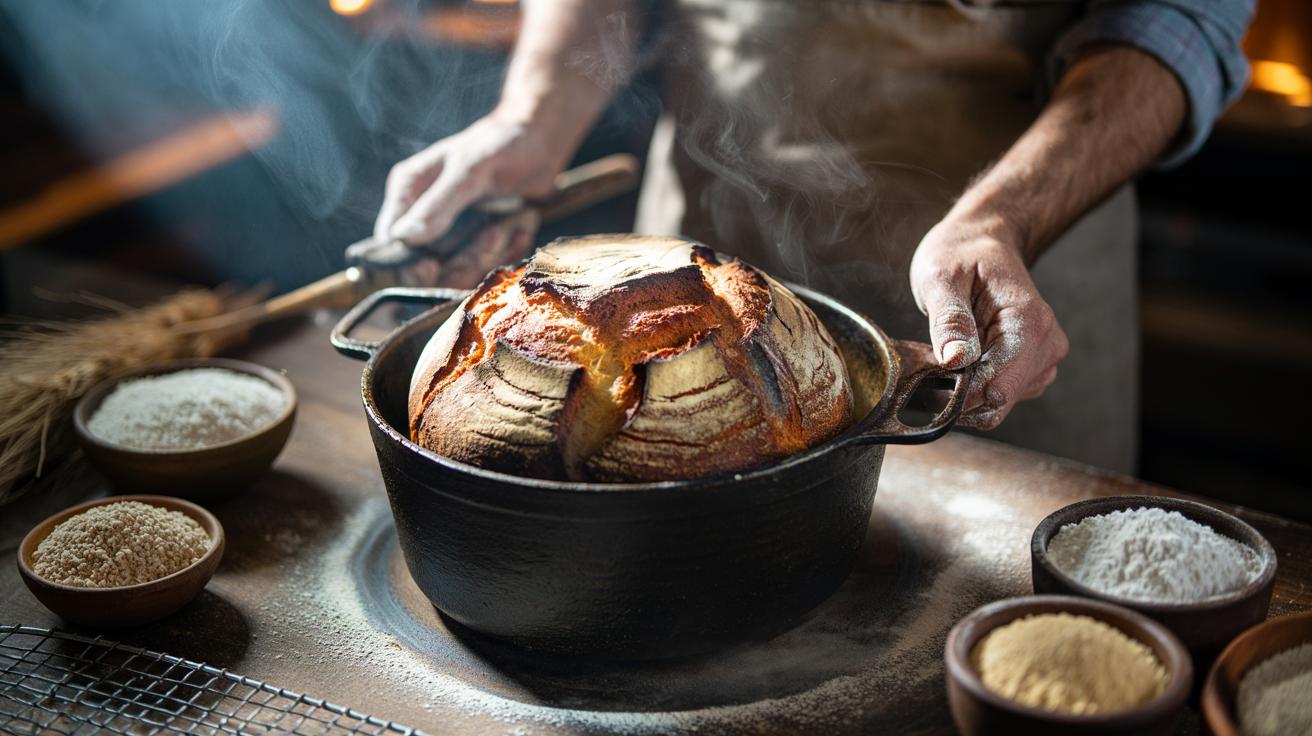
Heat is decisive. Preheat a baking steel or stone at 250°C for at least 45 minutes. Bake in a Dutch oven or trap steam for the first 12–15 minutes to expand and blister, then vent and drop to 220°C to drive off moisture. Finish with 3–5 minutes of convection, door cracked, to harden the shell. Aim for an internal temperature of 98–100°C; then cool completely on a rack to lock in crunch.
Finishing Touches and Troubleshooting
For extra sheen and snap, brush the shaped loaf lightly with a rice flour slurry or aquafaba before baking. Dusting with rice flour creates a rustic, fissured crust; dusting with tapioca yields glassier patches. Slash boldly to release steam and prevent ballooning. Do not slice while warm—the crust softens and the crumb gums. Let the loaf cool for at least an hour so the starches set and the crust stabilises.
If the crust softens after cooling, re-crisp at 200°C for 8–10 minutes. Persistent pallor? Increase sugar slightly, bake hotter for the first phase, or lengthen the dry-out. Gummy crumb suggests hydration too high or bake too short; extend the second stage at 210–220°C. Store in a paper bag at room temperature to preserve the crust; avoid sealed plastic unless you plan to toast. A light reheat revives day-old loaves beautifully.
Gluten-free crust no longer needs an apology: with balanced flours, high hydration, disciplined fermentation, and decisive heat, the result is an aromatic, glassy shell that shatters under the knife. Think of it as a set of dials—blend, bind, steam, dry—that you can tune to your oven and taste. Once you’ve mastered the method, the flour label becomes almost irrelevant. Which dial will you turn first in your kitchen: a starch swap, a hotter steel, or a bolder steam routine?
Did you like it?4.4/5 (24)