In a nutshell
- 🔥 Use the hairdryer method: soften the wax binder with medium heat from 15–20 cm, keep the airflow moving, and most crayon marks vanish in about 30 seconds.
- 🧽 Follow gentle steps: warm for 10–15 seconds, wipe with a microfibre cloth, repeat once if needed, and finish with a tiny drop of dish soap for residue—no aggressive scrubbing.
- 🧱 Match heat to surfaces: matte/eggshell walls are forgiving; use lower heat on gloss trim; test vinyl wallpaper first; avoid heating unsealed plaster or paper wallpaper; always keep the dryer moving.
- 🛠️ If marks linger: try a melamine sponge lightly, a dab of baby oil then wash, or a mild bicarbonate of soda paste; for ghosting, use a stain-blocking primer before touch-up paint.
- ⚠️ Safety first: pause if the surface is hot to touch, ventilate to disperse odour, avoid softening caulk or adhesives, and prioritise preserving the original paint finish.
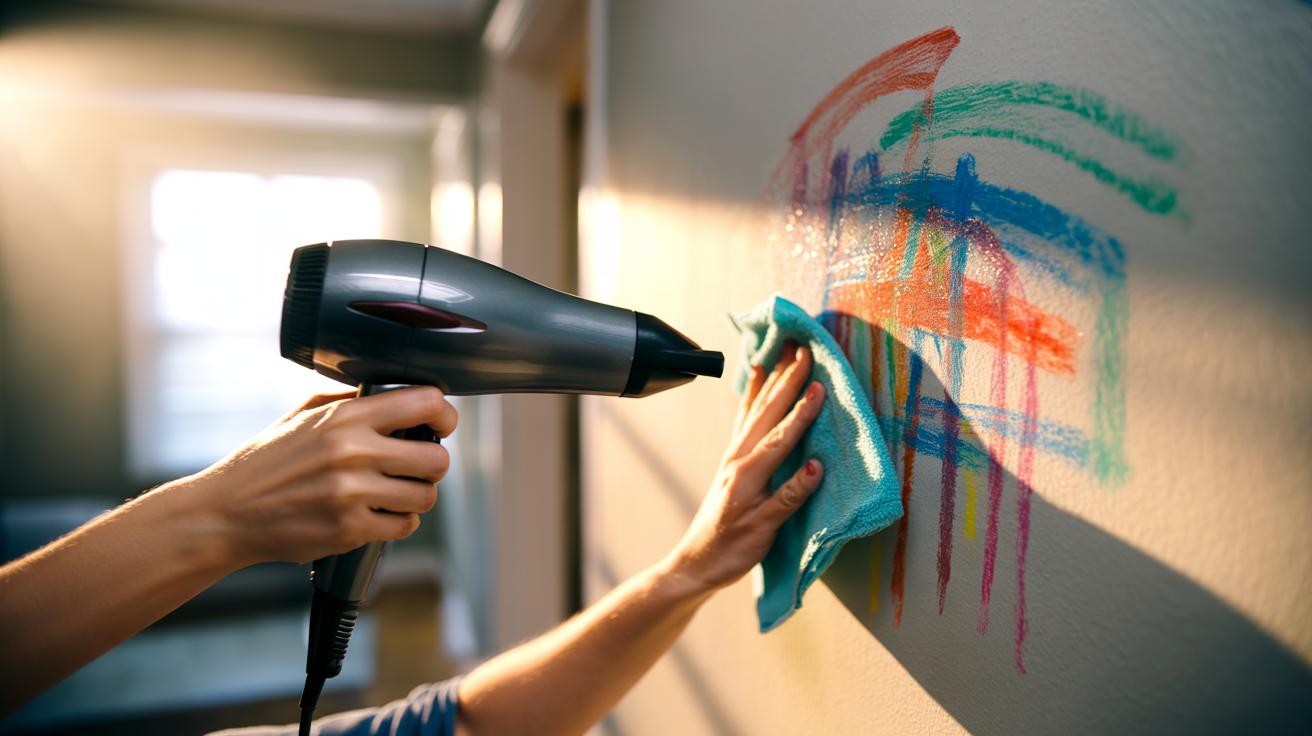
There’s a domestic magic trick hiding in your bathroom cabinet. Point a hairdryer at a wall scribbled with crayon marks, and watch the wax loosen its grip in seconds. No harsh chemicals. No paint damage. Just heat and a gentle wipe. The method relies on the simple physics of wax, which softens at low temperatures, allowing pigment to lift cleanly from common finishes. In many cases, the mark vanishes in roughly 30 seconds. It’s fast, safe, and startlingly effective for families, tenants, and anyone guarding their deposit. Here’s how it works, why it’s reliable, and the settings to choose for different surfaces.
Why Heat Works on Crayon Wax
Crayon is a blend of wax and coloured pigment. On painted walls, the wax forms a thin film that clings to the surface microtexture rather than soaking deep into the paint layer. Apply controlled heat and the wax softens, relinquishing its hold. The pigment lifts because it’s suspended in that wax, not fused with the paint. That’s the secret: soften the binder and the colour lets go. Typical house-paint finishes—matte, eggshell, satin—handle brief bursts of warm air without trouble, especially if the paint has fully cured. This is why a hairdryer, set sensibly, can outpace scrubbing creams or solvents that risk dulling the finish.
Wax softens at about 40–60°C. Even a modest hairdryer on medium heat exceeds that at the nozzle, so the trick is distance and movement. Keep the airflow sweeping, not parked. You’re warming the wax, not baking the paint. Always test a hidden patch first, particularly on older or unknown coatings. Fresh paint under two weeks old can be more vulnerable, so proceed gently or wait for it to harden fully before treatment.
Step-by-Step: The 30-Second Hairdryer Method
Start with a microfibre cloth, mild washing-up liquid, and the hairdryer. Clear dust. Switch the dryer to medium. Hold it 15–20 cm from the crayon, moving in small circles. After 10–15 seconds, test a wipe: the wax should smear and lift rather than smudge deeper. Continue warming for another 10–15 seconds if needed, then wipe again with light pressure. The winning move is gentle heat plus a soft, clean cloth—never aggressive scrubbing.
If residue remains, dampen the cloth with a drop of dish soap in warm water, wring well, and buff the spot. Finish dry with a clean section of microfibre to even the sheen. On textured walls, angle the cloth to reach valleys; on skirting boards or gloss trim, cut the heat time in half because shiny coatings soften faster. Avoid blasting corners where caulk could deform. Keep children clear and ventilate lightly: warm wax can release a faint odour, though it’s brief and minor.
For large murals courtesy of a toddler, work in small panels. Heat, wipe, shift along. If a colour shadow persists—reds and blues can be stubborn—repeat once. If a mark refuses to budge after two passes, switch tactics rather than escalating heat. That protects the paint finish and saves time.
Surfaces, Settings, and Quick Choices
Different substrates handle heat differently. Painted plaster is forgiving. High-gloss woodwork needs restraint. Wallpaper varies wildly. Use this quick guide to choose settings and keep finishes intact. When in doubt, reduce heat, increase distance, and test a discreet corner.
| Surface | Heat Setting | Distance | Wipe/Finish Tips |
|---|---|---|---|
| Painted wall (matte/eggshell emulsion) | Medium | 15–20 cm | Microfibre cloth; mild soap if needed |
| Gloss or satin woodwork | Low–Medium | 20–25 cm | Short bursts; avoid softening varnish |
| Vinyl-coated wallpaper | Low | 25–30 cm | Test first; light heat only |
| Sealed doors/fridge panels | Medium | 15–20 cm | Non-abrasive wipe to prevent sheen changes |
| Unsealed plaster or paper wallpaper | Avoid heat | — | Use dry methods; risk of warping |
Two rules keep you safe: keep the dryer moving and pause if the surface grows too warm to touch. Never use high heat on wallpaper; adhesives can soften and bubble. On radiators or metal, limit heat duration to prevent hot spots that print the wax deeper. Wipe in one direction to lift, not smear. If sheen shifts slightly on a well-worn wall, a light all-over buff blends the area invisibly.
If It Lingers: Safe Alternatives and Fixes
Some pigments bite harder, especially on chalky, older paints. Don’t force it. Try a melamine sponge lightly dampened, with minimal pressure and tiny strokes; stop if the paint dulls. A dab of baby oil or mineral oil can dissolve residual wax—massage gently, then wash with warm soapy water and dry. For greasy halos, a teaspoon of bicarbonate of soda in water forms a mild paste; buff softly, rinse, pat dry. Avoid harsh solvents that can strip binders and leave shiny patches.
If heat seems risky—on delicate paper walls—use the inverse trick: an ice pack in a tea towel to harden the wax, then lift flakes with a plastic card. For persistent stains, a mist of white vinegar diluted 1:3 can help on durable paints, but spot test. When ghosting remains, consider a small touch-up with matched emulsion or, for dyed-in shadows, a shellac-based stain-blocking primer under a quick repaint. The golden rule: escalate gently, preserve the finish, and stop before damage begins.
It’s satisfying, almost theatrical, to watch a scribble soften and slide away under a current of warm air. The hairdryer method works because it respects surfaces, targets the wax, and uses tools you already own. With smart settings and a steady hand, most crayon marks disappear in half a minute, leaving paint untouched and pride restored. If your home has mixed finishes, a quick test and a lighter touch keep you safe. Ready to try it on that hallway masterpiece—or will you experiment first on a low-profile spot and perfect your technique?
Did you like it?4.7/5 (29)