In a nutshell
- 🧼 Use aluminium foil to wrap and gently twist around brush bristles, leveraging light compression and micro-abrasion to expel paint fast without damaging the brush.
- 🧪 Match solvent to paint: warm water + mild soap for water-based, white spirit for oil/alkyd, and denatured alcohol for shellac; twist in short cycles, rinse, comb, reshape, and dry bristles-down.
- 🧰 Step-by-step: dampen bristles, wrap head and ferrule twice in foil, twist like wringing a cloth, replace foil as needed, repeat until clear; then comb and set the tip for accuracy.
- ⚠️ Care, safety, and disposal: avoid long soaks, don’t torque the ferrule, ventilate, wear gloves, decant small amounts, settle and reuse solvents, and filter water-based waste before binning dried residue.
- 🚀 Pro tips and benefits: pre-soften stubborn paint, use a snug foil collar to reset splayed bristles, wrap between coats to slow drying, apply the method to rollers—and save time, money, and your best cutting-in brush.
Speed matters on site and in the studio. When paint begins to gum up your brush, minutes count, not hours. A surprisingly effective hack uses something already in most kitchens: aluminium foil. Wrap, twist, and the clogged bristles release paint with startling ease. This method relies on controlled friction and compression, turning a thin sheet of foil into a makeshift squeegee that cleans quickly without mangling the brush head. It’s cheap, portable, and kinder to tools than aggressive scraping. Used correctly, foil can rescue a brush in the time it takes to brew a tea. Whether you’re flipping between colours or shutting down after a long day, here’s how to make it work.
Why Aluminium Foil Works on Paint-Clogged Bristles
Thin, pliable, and form-fitting, aluminium foil grips the brush head and ferrule, applying even pressure across the bristles. That pressure matters. It squeezes out pigment while the foil’s micro-creases create gentle abrasion. Think of it as a soft press rather than a scrape. Unlike hard plastic combs, foil conforms to the bristle bundle, reaching the sticky paint that lurks near the ferrule where cleaning usually fails and brushes die young.
The trick is the combination of compression and capillary pull. When a small amount of the right solvent—water for water-based emulsions, white spirit for oils—wets the bristles, twisting the wrapped foil pushes paint into suspension, and surface tension carries it away. Because foil resists tearing when wet and holds its shape, you get a repeatable motion without excessive force. Consistent, gentle twisting protects bristle “memory” so the brush keeps its shape for accurate cutting-in later.
There’s also practicality. Foil packs flat, weighs nothing, and won’t shed fibres into paint. Shiny or dull side? It makes no functional difference here; friction, not reflectivity, does the heavy lifting. The result is a cleaner brush and fewer stray streaks on tomorrow’s wall.
Step-by-Step: Wrap, Twist, and Clean in Minutes
First, identify your paint. For acrylic and latex emulsions, use warm water with a drop of washing-up liquid. For oil or alkyd, use white spirit or a low-odour mineral spirit. Dampen the bristles lightly—don’t flood. Tear a strip of aluminium foil long enough to wrap the head and ferrule twice. Place the foil under the brush head, fold up and around, then pinch to seal. Hold the ferrule, not the handle tip, and twist the foil sheath gently, as if wringing a cloth. You’ll see coloured liquid bead out.
Open the foil, wipe away residue, add a fresh splash of solvent or water, and repeat two or three times. Replace the foil if it tears; those creases are what create the soft squeegee action. Do not torque the ferrule itself—over-rotation can loosen the crimp and shorten the brush’s life. When the expressed liquid runs clear, rinse thoroughly, comb with a dedicated brush comb or an old fork, and shape the tip. Blot on a clean cloth, then hang to dry with the bristles pointing down to protect the glue bed inside the ferrule.
For speed between coats, wrap a damp, cleaned brush in fresh foil and seal the edges; it slows drying for an hour or two. It’s not a substitute for overnight care, but it buys you time on a busy job.
| Material in Bristles | Paint Type | Recommended Cleaner | Notes |
|---|---|---|---|
| Synthetic (nylon/poly) | Water-based acrylic/latex | Warm water + mild soap | Foil twist is very effective; low damage risk |
| Natural (hog/ox) | Oil/alkyd | White spirit or low-odour mineral spirit | Limit soak time; reshape while damp |
| Synthetic | Shellac/spirits-based | Denatured alcohol | Work quickly; ventilate well |
Matching Solvent to Paint and Avoiding Damage
Pairing the right solvent with the foil technique is the difference between a revived brush and a ruined one. With water-based paints, warm water softens dried edge-skin, and a drop of detergent breaks the surface tension so pigment detaches faster during the twist. For oils and alkyds, white spirit dissolves binders efficiently without the harshness of acetone. Shellac demands denatured alcohol, used sparingly and with ventilation. Always test a tiny amount first if you’re unsure of the bristle type or paint chemistry.
Time and restraint preserve tools. Don’t soak natural bristles for long; it swells hair and weakens the glue bed. Avoid hot solvents, which can soften the ferrule adhesive. Wipe, twist, rinse, repeat—short cycles beat marathon baths. Wear nitrile gloves, crack a window, and decant small amounts into a stable container to avoid spills. Foil helps here, too: wrapping the head creates a mini-vapour barrier, reducing fumes while you work and keeping the solvent where it’s needed—close to the paint, not on your skin or bench.
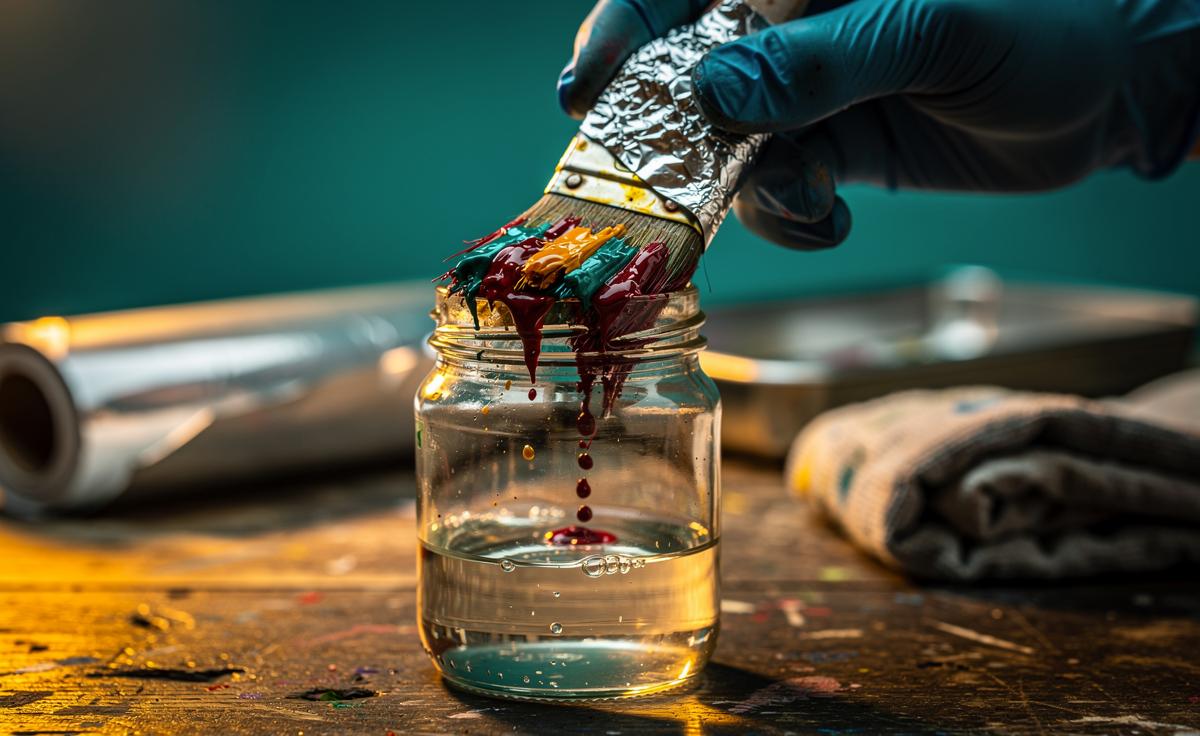
Dispose of residues responsibly. Capture solvent in a jar; let solids settle and reuse the clear layer on top. Water-based waste can be filtered; bin the dried sludge. Your brushes—and the planet—will thank you.
Quick Troubleshooting and Pro Tips for Pros and DIYers
Stubborn, semi-dry paint? Pre-soften before the foil twist. For acrylics, soak the tips in warm, soapy water for ten minutes. For oil, a splash of brush restorer or citrus-based cleaner helps. Then wrap, twist, and express. If bristles splay, slide the foil into a snug collar and compress lightly for a minute to reset the profile. Never attack a brush with a wire brush—use a comb or your fingers to avoid split ends and lost accuracy.
Between coats on the same colour, press out excess paint, spritz with water (acrylic) or seal lightly with white spirit (oil), then wrap tightly in foil. It slows oxidation and keeps the tip workable for a short break. Working overhead? Shorten the foil wrap so you can control the twist one-handed without showering solvent. Budget tip: one kitchen sheet does three cycles; the creases improve grip on round and angled sash brushes alike. For roller sleeves, the same principle works—wrap, squeeze from core to pile, then rinse.
If a brush seems beyond saving, consider the cost-time equation. Ten minutes of foil work can spare a premium cutting-in brush worth far more than the solvent you’ll use. Keep foil, a comb, and a small jar in a zip bag in your kit. That tiny bundle often separates a clean edge from a fuzzy one on deadline day.
The foil method excels because it’s precise, portable, and gentle—three qualities every decorator values on a tight schedule. By combining the right solvent with controlled compression, you can rescue brushes, reduce waste, and keep your finish crisp from first coat to final touch-up. Clean tools are productive tools, and productive tools earn their keep. Ready to try the wrap-and-twist yourself, or do you have a brush-saving trick you swear by that could sharpen this technique even further?
Did you like it?4.6/5 (25)