In a nutshell
- 🔥 Heat softens adhesive: a household hairdryer lowers PSA viscosity so labels release cleanly from glass, delivering controlled warmth without the risks of a heat gun.
- 🧭 Step-by-step method: hold 10–15 cm away on low–medium heat, keep air moving, lift a corner, then peel at a shallow angle while warming; roll off residue while it’s still soft.
- 🧪 Residue remedies: use a dab of oil or WD‑40 to loosen, then wash with hot water and detergent; for stubborn films, apply isopropyl alcohol (IPA) and gently rub with a plastic scraper.
- ⚠️ Safety and pitfalls: avoid overheating and thermal shock, don’t park heat in one spot, skip metal blades, and be patient with foil-backed or laminated labels; a hairdryer offers safer control.
- 🌱 Practical pay-off: fast, solvent-light, and gentle on glass, this technique readies jars and bottles for reuse, storage, gifting, and upcycling projects.
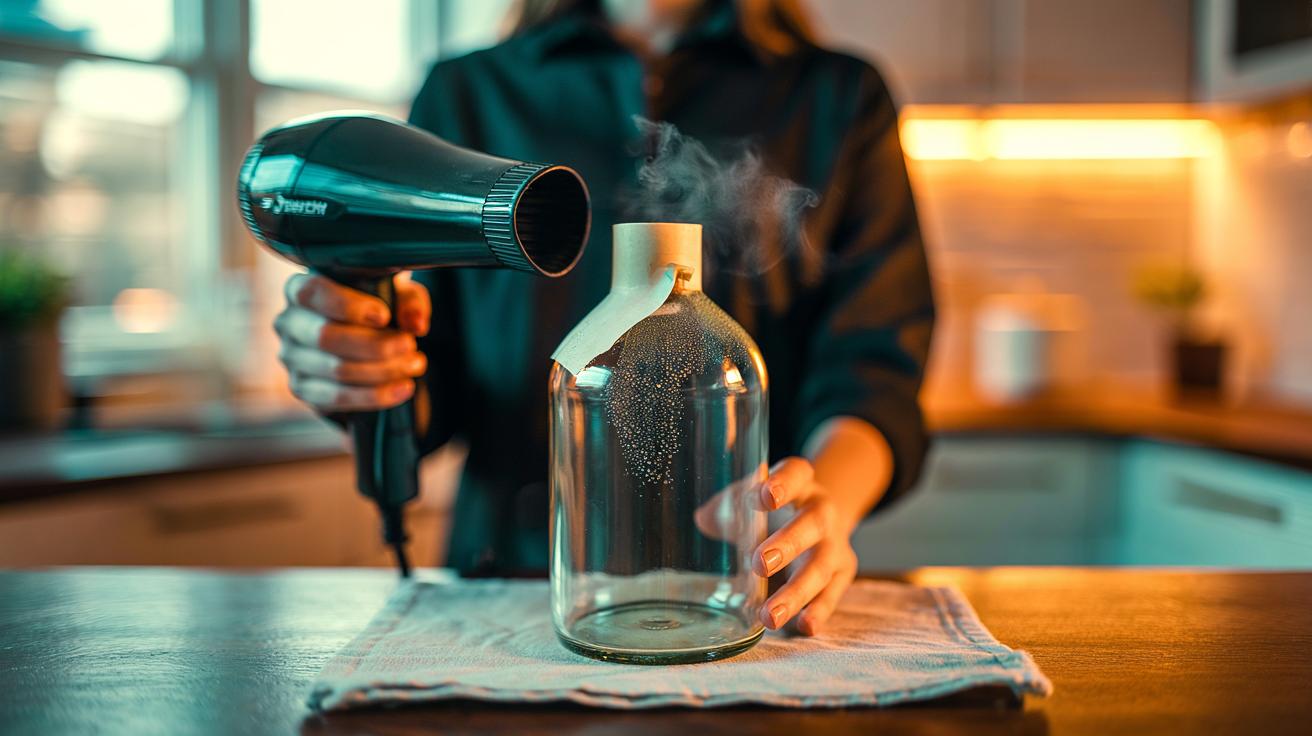
There’s an oddly satisfying moment when a stubborn label slides away from gleaming glass, leaving nothing but clarity. The simplest tool to make that happen is sitting in most bathrooms: a hairdryer. By applying controlled heat, you soften the adhesive so it releases cleanly rather than tearing into a mess of paper and glue. It’s quick, tidy, and kinder to your glassware than scraping with blades. Heat loosens the bond, not your patience. With a few practical precautions and a methodical approach, you can turn jam jar rescues and bottle upcycling into a routine task. Here’s how the science works—and how to do it safely at home.
Why Heat Frees Label Adhesives
Most bottle and jar labels rely on pressure-sensitive adhesives (PSAs), which blend polymers and tackifiers to create instant stickiness. At room temperature, these blends are viscoelastic: soft enough to grip, firm enough to hold. When you introduce gentle heat, the adhesive’s viscosity drops. The glue flows, the bond relaxes, and the label’s grip on the glass weakens. This change is reversible, predictable, and remarkably effective when controlled. You’re not dissolving the glue; you’re softening it just enough so the cohesive forces inside the adhesive and the adhesive forces to the glass both diminish.
Glass is an ideal substrate for this trick because it conducts and radiates heat evenly, helping the label warm through its entire thickness. Paper labels respond fastest, as fibres transmit warmth readily, while plastic film labels take a touch longer. Crucially, a household hairdryer produces a measured stream of warm air rather than the intense blast from a heat gun, so you stay within a safe window. Gentle heat lets you peel in one smooth piece instead of shredding the face paper and grinding residue into the surface.
Step-by-Step: Using a Hairdryer Safely
Start with dry glassware at room temperature. Plug in a hairdryer and select a low-to-medium setting. Hold the nozzle 10–15 cm from the label and sweep side to side, keeping the air moving. Never park the heat in one spot on thin glass. After 30–45 seconds, test a corner with a fingernail or a plastic scraper. If it lifts easily, continue to warm and peel slowly at a shallow angle, pulling the label back over itself rather than straight up. This reduces stress and stops tearing.
If the label resists, reheat in short bursts. Rotate bottles to warm edges evenly. For jars with thick shoulders, tilt slightly to bathe the adhesive seam in air. Patience is the secret weapon; rushing can shear the paper and leave more glue behind. Once the label is off, quickly roll remaining warm residue with your thumb—soft glue balls up and detaches cleanly while warm. Cool glass, stubborn glue; warm glass, cooperative glue.
| Setting | Distance | Heating Time | Notes |
|---|---|---|---|
| Low heat | 10–12 cm | 45–60 sec | Best for thin bottles and delicate decals nearby |
| Medium heat | 12–15 cm | 30–45 sec | General-purpose; most paper labels release cleanly |
| Cool shot | Any | 5–10 sec | Use to set glass temp if it feels too warm |
What to Do With Residue and Stubborn Glue
Even a well-heated peel can leave a film. Treat this as a second, small job. While the adhesive is still warm, rub with a microfibre cloth to lift softened strands. If it cools, apply a few drops of household oil—rapeseed, sunflower, or a dab of WD‑40—to re-plasticise the adhesive. Leave for two minutes, then wipe. For a degreasing finish, wash with hot water and a squirt of washing-up liquid. Oil loosens, detergent cleans. Sticky shadows usually vanish after this two-step routine.
For acrylic-based glues that refuse to budge, reach for isopropyl alcohol (IPA). Dampen a cotton pad, hold it on the residue for 20–30 seconds, then rub gently. Glass tolerates IPA well, and it evaporates cleanly. Avoid acetone around decorated areas, painted rims, or plastics attached to lids. A plastic scraper or an old loyalty card helps coax glue without scratching. Work slowly; the aim is lift, not scrape. Rinse, dry, and buff with a tea towel for that showroom gleam.
Common Pitfalls and How to Avoid Them
Overheating is the classic mistake. If glass feels hot to the touch, stop and let it cool for a minute. Glass can crack from thermal shock if heated aggressively then dunked in cold water. Keep the hairdryer moving and avoid blasting a single spot on thin-walled bottles. Another pitfall is attacking labels at the wrong angle; a shallow peel distributes force along the edge and prevents shredding. Don’t grab metal blades—tiny nicks are magnets for grime and can cause weak points.
Be wary of special labels. Foil-backed or laminated films reflect heat and take longer; give them extra time and lift from a corner where the layers separate. Wine bottle capsules and wax dips can melt messily; keep heat away from those unless you’re removing them too. If the label covers a seam or heavy curve, warm that area twice as much for an even release. And if you’re tempted to use a heat gun, resist. A hairdryer offers sufficient, safer heat with far more control. Finish every job with a wash and dry so the glass is ready for reuse, gifting, or display.
Cleanly removing sticky labels isn’t an art; it’s a short ritual: controlled heat, patient peeling, quick residue care. The hairdryer method keeps glass intact, avoids harsh solvents, and takes minutes once you’ve learned the feel. You’ll reclaim jars for pantry storage, bottles for craft projects, and vases for fresh blooms without the fuzz and glue ghosts that spoil the look. Warm, peel, wipe—done. What will you rescue first from your recycling bin, and how will you put that newly pristine glassware to clever use?
Did you like it?4.4/5 (21)