In a nutshell
- ✨ Olive oil creates a thin hydrophobic film that visually levels smudges, fills micro-scratches, and reduces new fingerprints.
- 🧽 Follow the fast pantry method: clean with mild detergent, dry, apply a pea-sized drop along the grain, then buff immediately with microfiber until glossy-dry.
- 📋 Use the right setup: microfiber cloths, long strokes, no dwell time, and light touch-ups (weekly on handles, monthly elsewhere) for a streak-free finish.
- ⚠️ Know limits: avoid high-heat zones, patch test on black stainless/coated finishes, and treat limescale with vinegar before oil (never mix on the same cloth).
- 🔄 Consider alternatives: mineral oil offers stability and no scent, while commercial cleaners add anti-static agents; olive oil wins for speed and convenience.
There’s a clever fix hiding in your kitchen. A dab of olive oil can make smudged stainless steel look showroom-ready in minutes, no specialist spray required. It’s quick, quiet, and kind on surfaces. Best of all, it handles the problem at its source: greasy fingerprints that dull the sheen of fridges, dishwashers, and taps. Used correctly, olive oil lays down a protective, light-catching layer that resists new marks and buffs to a warm glow. It’s the kind of everyday hack that saves time, money, and frustration. Here’s how—and why—it works so well, plus the exact method professionals use for a streak-free finish.
How Olive Oil Removes Fingerprints From Stainless Steel
Fingerprints stand out because skin oils and salts create patchy films that scatter light across the steel’s surface. Olive oil solves two problems at once. First, it spreads into a thin, even hydrophobic film that visually levels those patches, reducing contrast between clean and smudged zones. Second, it fills microscopic grooves in brushed finishes, softening the look of micro-scratches that can exaggerate smears under bright light. The result isn’t just clean. It’s glossy, uniform, and surprisingly durable.
There’s a bit of science at play. Stainless steel has a passive chromium oxide layer that resists corrosion but still shows oils readily. When you apply a scant amount of olive oil, the refractive index at the surface changes; light reflects more evenly, so smudges vanish. Use the tiniest quantity possible—too much invites streaks and dust. And always follow the grain on brushed finishes. Working against it presses residue into lines where it lingers and dulls the look far sooner.
One extra benefit: a light oil film creates a temporary barrier against fresh prints. Palms still touch handles, of course, but the oil’s glide reduces the transfer that would otherwise show. Buff well and you’ll get shine without the tackiness that causes new grime to stick. It’s simple physics with a luxurious finish.
Step-by-Step: The Fast Pantry Method
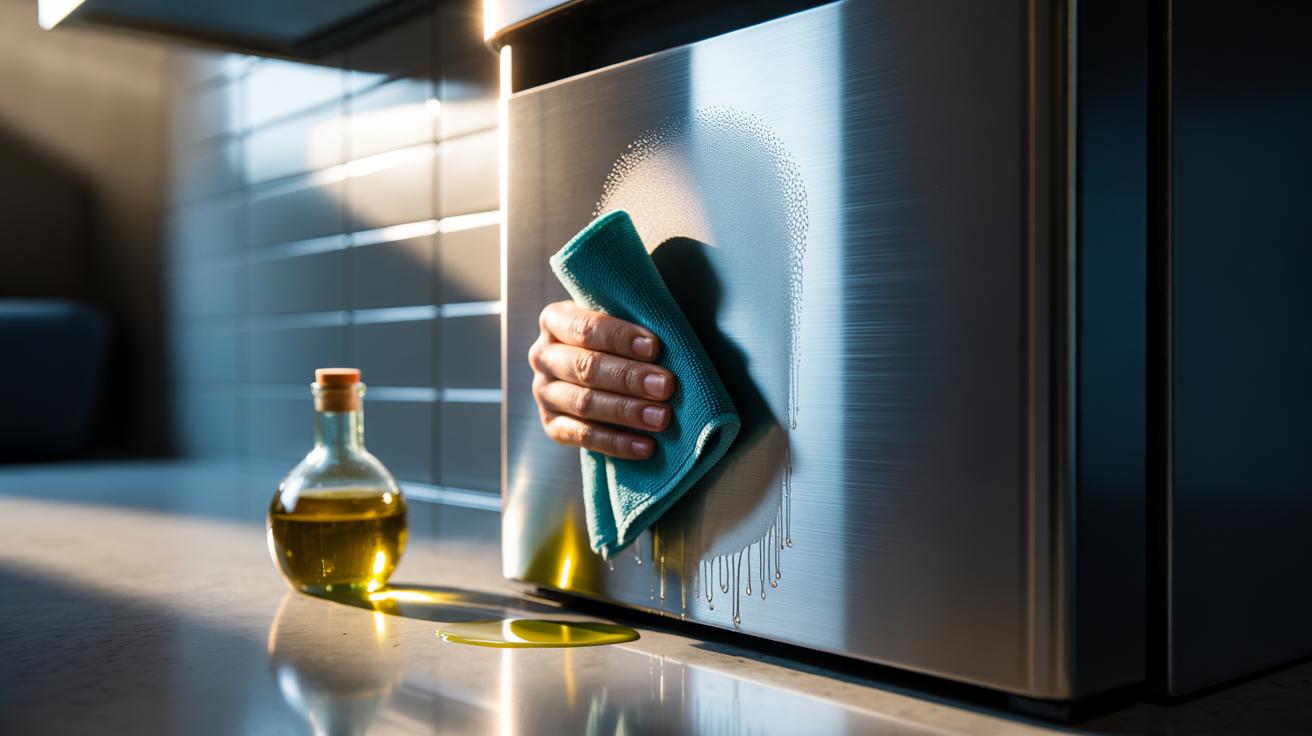
Start with a clean slate. Wipe the surface using a damp microfiber cloth and a drop of mild washing-up liquid to remove kitchen grime. Rinse with a second damp cloth. Dry thoroughly. Now the polish. Add a pea-sized dot of olive oil to a fresh microfiber. Not a puddle—just a whisper of oil on the fibers. Working along the grain, sweep in long, overlapping strokes. You’re coating, not soaking. When coverage looks even, switch to a dry cloth and buff until the sheen pops.
Less is more. If you see cloudy patches, you used too much oil; keep buffing with a clean, dry section until the haze clears. Stubborn prints on handles or near dispensers may need a second pass. For tight spots around logos and seams, touch a cotton swab in oil, then buff immediately. Avoid paper towels, which shed lint and can drag. Microfiber grips residue and polishes at the same time, delivering that clean, crisp reflection without streaks.
Use this quick reference so you can get it right the first time:
| Detail | Recommendation |
|---|---|
| Amount of oil | A pea-sized dot per panel; add only if needed |
| Cloth type | High-quality microfiber for apply and buff |
| Motion | Long strokes along the grain |
| Dwell time | No wait; buff immediately after application |
| Finish types | Brushed, satin, and plain stainless (patch test on black stainless) |
| Touch-ups | Weekly on high-touch zones; monthly elsewhere |
When Olive Oil Shines—and When It Doesn’t
Olive oil is brilliant for refrigerator doors, dishwasher fronts, splashbacks, and taps. It’s food-safe and family-friendly, and it delivers a warm, subtle glow many commercial polishes lack. But it’s not a universal answer. On high-heat areas—near hobs, on splashbacks directly behind burners—oil can polymerise, turning sticky and attracting dust. There, stick to a damp cloth with a drop of detergent, then buff dry, or use a dedicated stainless cleaner that leaves a dry protective film.
Black stainless and coated finishes can be sensitive. Some are paint-like layers that show smearing rather than shine. Always do a patch test on a low spot. If the oil darkens the area or never buffs clear, stop and switch to manufacturer-recommended care. For heavy limescale or water spotting, start with white vinegar on a cloth, wipe, dry thoroughly, then apply the lightest oil film. Vinegar removes minerals; oil perfects the finish. Never mix vinegar and oil on the cloth at once—you’ll streak.
Consider alternatives. Mineral oil is odourless, more stable, and slower to go rancid—useful for infrequent polishing. Commercial sprays add anti-static agents but may leave a stronger scent. Olive oil excels when you want immediate results with what you have to hand. Store the polishing cloth in a sealed bag and wash it regularly; a grimy cloth re-deposits residue and ruins the effect. Buff until the surface feels dry and sleek—that’s the sweet spot where shine lasts.
With a teaspoon of patience and a drop of pantry oil, stainless steel bounces back from fingerprints in minutes. The trick isn’t elbow grease; it’s precision—clean first, apply the lightest coat, then buff until the surface looks glossy yet dry to the touch. Keep a microfiber tucked under the sink and you’ll never dread smudged handles again. Ready to reclaim your kitchen’s sparkle today, or will you trial a side-by-side test—olive oil versus your usual polish—to see which shine wins on your appliances?
Did you like it?4.5/5 (26)