In a nutshell
- 🧽 Use baking soda (bicarbonate of soda) as a gentle abrasive and mild alkali to lift grime from porous grout; add a light vinegar mist on ceramic/porcelain for fizzing action, but avoid acids on natural stone.
- ⏱️ Fast routine: mix 3 tbsp baking soda with 1 tbsp water, apply for 5–7 minutes, scrub with a nylon brush, rinse, and dry thoroughly—don’t flood floors.
- 🧪 For tough stains, use a thicker paste (approx. 2:1 baking soda:3% hydrogen peroxide), add a drop of washing-up liquid for grease, and treat mould with hydrogen peroxide—never mix with bleach.
- 🛡️ Keep it white: apply a penetrating grout sealer (two thin coats), squeegee showers, and maintain a weekly quick clean to prevent moisture buildup and new staining.
- 🧠 Pro tips: use soft nylon brushes, avoid metal bristles, dilute vinegar only for ceramic areas, and tackle limescale on tiles before cleaning joints for a brighter finish.
Grimy grout lines can make an otherwise spotless bathroom or kitchen look tired. The good news: you can lift most stains fast using baking soda—known in the UK as bicarbonate of soda—with only a brush, warm water, and a cloth. This humble powder is a gentle abrasive and a mild alkali, ideal for brightening lines without stripping tiles. It’s cheap. It’s safe on ceramic and porcelain. And it works in minutes. If you need a quick refresh before guests arrive or a reliable routine for weekly upkeep, this method delivers a bright finish quickly and with minimal fuss.
Why Baking Soda Works on Grout
Baking soda does three jobs at once: it gently scours, it softens oily residues, and it helps neutralise odours. Grout is porous, so soils and soap scum lodge inside tiny voids; a mild alkali (pH roughly 8–9 in solution) helps loosen those soils so your brush can remove them. Unlike harsh bleach, bicarbonate offers controlled abrasion that won’t scratch glazed ceramic or etched porcelain when used with a soft nylon brush. That balance—effective yet restrained—is why it’s a cleaning cupboard classic.
There’s science behind the fizz, too. Spritzing a thin mist of white vinegar onto a bicarbonate paste releases carbon dioxide, nudging grime from crevices. It’s satisfying. It’s fast. But be selective: this acid-alkali routine suits ceramic and porcelain tiles; avoid vinegar anywhere near natural stone (marble, limestone, travertine), as acids can etch and dull those surfaces. On stone, stick to bicarbonate and water only, and rely on elbow grease and patience. For light mould stains, a follow-up with hydrogen peroxide (3%) offers targeted oxidising power without the chlorine fumes of bleach.
Fast Routine: From Paste to Rinse in 15 Minutes
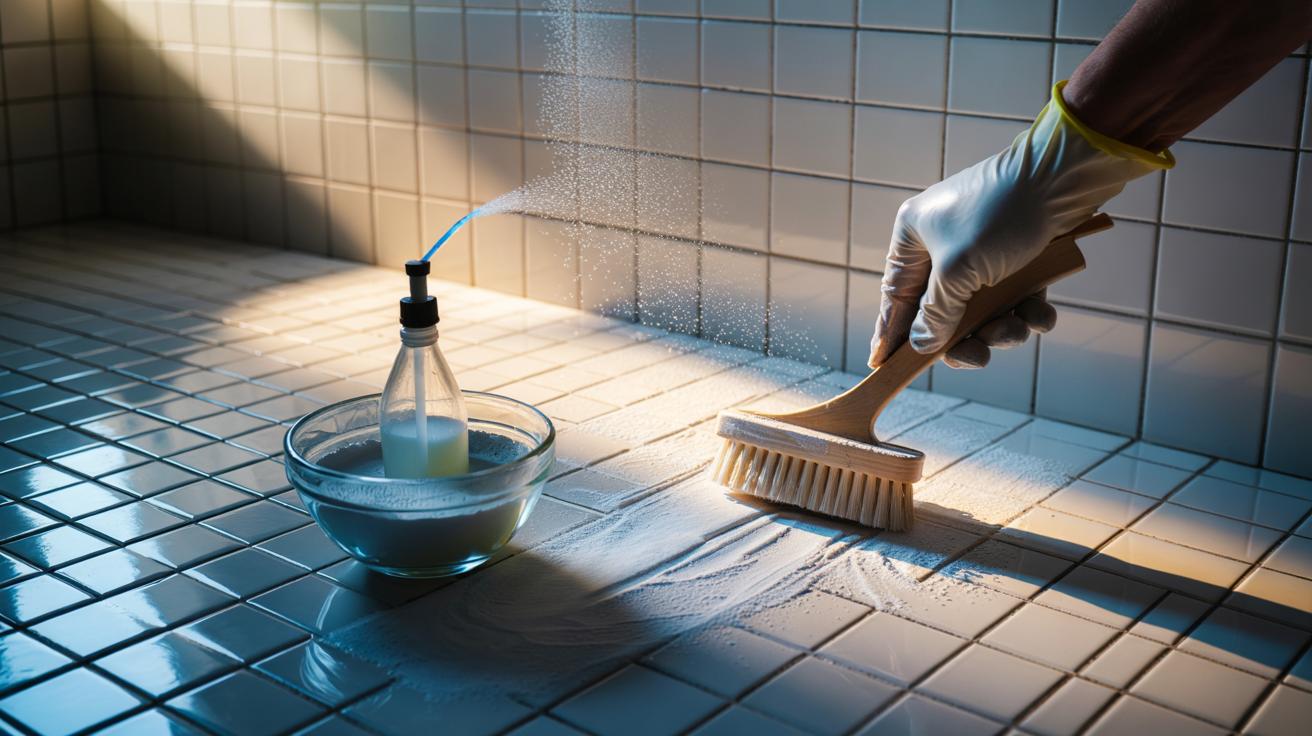
Ready for speed? Start dry. Vacuum or sweep the grout lines to remove grit that could scratch. Mix a paste: three heaped tablespoons of bicarbonate of soda with about one tablespoon of warm water. You want spreadable, not runny. Apply a thin bead along each line using a gloved finger or a small spatula. Leave for 5–7 minutes while it softens residue. On ceramic or porcelain, lightly mist a 1:1 white vinegar and water solution to kick-start the fizz. Then scrub briskly with a stiff nylon grout brush or an old toothbrush, working in short sections.
| Method | Mix Ratio | Dwell Time | Best For |
|---|---|---|---|
| Quick Paste | 3 tbsp baking soda : 1 tbsp water | 5–7 minutes | Everyday dinginess |
| Fizz Boost | Light mist 1:1 vinegar:water | 30–60 seconds | Soap scum on ceramic |
| Stone-Safe | Baking soda + warm water only | 7–10 minutes | Marble, limestone |
Wipe away residue with a damp microfibre cloth, then rinse with warm water. For a streak-free finish, add a tiny drop of washing-up liquid to your rinse bucket, then a final pass with plain water. Dry thoroughly with a towel to prevent fresh mineral marks from hard water. Do not flood the floor—excess water can draw new soil into grout as it dries. Done well, a small bathroom can go from grey to bright in about fifteen minutes.
Targeting Tough Stains and Mould Safely
Some stains need backup. For yellowing or tea-like marks from tannins and body oils, mix a thicker paste: two parts baking soda to one part hydrogen peroxide (3%). Spread, press in with the brush, and leave for 10–15 minutes before scrubbing. Peroxide gently oxidises organic discoloration and brightens without the choking odour of chlorine bleach. In kitchens, add a drop of washing-up liquid to the bicarbonate paste to break down greasy films that lock dirt in place.
Black mould specks? Ventilate well, don gloves, and spritz 3% hydrogen peroxide directly onto the lines after your bicarbonate scrub. Let it sit for 10 minutes, then rinse. Peroxide tackles mould staining while minimising harsh fumes. Never mix peroxide or vinegar with chlorine bleach; dangerous gases can form. Rust freckles around drains respond to patience: reapply the bicarbonate paste, scrub, rinse, repeat. Skip acids like lemon on stone. If grout remains blotchy after cleaning, consider a colour-seal kit to recolour and protect in one pass—useful where water hardness and age have permanently darkened lines.
Keep It White: Sealing, Habits, and Pro Tips
Once your lines look crisp, protect them. A penetrating grout sealer repels moisture and slows future staining; apply two thin coats after the grout is completely dry and keep the area off-limits until cured (check the label, typically 24 hours). In showers, a quick squeegee after every use is transformative. Wipe the grout tops with a dry microfibre cloth; moisture is the ally of mould and soap scum. Keep grout dry and you keep it bright.
Build a low-effort routine. Weekly, run a damp cloth with a teaspoon of bicarbonate over the lines, then rinse and dry. On ceramic splashbacks, a maintenance spritz of 1 part white vinegar to 4 parts water helps prevent film—avoid on natural stone. Use soft nylon brushes only; metal bristles can tear grout. Switch to lighter-coloured cloths to avoid dye transfer. If limescale is heavy, treat the tiles first with a limescale remover approved for your surface, rinse thoroughly, then do the baking soda pass so you’re not scrubbing minerals into the joints.
With a small tub of bicarbonate of soda, a brush, and a measured approach, you can lift grime, mute stains, and revive grout fast—often in the time it takes the kettle to boil and cool. The trick is simple: target soils with the right chemistry, control moisture, and lock in the result with sealer. Your tiles will thank you, and your bathroom or kitchen will look freshly installed. What stubborn grout issue are you tackling first, and which quick method here will you try today?
Did you like it?4.5/5 (29)