In a nutshell
- 🍋 Lemon’s citric acid acts as a natural bleaching agent by chelating minerals behind limescale and soap scum, restoring grout brightness through residue removal rather than pigment oxidation.
- 🧪 Science and limits: citric acid binds calcium/magnesium and disrupts sticky biofilm; it won’t eliminate deep-set mould or dye/oil stains, where peroxide-based or specialist cleaners are the better choice.
- 🧹 Method that works: dry the joints, apply lemon for 3–10 minutes, scrub with a nylon brush, rinse, and dry; add fine salt for gentle abrasion and avoid lemon + bicarbonate, which neutralises the acid.
- 🧱 Surface savvy: safe on most cementitious grout, test on epoxy, and avoid acid on natural stone (marble, limestone, travertine); keep contact times modest and protect metal trims.
- ⚠️ Safety and eco value: wear gloves and never mix with bleach; lemons or pure citric acid are low-cost, biodegradable options, and long-term brightness improves with sealing, squeegeeing, and good ventilation.
Britain’s bathrooms and kitchens are spotless until you glance at the grout. Those pale lines trap soap scum, limescale and life’s little spills, dimming the room. Enter the humble lemon. Tart, bright, and cheap, it’s a natural bleaching agent in the most practical sense: it lifts the films that make grout look grey. Rather than stripping colour like chlorine, lemon juice cleans, brightens and restores contrast. The science rests on citric acid, a gentle chelator that dissolves mineral build-up while cutting through biofilm. It smells fresh. It’s biodegradable. And crucially, it works fast on typical British hard-water grime without the faff.
How Lemon Juice Whitens Grout
The whitening effect of lemon juice begins with its core component: citric acid. This weak organic acid lowers pH and binds to metal ions such as calcium, magnesium and iron. In plain terms, it chelates the minerals that form chalky limescale and rusty discoloration. When those deposits dissolve, the grout’s true colour reappears. The “bleach” you see is largely the removal of dulling residues, not a dye-stripping reaction. That distinction matters for safety and for expectations: results are natural and gradual, not harshly uniform.
Citrus also interferes with the sticky biofilm that lets dirt cling. Organic acids help loosen the matrix that bacteria and soap scum create, so a brush can whisk it away. Trace compounds in the peel — notably limonene — act as mild solvents on greasy soils, though you’ll get more of this effect if you add a little zest to your cleaning routine. There’s a final advantage. In strong light, citric acid can assist photobleaching of some surface stains, a small but welcome boost on a sunny sill or under bright LEDs.
What lemon juice does not do: it doesn’t behave like chlorine or oxygen bleaches, and it won’t eradicate colonised mould deep in porous grout. Think of lemon as a brightener via removal, not an oxidiser that destroys pigments. That makes it gentle on most cementitious grout lines, less risky for surrounding glazes, and better suited to routine refreshes.
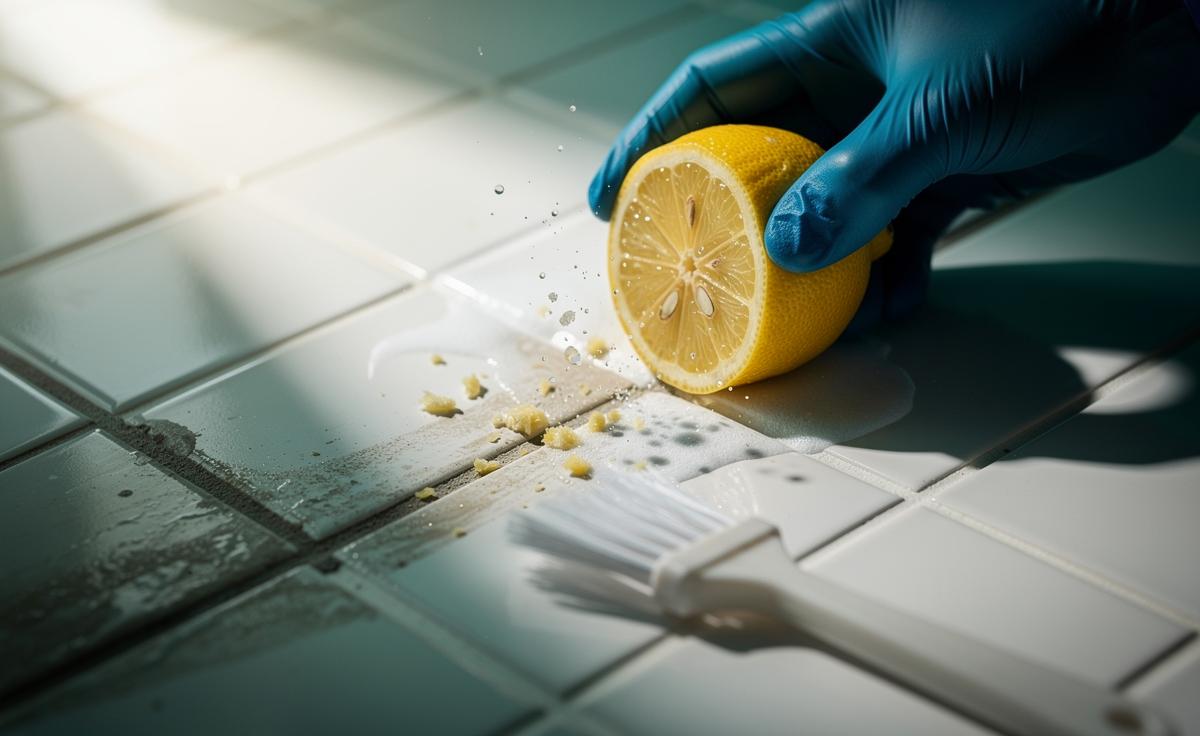
Step-By-Step Method: From Squeeze to Shine
Start simple. You’ll need fresh lemons or bottled 100% lemon juice, a small nylon brush, a clean cloth, and warm water. Ventilate the room. Protect any natural stone nearby. Do not apply lemon to marble, limestone or travertine — acids etch these surfaces. Wipe the grout to remove loose dust, then dry it so the acid isn’t diluted immediately. Apply lemon juice directly along each line until visibly wet. Leave it to dwell. Five minutes is a good baseline in hard-water areas, stretching to ten for tough limescale bands.
Scrub with brisk, short strokes. You’ll feel the drag lessen as deposits loosen. Rinse thoroughly with warm water, then buff dry with a microfibre cloth to prevent new water marks. For stubborn spots, reapply and sprinkle a pinch of fine salt as a mild abrasive; scrub and rinse. Avoid the trendy bicarbonate-and-lemon paste for this job — the fizz looks satisfying but neutralises the acid, dulling the crucial chelating action.
Timing matters, especially with different grout types. Use this quick guide:
| Grout Type | Lemon Contact Time | Notes |
|---|---|---|
| Sanded cement grout | 5–10 minutes | Robust; scrub with firm pressure. |
| Unsanded cement grout | 3–7 minutes | Gentler scrubbing to avoid surface wear. |
| Epoxy grout | 1–2 minutes (test first) | Often resistant and may not need acid; focus on surface film only. |
Finish by drying the joints fully. Wet grout re-attracts dirt. If your grout is older and porous, consider resealing once it’s immaculate; clean lines stay bright far longer when sealed.
When Lemon Works—and When It Doesn’t
Lemon excels on limescale, soap scum and light tannin stains from tea, coffee or shampoo drips. In many UK homes, high-carbonate water leaves pale crusts in shower corners and along splashbacks. Citric acid dissolves that crust efficiently, revealing the original grout shade. On lightly greasy kitchen splashbacks, a swipe of juice, a short dwell and a scrub will often shift the film that darkens the joints.
But there are limits. Lemon will not cure active mould colonies. Those black specks are fungal pigments anchored deep in pores; you’ll need an oxidising agent such as hydrogen peroxide or a specialist mould remover, followed by sealing to block re-growth. Deep dye transfer (hair colourants, turmeric), oil seepage, and builder’s epoxy haze also resist lemon’s gentle chemistry. In these cases, escalate smartly: try a dedicated limescale remover for heavy mineral build-up, a peroxide-based gel for mould stains, or professional polishing for epoxy haze.
Surfaces matter too. Avoid all acid cleaners on calcium-rich natural stone; etching appears as dull, rough patches that are costly to rectify. If your grout is freshly sealed, lemon may bead and underperform; that’s a feature, not a flaw. For speed, warm the juice slightly, improve dwell time by laying damp cotton pads soaked in lemon along the lines, and, where safe, let bright light assist mild photobleaching for a crisper finish.
Costs, Safety, and Eco Credentials
A bag of lemons from a UK supermarket costs little, and a single fruit yields enough juice for several metres of grout. Bottled 100% lemon juice or pure citric acid powder (readily found in chemists and hardware shops) offers consistent strength and shelf life. Compared with proprietary bathroom sprays, you’re swapping complex surfactants and synthetic perfumes for a biodegradable acid with a clean, kitchen-friendly scent. It’s a low-cost, low-tox option that doesn’t linger in drains.
Safety is simple, but non-negotiable. Wear washing-up gloves; acids can sting small cuts. Keep it off sensitive stones and uncoated aluminium trim. Most critically, never mix lemon (or any acid) with bleach — that reaction releases chlorine gas. Rinse surfaces well before and after if other cleaners were used recently. If you’re tempted by zest-infused methods for extra degreasing, test first: limonene is a stronger solvent and can soften some sealants and silicone over time.
Think sustainability. Use up slightly tired fruit, compost peels, and dilute the spent rinse for limescale-prone kettles or taps. Citric acid powder is waste-light and transport-efficient, delivering the same active ingredient without the water weight. For long-term grout brightness, pair this routine with good extraction in bathrooms, squeegeeing after showers, and periodic resealing — small habits that cut both product use and elbow grease.
Lemon won’t rewrite chemistry, but it will outsmart common grime. By dissolving minerals and loosening biofilm, it restores those pale lines that make tiles pop, safely and without choking fumes. The method is quick, the smell uplifting, the footprint small. Used wisely, citrus is a brightening hero, not a blunt bleach. Ready to swap the harsh stuff for a fruit bowl fix — and which tricky grout line will you test first?
Did you like it?4.5/5 (26)