In a nutshell
- 🎯 Use a taut rubber band across the paint can opening to wipe off excess, keep the rim clean, and avoid drips for smoother, neater coats.
- 🛠️ Set up in seconds: stretch the band vertically across the centre, align it for easy wiping, and keep tension firm but gentle—don’t distort the can or the lid groove.
- 🧪 Match band to paint: standard rubber suits water-based emulsions; silicone bands resist solvents in oil-based paints—swap bands between colours to prevent contamination.
- ⚡ Pro workflow: dip only the bottom third of bristles, let the band meter the load, adjust viscosity if paint thickens, and clean the band briefly during pauses to maintain consistent results.
- ❌ Avoid pitfalls: never scrape on the rim, don’t run the band horizontally, and don’t over-wipe; if the band slides or leaves a ridge, reduce tension and keep the tin exterior dry.
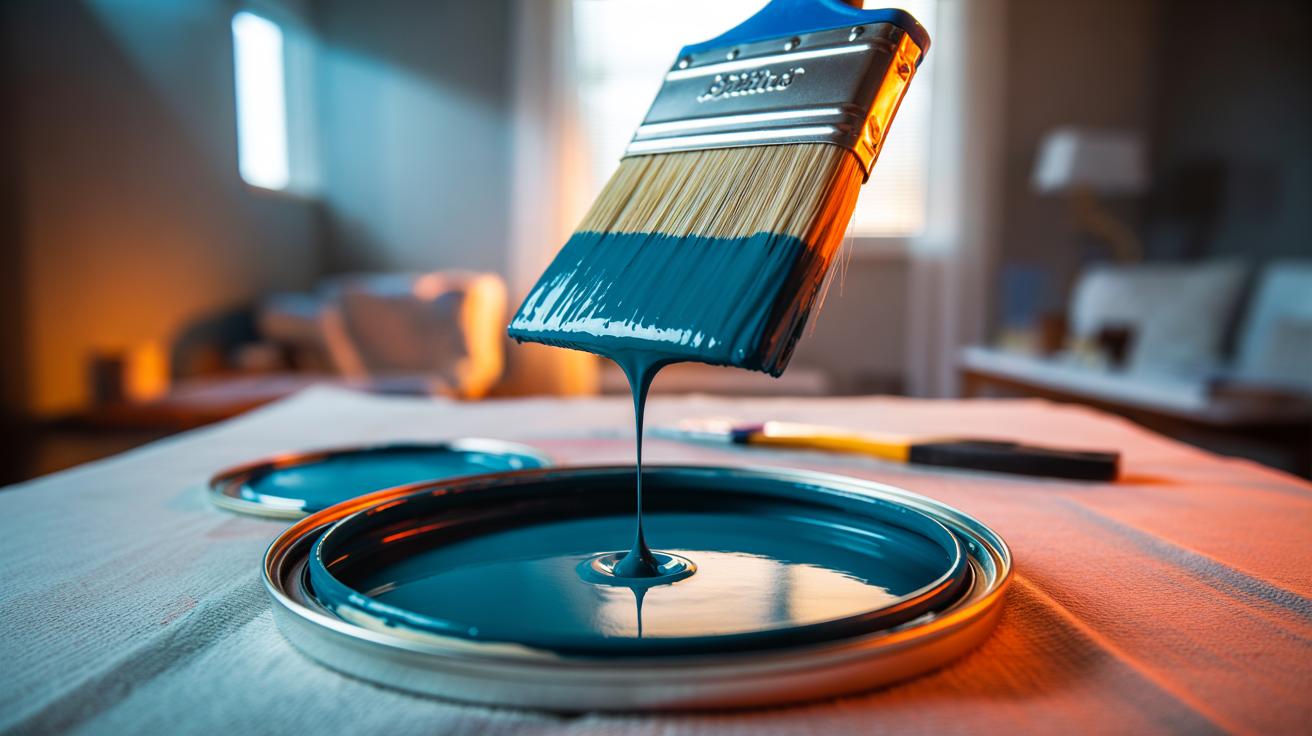
There’s a humble hack that earns its keep on every decorating job: the rubber band stretched across the open paint tin. Instead of scraping your brush on the rim—where paint pools, gums the seal, and eventually dribbles down the side—this elastic bridge gives you a clean, central wiping point. It keeps the lid channel clear, your hands cleaner, and the finish far neater. For DIYers and professionals alike, it’s a clever way to control excess paint without faffing about with extra trays. Here’s how to set it up, why it works, and the pro-level tweaks that turn a simple band into a serious edge over mess and waste.
Why a Rubber Band Beats the Tin Rim
The rim of a paint tin is a trap for sludge. Every scrape there pushes liquid into the channel, where it dries into crusts and compromises the seal. A taut rubber band stretched vertically across the opening gives you a clear line to wipe a brush’s belly, returning surplus to the centre of the tin. This reduces drips at the source, so your brush lands on the wall with just the right load. You’ll notice fewer sags, less stipple, and a smoother finish because the bristles aren’t bloated with paint.
There’s physics behind the neatness. By scraping on a raised, flexible line rather than a flat edge, you shear off the bulk while leaving a thin, even film in the bristles. Capillary action then draws leftover paint back into the body of the brush instead of letting it gather on the ferrule. Keeping the lid groove clean also means you can reseal the tin tightly, prolonging the paint’s life and preventing skinning. Clean tool, clean seal, clean result.
How to Set Up the Band in Seconds
Pick a wide, flat band that won’t bite into the tin. Loop it vertically around the body of the paint tin, stretch it up and over the open mouth, and anchor it on the opposite side so it runs straight across the centre. The band should be taut enough to stay put, but not so tight that it distorts the can. Rotate the band slightly to aim the wiping line where you prefer; many painters align it with the handle for muscle memory. Wipe the brush on both sides against the band, letting excess fall back into the tin.
Mind the details. Use a light-coloured or silicone band when working with solvents, and keep a clean cloth handy to whisk off any build-up on the band if you’re stopping for a tea break. Always close the lid between coats to control dust and evaporation; the band stays in place when you gently lift it aside, then snap it back across before you resume. For latex emulsions, standard rubber is fine; for oil-based paints, silicone resists swelling and perishing.
| Band Type | Best For | Pros | Watch-outs |
|---|---|---|---|
| Standard Rubber | Water-based emulsions | Cheap, widely available | Can snap if overstretched |
| Silicone | Oil-based paints | Solvent-resistant, durable | Costs more |
| Wide Flat Band | Large tins and big brushes | Stable wipe surface | Needs correct tension |
Pro Tips to Paint Cleaner, Faster
Decant a small amount of paint if you’re working at height, but still use the band on your main tin for topping up; you’ll keep the rim pristine and mixing consistent. Angle the band slightly for angled sash brushes so the bristles meet the elastic cleanly across their taper. If you notice a line of build-up on the band, give it a quick pinch-wipe with a damp rag—clean band, clean wipe. Two bands can be handy: one central for wiping and one offset for catching any stray drips on withdrawal.
Control viscosity to reduce mess. If paint thickens, adjust with the manufacturer’s recommended thinner or water in tiny increments, stirring thoroughly—an even flow means less overloading. Dip only the bottom third of the bristles and let the band do the metering. For corners, wipe once more lightly to avoid pushing excess into edges where sags start. At day’s end, remove the band, clean or bin it, and polish the rim with a cloth before closing—your future self will thank you when the lid opens without a chisel.
Common Mistakes and How to Fix Them
Don’t string the band horizontally around the lid channel like a guitar string; it won’t give a central wipe and may flick paint everywhere. The band must cross the opening vertically, centre to centre. Avoid thin, brittle bands that nick and snap—choose a sturdy, flat profile that grips the tin without cutting into it. If the band slides, dry the tin’s exterior and twist the band once before re-stretching to add friction. Keep the band clear of the tin’s lip so the lid can close without deforming the seal.
Contamination is another culprit. If you’re switching colours or sheens, change the band to prevent muddying the finish. Don’t over-wipe: stripping the brush bone-dry leads to streaks; one firm pull on each side is enough. When temperatures rise, paint skins faster—cover the tin between strokes and give the band a quick clean if a skin forms. If the band leaves a ridge on the brush, your tension is too high; ease it back until the wipe feels smooth and controlled.
This small tweak—stretching a simple rubber band over your paint tin—delivers outsized dividends: tidy rims, metered brush loads, and walls free of tears and trails. It’s cheap, repeatable, and friendly to both amateurs and seasoned decorators, cutting cleanup time while protecting your investment in quality brushes. Once you’ve tried it, scraping the rim feels like stepping back a decade. As you plan your next room refresh, which part of your routine could a tiny tool like this streamline most: loading the brush, managing the tin, or keeping edges crisp without masking?
Did you like it?4.5/5 (22)