In a nutshell
- 🚗 Toothpaste works on light scratches because its fine micro-abrasives gently level the paint’s clear coat, softening reflective edges; if a fingernail doesn’t catch, it’s a suitable, cosmetic fix.
- 🧴 Follow a safe process: clean and dry, apply non-gel white toothpaste with a soft microfibre cloth, polish lightly in circles for 30–60 seconds, wipe, reassess, and finish with a protective wax or sealant.
- 🔍 Choose wisely and test: avoid gels, dyes, and charcoal-heavy blends; mild whitening or silica pastes are best; always spot-test in a hidden area and use gentle applicators to prevent haze.
- ⚠️ Know the limits: every pass thins the clear coat; stop if you see colour transfer or no improvement; deep scratches, chips, and matte finishes require professional repair, not DIY polishing.
- ✨ Practical payoff: an inexpensive, fast car scratch remover trick for minor blemishes that boosts gloss and impression—use with restraint and re-protect the area for lasting results.
Every motorist knows the heartbreak of discovering a fresh swirl or hairline scuff on otherwise immaculate paintwork. Social feeds are full of hacks promising miracles, but one remedy consistently surprises sceptics: ordinary toothpaste. Thanks to its gentle micro-abrasives, the bathroom staple can refine a car’s clear coat and reduce the look of light imperfections in seconds. This trick targets shallow, surface-level marks, not gouges that cut through paint. Done with care, it offers a low-cost, low-risk way to restore gloss to door handle scuffs, parking rash, and the odd brush with a hedge—provided you choose the right paste, follow a careful process, and know when to stop.
Why Toothpaste Works on Light Scratches
Modern automotive paint is a layered system: primer for adhesion, a coloured base coat for hue, and a protective clear coat that supplies depth and shine. Tiny scratches often live within this top layer. Many toothpastes contain fine polishing agents—typically silica or calcium carbonate—that act as micro-abrasives. Gently worked across a blemish, they level the surrounding clear coat, softening the scratch’s hard edge so it reflects less light. The visual impact is immediate because it’s the contrast in reflection, not the trench itself, that your eye catches.
There’s a crucial litmus test. If your fingernail doesn’t catch on the mark, the defect is likely superficial and suitable for this approach. If it does, the cut may extend into the base coat or primer, where toothpaste cannot help. It is a cosmetic reducer for light defects, not a cure for deep damage. Choose a non-gel, non-coloured paste to avoid residue and staining that can mask rather than improve the finish.
Step-by-Step: Polishing With Toothpaste in Minutes
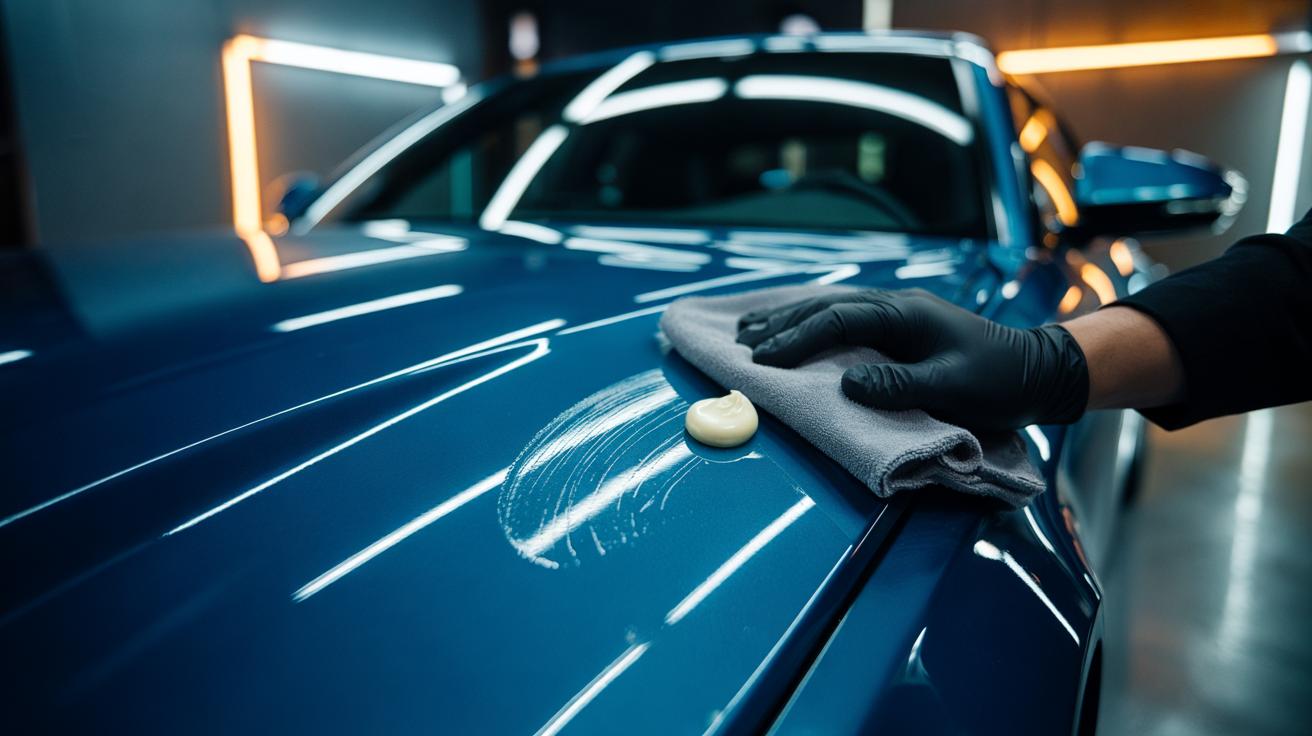
First, wash and dry the area to prevent grit from acting like sandpaper. Mask edges and trim with low-tack tape. Apply a pea-sized dot of plain, non-gel white toothpaste to a clean, soft microfibre cloth. Using light to moderate pressure, polish in tight circles for 30–60 seconds, keeping movements controlled and even. Wipe clean, then inspect under good light from different angles. If needed, repeat up to two more brief cycles rather than one long, aggressive rub. Always keep pressure gentle—let the abrasives do the work.
Once satisfied, remove any residue with a damp cloth, dry, and apply a protective wax or sealant to restore water beading and guard the thinned clear coat. Work out of direct sunlight and on cool panels to avoid flash-drying, which can drag residue across the paint. If you see colour transfer on the cloth, stop immediately; that indicates you’ve cut through the clear coat to the base layer and professional repair is required.
Choosing the Right Paste and Spot-Testing Safely
Not all toothpastes are equal. Look for simple, white formulations with mild abrasives and no glittery dyes. Avoid gel products, charcoal-heavy blends, or intense “extra whitening” claims, which may be too aggressive or messy. A quick spot test on a discreet area, such as under the number plate or low on the sill, reveals how your car’s clear coat hardness responds; some finishes, particularly on older or softer paints, may cut faster. Always test in a hidden spot and stop if you notice haze or colour transfer.
| Toothpaste Type | Abrasiveness | Best For | Notes |
|---|---|---|---|
| Non-gel white paste (silica) | Low–medium | Light swirls, door handle scuffs | Most controllable and predictable |
| Whitening (mild) | Medium | Stubborn light marks | Check for dyes; wipe thoroughly |
| Baking soda blends | Medium–high | Small, isolated blemishes | Can haze soft clear coats—use sparingly |
| Gel/charcoal products | Variable | Not recommended | Risk of staining or uneven cut |
Pair the paste with the right applicator: a plush microfibre is kinder to delicate finishes than a foam pad. If your vehicle has matte paint, satin wraps, or delicate pinstripes, skip this method entirely and consult a professional. The aim is controlled refinement, not aggressive cutting that could leave the bonnet or doors with dull patches.
Limits, Risks, and When to Use Professional Help
There’s a fine line between effective refinement and over-polishing. Every pass removes a microscopic layer of clear coat; too many passes may leave a patchy finish or expose the base coat. Metallic and pearl paints can reveal marring or “holograms” if worked too hard, and matte finishes must never be polished. Rust-prone chips, primer exposure, or scratches that snag a nail call for touch-up paint, wet sanding, or a professional detail with measured compounds and machines. Know when to quit: if improvement plateaus, stop rather than chase perfection.
As a rule of thumb, limit yourself to brief cycles and re-protect the area afterwards. If you’re preparing a car for sale, this trick can elevate first impressions, but it’s not a substitute for correction on heavily swirled panels. For leasing returns or cherished classics, a detailer can measure paint thickness and preserve longevity. The cost of a professional one-stage polish is often justified by uniform results and reduced risk to thin clear coat edges and contours.
Used wisely, toothpaste is an unexpectedly effective car scratch remover for minor, superficial blemishes. Its gentle abrasives revive gloss, tame distracting swirls, and restore pride in your paintwork at minimal cost—especially when followed with a quality wax or sealant to bolster protection. The secret is restraint: clean carefully, test first, polish lightly, and stop early. Keep it for light touch-ups, and save deeper damage for proper repair. With the right expectations and method, this bathroom cabinet fix earns its viral status. Which scratch on your own car would you dare to tackle first, and how will you judge the result under clear, honest light?
Did you like it?4.5/5 (26)