In a nutshell
- ✨ Get a quick two-minute shine using a banana peel; it lifts smears and water spots, then a rinse and buff prevent sticky residue and streaks.
- 🔬 The peel’s potassium salts, light fatty acids, and waxy cutin act as a mild polish; finish with a damp microfibre wipe since it won’t tackle grout stains or limescale.
- 🧭 Method: clear grit, glide the peel, allow 30–60 seconds dwell, wipe with a damp microfibre, then buff dry—patch-test first and mind slip risk.
- ⚠️ Best for glazed ceramic, porcelain, and glass; use caution on sealed vinyl and textured tiles, and avoid porous natural stone like marble or limestone.
- ♻️ Nearly free and zero-waste: compost the peel; remember it’s not a disinfectant—use proper sanitisers after illness or raw-meat splashes.
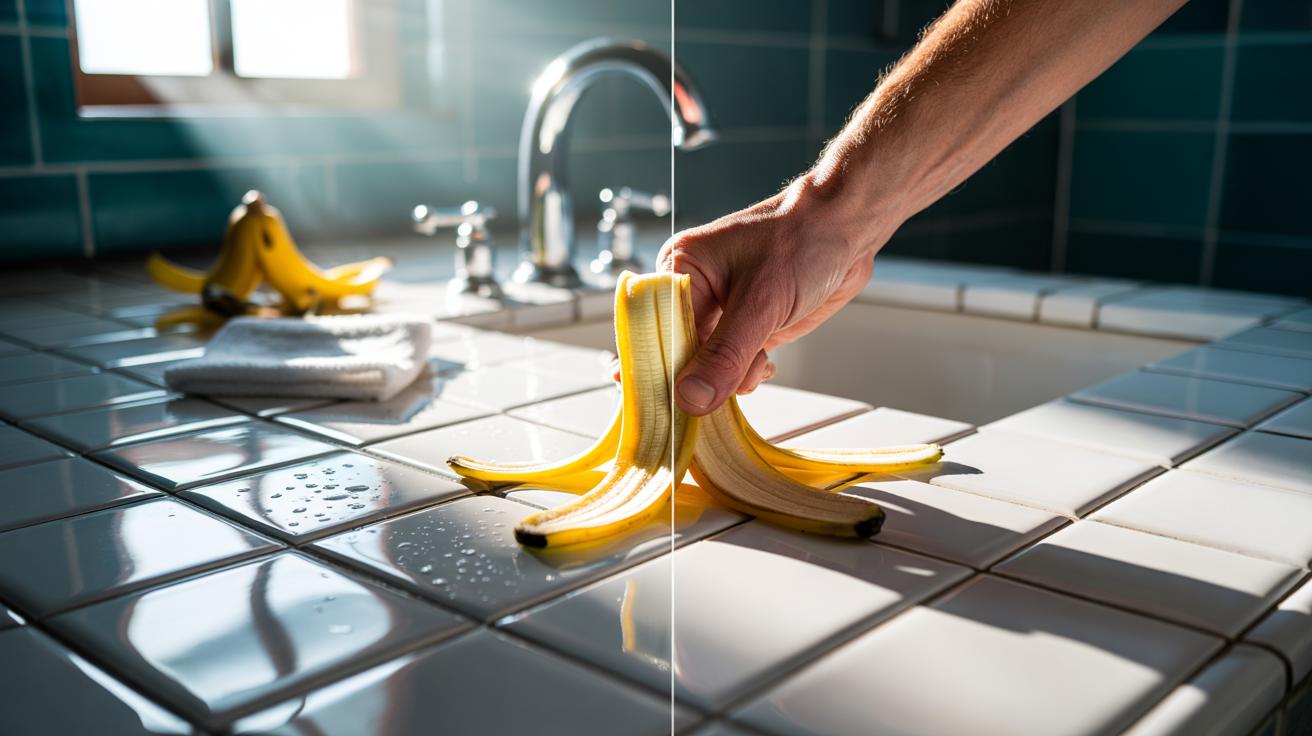
Here’s a frugal cleaning trick straight from the fruit bowl: using a banana peel to make tiles gleam in just two minutes. It sounds like social-media theatre, yet the chemistry stacks up. The inside of a ripe peel carries natural oils, gentle acids, and plant waxes that loosen everyday grime and add a quick sheen. With a short dwell time and a brisk buff, bathroom and kitchen tiles can look freshly polished without harsh fumes or new bottles under the sink. Think of it as a zero-waste spot-clean, not a deep-scrub miracle. Done carefully, it’s speedy, safe for most glazed surfaces, and neatly compostable afterwards.
The Science Behind the Peel
Banana peels are rich in potassium salts, light fatty acids, and a waxy cuticle known as cutin. This blend behaves like a mild, biodegradable polish: the oils and waxes lift light soils, while minute fibres provide soft, non-scratching agitation on glazed tiles. Trace organic acids can loosen soap film, and the peel’s moisture helps rehydrate dried splashes so they wipe away more easily. The effect is not magic; it’s a thin, lubricating film that breaks the bond between surface and soil, enabling a clean wipe with a damp microfibre cloth.
There are limits. Sugars in the peel can leave a faint tackiness if you skip the rinse, so a quick pass with clean water is essential to avoid residue that attracts dust. The method won’t shift deep grout stains or heavy limescale, and it does not disinfect. It’s a cosmetic, fast-refresh tactic for routine marks, best used between weekly cleans or before guests arrive when time is tight.
Two-Minute Method: Step-by-Step
1) Sweep or vacuum loose grit so you don’t drag particles across the glaze. 2) Take a fresh, ripe peel; fold to expose the pale interior. 3) Working in a small section, glide the inside of the peel over the tile in overlapping arcs, focusing on water spots and cloudy patches. Apply light pressure—let the peel’s natural oils do the work. Test on an inconspicuous corner first to confirm compatibility with your finish.
4) Allow a short dwell time of 30–60 seconds. 5) Wipe with a warm, barely damp microfibre cloth to lift loosened soils and any sugars. Rinse and wring the cloth, then 6) buff dry with a clean tea towel for a streak-free shine. This sequence—apply, wait, wipe, buff—takes roughly two minutes for a sink splash-zone or a small floor patch.
Mind safety: the peel’s wax can be slippery underfoot. Keep to small areas, use stable footing, and place the peel straight into your food-waste caddy when finished. Avoid unsealed or sensitive stone, and keep the method for glazed or sealed tiles where a quick cosmetic polish makes sense.
When It Works and When to Avoid It
This hack shines—literally—on glazed ceramic, porcelain, and glass tiles where soils are light and mainly cosmetic. It’s handy for bathroom splash marks, toothpaste haze, and the dulling film left by hard water, especially on glossy finishes that love a quick buff. It can help vinyl tiles too, provided you rinse thoroughly to remove any sweetness that might attract dirt. Think fingerprints, smears, and soap residues rather than embedded grime.
Avoid using banana peel on porous natural stone such as marble, limestone, and travertine, which can etch or darken with acids and oils. Heavy kitchen grease, mould, or deep grout discolouration require targeted products: a degreaser, a mould treatment, or a grout cleaner, respectively. If in doubt, patch-test and prioritise the manufacturer’s care guide. The table below summarises typical scenarios.
| Surface/Condition | Use Banana Peel? | Notes |
|---|---|---|
| Glazed ceramic or porcelain | Yes | Great for smears and water spots; rinse and buff dry. |
| Glass tiles or splashbacks | Yes | Produces fast shine; avoid over-application to prevent streaks. |
| Vinyl tiles (sealed) | Caution | Rinse thoroughly to remove sugars; check for slip risk. |
| Marble, limestone, travertine | No | Acids and oils can mark porous stone; use pH-neutral cleaner. |
| Textured anti-slip tiles | Caution | Residue can lodge in texture; rinse well or avoid. |
Cost, Sustainability, and Hygiene
On price, the method is close to free: you repurpose what would have gone to the compost. There’s no bottle to buy, no synthetic fragrance cloud, and minimal packaging waste. For renters or families keen to cut chemical clutter, the peel is a neat bridge between cleans. It’s a practical expression of the “use the whole fruit” mindset, turning a snack’s by-product into a tool that leaves tiles looking newly polished in moments.
Hygiene calls for nuance. A banana peel is not a disinfectant and won’t sanitise bathrooms after illness or raw-meat splashes near floors. Reserve proper disinfectants for those jobs, and use the peel strictly for cosmetic touch-ups. Finish with a damp-water wipe to clear sugars, then dry to prevent slips and streaks. Discard the peel promptly to deter fruit flies. If odour is a concern, a final pass with hot water and a drop of washing-up liquid keeps the finish neutral.
Used smartly, the banana peel method is a brisk, low-waste way to refresh glossy tiles between deeper cleans. Its gentle chemistry lifts light soils, saves money, and swaps bottled shine for plant-based polish, provided you rinse and avoid sensitive stone. Embrace it for quick wins: splash zones, mirror-edge tiles, and the smudge-prone area by the loo or basin. For heavy build-up or hygiene-critical jobs, reach for specialist products. Will you try the two-minute peel-and-buff on your most smudge-prone spot, and how will you adapt the routine for your home’s specific tiles?
Did you like it?4.7/5 (30)