In a nutshell
- 🥖 Use a bread slice to safely lift tiny glass shards; its soft, porous crumb grips fragments without scattering.
- 🔍 Press the bread gently like a blotter—no rubbing—then fold and replace; finish with a low-angle torch check and a HEPA vacuum pass.
- ⚠️ Best on hard surfaces (tile, laminate, sealed wood); avoid around wet spills, oils, electricals, or hazardous items like CFL bulbs.
- 🧤 Wear thick gloves and closed shoes; sweep large pieces first, then use bread for micro-specks in grout and corners.
- 🗑️ Dispose safely: fold the bread, wrap and bag it; never compost; re-check clothing, mop heads, and shoe soles for hitchhiking splinters.
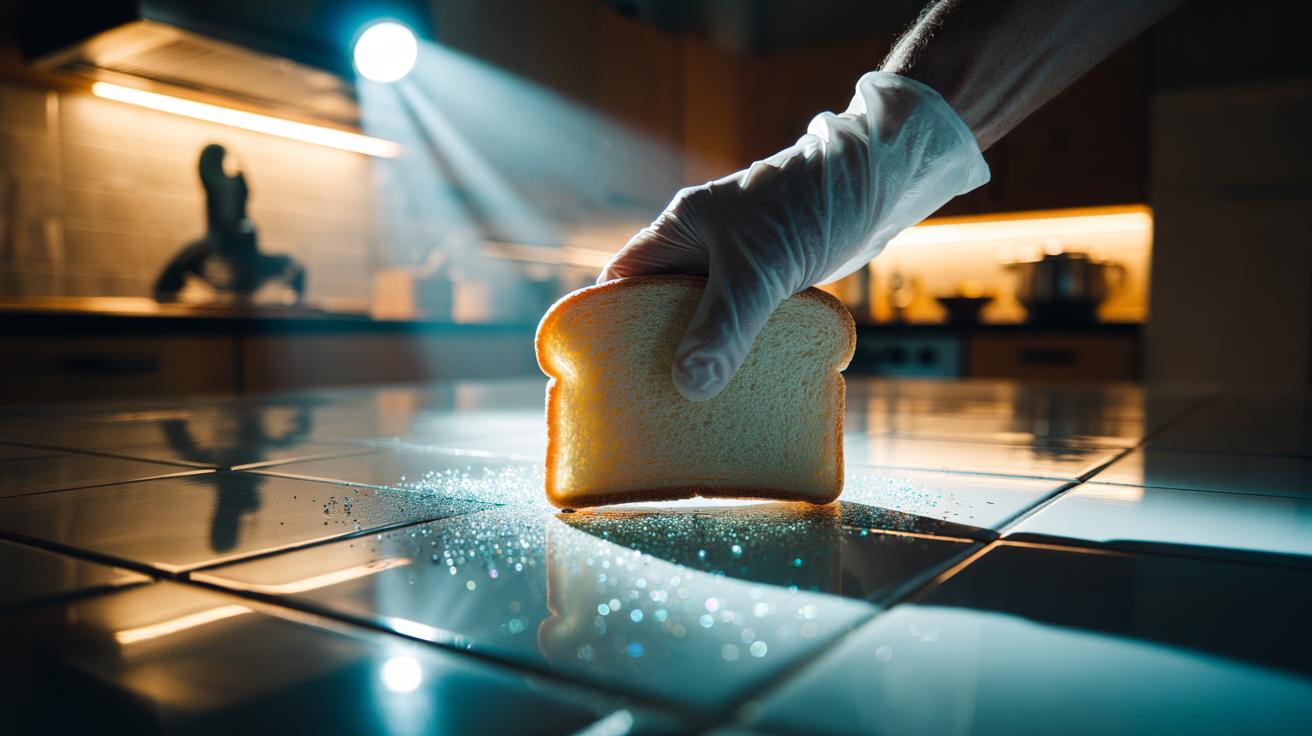
Drop a glass on the kitchen tiles and even the most diligent sweep leaves a malicious sparkle behind. The fix hiding in plain sight costs nothing: a single bread slice. Used correctly, it traps tiny glass shards that brooms and vacuums miss, keeping bare feet, curious pets, and little hands safe. This quick method relies on bread’s soft, slightly moist crumb to pull up invisible specks without scratching floors or driving fragments deeper into grout. It’s a £0 trick that turns a food staple into a clever safety tool. Here’s how it works, when to use it, and how to tidy up properly so the next morning doesn’t begin with a painful surprise.
Why Bread Works on Dangerous Micro-Shards
The secret is in the crumb. A standard bread slice has a springy, porous structure that deforms around sharp edges, distributing pressure so fragments embed rather than skate across the surface. Ambient moisture and starch residues create a faint tack, giving glass flecks something to cling to. A soft, slightly stale slice lifts fragments your vacuum can miss, especially from smooth tiles and worktops. Because bread compresses, it pushes gently into grout lines and textured surfaces without the abrasive action of paper towels or cloths, which can scatter splinters.
Physics helps too. The interlocking bread pores hold specks via light mechanical grip, while minute moisture acts like capillary adhesion. Pressed flat with your palm, the slice becomes a slow, deliberate “pick-up pad” that won’t flick shards into the air. Compared with tape, which can leave residue, bread is low-residue and disposable. It’s especially handy for late-night mishaps when specialised kit isn’t to hand and you need a safe, quick sweep of the danger zone.
Step-By-Step: The £0 Bread Slice Trick
First, secure the area. Put on thick washing-up gloves and closed-toe shoes. Turn off overheads and use a torch at a low angle to reveal glittering specks. Sweep the obvious chunks into a dustpan, then wipe the perimeter with a damp microfibre cloth to corral stray pieces. Now take a broad, soft bread slice—the end piece of a loaf works well—and press it gently, palm-flat, over the floor in overlapping passes. Do not rub or scrub; slow pressure is what embeds the fragments in the crumb.
Fold the slice onto itself after each pass so the captured glass is trapped inside. Replace with a fresh slice if coverage drops. For worktops, hold the bread like a blotter and press downward rather than dragging toward the edge. Once you’ve covered the radius where breakage could travel—often a couple of metres—bag the used bread and label it. Finish with a cautious vacuum (ideally HEPA) and a second torch check from multiple angles to catch any last sparkle.
When to Use It, When to Avoid It
This technique excels on hard surfaces—tile, laminate, sealed wood—after initial sweeping. It’s also useful on worktops and inside drawers where a brush might scatter fragments into utensils. Avoid the bread method around wet spills, oils, or near electrical components, where moisture and crumbs are unwelcome. Never use on adhesive-coated floors, fresh sealants, or where contamination is a concern (for example, immediately around exposed food prep of raw items). On carpets, bread can help after a careful vacuum, but fibres may trap shards below the pile, demanding a slower, multi-angle approach and sticky tape for detail work.
| Situation | Best Method | Notes |
|---|---|---|
| Kitchen tiles/glass tumbler | Broom + bread + HEPA vacuum | Excellent pickup in grout and corners |
| Carpeted rug | HEPA vacuum + tape; bread optional | Work slowly from multiple angles |
| Broken CFL bulb | Follow hazardous guidance; no bread | Mercury risk requires specific cleanup |
| Cooker door (tempered glass) | Broom + bread for micro-specks | Beware heat; let cool fully |
This trick is for ordinary household glass, not hazardous materials. If shards are embedded in skin, stop and seek proper care. For large breakages that spread beyond one room, consider professional cleaning. The bread method is a smart, immediate safeguard—not a licence to skip a thorough final inspection.
Aftercare: Disposal, Cleaning, and Hidden Hazards
Once your bread slice is studded with glass, fold it into a tight parcel, wrap in newspaper or cardboard, and place in a clearly marked bin bag. Double-bag if children or pets might rummage. Never compost bread that has been used to collect glass. Wipe surrounding surfaces with a damp microfibre cloth and rinse it carefully under running water, checking the sink trap for glitter before disposal. On floors, do a slow, methodical pass with a HEPA-equipped vacuum, then re-scan with a torch at floor level—the low-angle light reveals what overhead bulbs hide.
Check clothing hems, slippers, and mop heads for hitchhiking splinters. Inspect the soles of shoes you wore during cleanup, tapping them over a bin liner. If cutting occurred on a chopping board, retire it if deep gouges are present. A final sanity check: walk the area in thick socks, then shake them out over a bin. A few extra minutes beats a midnight dash for plasters.
At its best, the £0 bread trick is a practical act of domestic triage: quick, safe, and surprisingly effective at banishing those menacing microlights from your floor. The science is simple, the kit is already in your kitchen, and the payoff is peace of mind. Used alongside smart lighting, gloves, and a proper vacuum, it makes a stressful breakage boringly manageable. Next time a tumbler slips or a frame shatters, will you reach for yesterday’s crust—and what other humble household items deserve a second life as safety tools in your home?
Did you like it?4.5/5 (20)