In a nutshell
- 🌀 Humidity-led extraction: Use a quiet extractor with a humidistat set ~60% RH, 15–20 minutes overrun, and ensure a 10–12 mm door undercut for make-up air; prefer rigid ducting and meet Part F’s 15 l/s guidance.
- 🧼 One-minute squeegee habit: Squeegee tiles and glass after the last shower, wipe rims with microfibre, and leave the enclosure open; this strips biofilm, lowers humidity spikes, and starves mould.
- 🔧 Pro setup details: Choose an IPX4 fan in Zone 1, specify a unit with overrun timer and humidistat, keep trickle vents open, seal duct joints, and fit a backdraught shutter—use the “mirror stays clear” test.
- 🧱 Surfaces that resist growth: Fit anti-fungal silicone and epoxy grout; add a tanking membrane in shower zones; avoid neat bleach on silicone, clean with mild agents, clear weep holes, and re-silicone early.
- 📋 Simple routine, big payoff: Follow the quick sequence—squeegee, run fan, keep door ajar, weekly wipe-down—to remove the film, move the air, and deny mould a home with minimal time investment.
Every winter in Britain, bathrooms fog, grout darkens, and sealant blackens. Ask a plumber how they keep theirs spotless and you’ll hear one deceptively simple answer: control the moisture the instant the shower stops. The real trade trick isn’t a harsh chemical or an expensive gadget; it’s a low-cost routine built around air movement and surface drying. Stop moisture settling for even 20 minutes and mould loses its foothold. Below, I break down the humidity-led extraction method, the one-minute squeegee habit, and the fittings pros specify so the battle is won long before spores are a problem. Think of it as preventative medicine for your bathroom, not crisis care.
The Humidity-Led Extraction Routine
Plumbers swear by a simple rule: remove water vapour before it can become water. Fit a quiet extractor on a humidistat, set around 60% relative humidity, and let it overrun for 15–20 minutes after showers. In UK homes, Building Regulations Part F expects at least 15 l/s on intermittent fans (or 8 l/s continuous). Just as crucial is negative pressure: leave a 10–12 mm door undercut or prop the door slightly ajar so make-up air can flow from the hallway to the fan grille. Without make-up air, extraction stalls and steam simply lingers. If you have a window, keep it closed for the first 15 minutes so the fan pulls moist air across the room rather than short-circuiting to the outdoors.
Plumbers also check the ducting. Short, rigid ducting with smooth walls and a good backdraught shutter moves far more air than long, sagging flexible hose. If your fan seems “on” but mirrors stay misty, the issue is usually duct losses, not the motor. A quality 100 mm fan works for short runs; consider 125 mm for longer ducts or multiple bends. Run the fan until the mirror stays clear and the room no longer smells damp—that’s the practical cue that humidity has returned to safe levels.
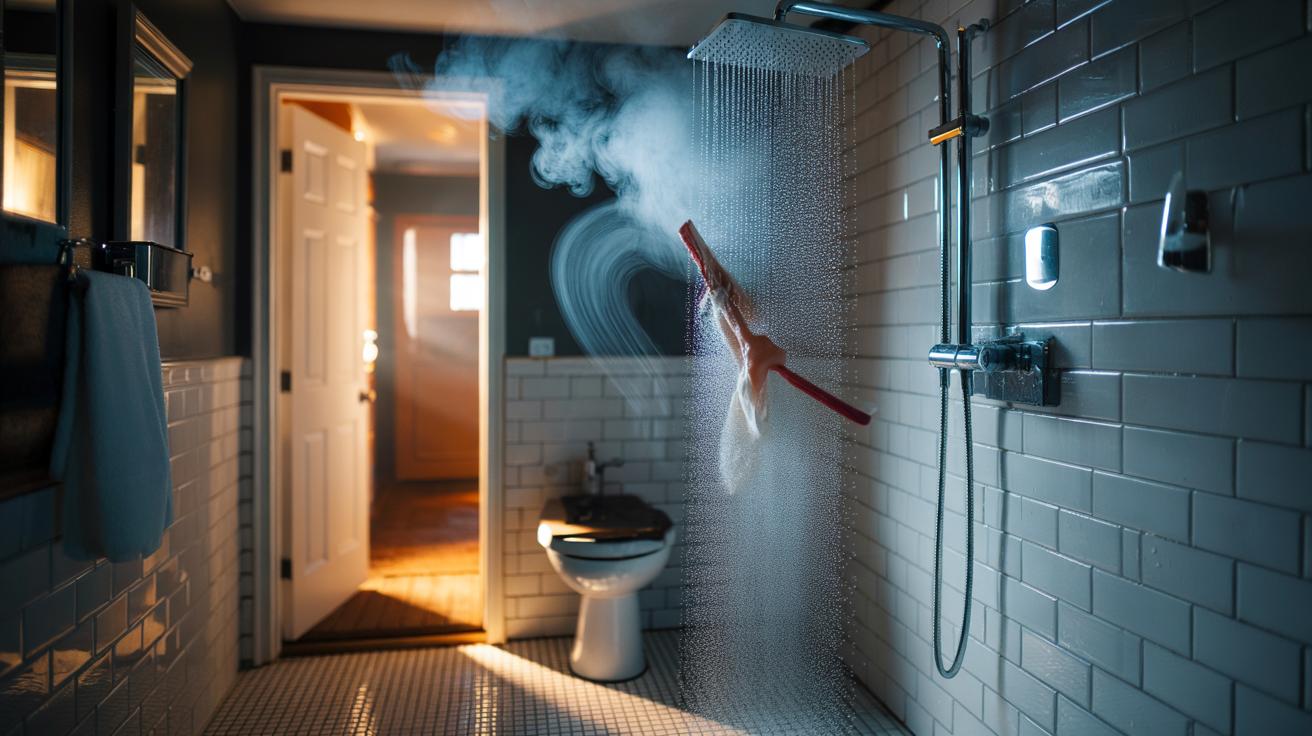
Why Squeegeeing Beats Sprays
After the last person showers, a 60–90 second squeegee on tiles and glass is worth a cabinet of miracle cleaners. It physically removes the thin film where biofilm starts and where detergents, oils, and limescale bind. Less surface water means less evaporation, which means less moisture in the air for the fan to tackle. Start at the top, pull straight lines downward, then wipe rims, niches, and the shower tray with a microfibre cloth. This single habit slashes both humidity spikes and the nutrients mould feeds on. For framed doors, clear the lower channels so water doesn’t stagnate and sour.
Add a quick “cold mist” finish if you can bear it: 20–30 seconds of cooler spray pushes residual steam toward the extractor by reducing temperature difference near the glass, then squeegee again. Leave the enclosure door open to the room when you exit so airflow sweeps surfaces dry. Skip heavy fragrances and bleach blasts; they mask problems without removing the moisture that causes them.
Set Up Your Bathroom Like a Pro
Small upgrades make the routine effortless. Choose an IPX4-rated fan for Zone 1 if it’s above a shower, or keep it outside splash zones where IP ratings are less demanding. Select a model with a built-in humidistat and overrun timer, set the humidistat near 60% and overrun to 20 minutes. Ensure a 10–12 mm door undercut (12–15 mm if the floor is carpeted), and keep trickle vents in the window open outside of shower time. Use rigid ducting, minimal bends, and seal joints to prevent leaks. Airflow you can’t see is the quiet workhorse that keeps mould from ever arriving.
| Step | Purpose | Time | Tools |
|---|---|---|---|
| Squeegee walls and glass | Remove water film and nutrients | 60–90 sec | Squeegee, microfibre |
| Run humidistat fan | Lower RH below 60% | 15–20 min | Extractor with overrun |
| Keep door undercut/ajar | Ensure make-up air and crossflow | During fan run | Door stop or trim |
| Weekly wipe-down | Dislodge early biofilm | 5–10 min | Diluted vinegar, cloth |
Sealants and Surfaces That Starve Mould
Even perfect ventilation struggles if surfaces feed growth. Use anti-fungal silicone (neutral-cure, bathroom grade) around trays and basins; it resists blackening far better than general-purpose sealant. Where budget allows, specify epoxy grout on heavily used shower walls—it’s less porous than cement-based grout, repels stains, and shrugs off household cleaners. If you’re refurbishing, add a proper tanking membrane behind tiles in shower areas to stop hidden damp that bleeds through grout lines. Surfaces that stay dry and non-porous leave mould with nowhere to colonise.
For maintenance, avoid neat bleach on silicone, which can embrittle it and cause the very gaps mould loves. Instead, use a mild, non-ionic cleaner or diluted white vinegar, rinse, and dry. Check and clear shower door weep holes, keep the waste trap clean and primed to prevent odours, and re-silicone at the first sign of detachment. Pitch horizontal ledges slightly so water runs off instead of pooling in corners.
In short, the plumber’s “secret” is a system: remove the film, move the air, and deny mould a home. Pair a humidistat-controlled extractor and a tiny door gap with a daily, one-minute squeegee, and your bathroom will stay brighter, longer, without harsh chemicals or endless scrubbing. The best proof is practical: walls that dry quickly never turn grey. Which part of this routine could you adopt first—upgrading the fan, adjusting airflow, or making that quick squeegee a household habit?
Did you like it?4.5/5 (27)