In a nutshell
- 🧼 The under-the-radar hack: add ½–1 teaspoon of dishwasher rinse aid to 4–5 L of warm mop water to harness surfactants that make water sheet and dry streak-free.
- ✨ Application essentials: use a microfibre mop, wring to damp, clean in overlapping passes, and test a hidden patch first for compatibility.
- ⚠️ Safety first: avoid on natural stone, oiled/waxed wood, and unsealed timber; don’t mix with bleach or ammonia; keep the dose tiny to prevent film or reduced traction.
- 🧰 Pro tips: sweep or vacuum before mopping, spot-clean sticky areas, add a cap of isopropyl alcohol for quicker drying, wash pads without softener, and finish with a light microfibre buff.
- 📋 Best surfaces: shines on LVT, laminate, and glazed ceramic/sealed porcelain, delivering fast-drying, non-sticky brightness ideal for high-traffic areas.
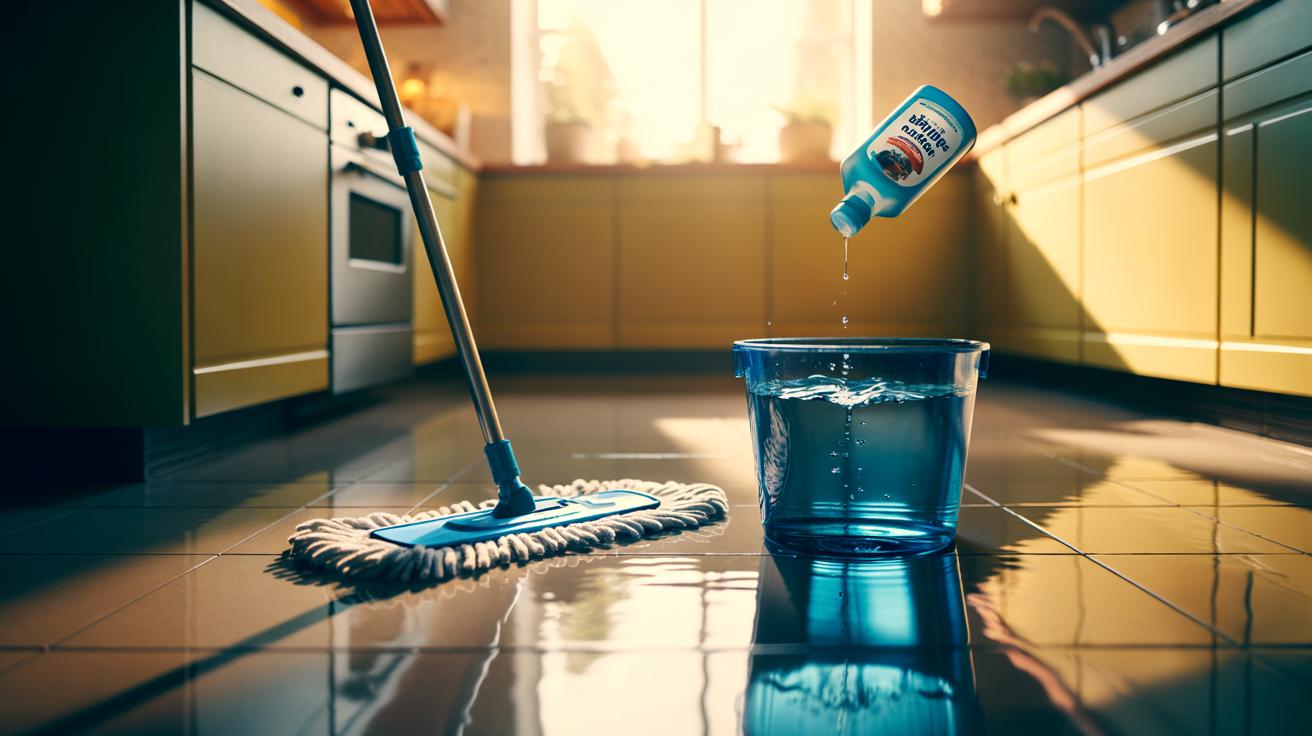
You can spend a small fortune chasing that elusive gleam, yet the secret to instantly glossy floors might already be in your kitchen. The under-the-radar trick many professional cleaners whisper about is adding a tiny dose of dishwasher rinse aid to your mop water. Designed to make crockery dry without spots, it harnesses surfactants that break surface tension so water sheets and evaporates cleanly. Applied with a microfibre mop, the result is a quick-drying, streak-free shine that looks like you’ve polished. A teaspoon is enough; more is not better. Used correctly, it cuts through dullness on vinyl, laminate and sealed tiles without sticky residue, transforming high-traffic areas in minutes.
The Low-Key Hack: A Drop of Dishwasher Rinse Aid
The premise is simple: blend warm water with a tiny measure of rinse aid so the mop solution glides, spreads evenly and dries fast. Rinse aid contains non-ionic surfactants that encourage water to sheet rather than bead, preventing tide marks and haze. In practice, this creates that coveted uniform gleam with minimal effort, especially on laminate, luxury vinyl tile (LVT) and glazed ceramics. Crucially, you’re not coating the floor with oil or silicone; you’re improving how water behaves on the surface.
Use about 4–5 litres of warm water and stir in ½–1 teaspoon of rinse aid. Dip a clean microfibre pad, wring until just damp, and work in overlapping passes. The room will dry rapidly, revealing a crisp, even finish. Always test on an inconspicuous patch first, especially if you’re unsure how your sealant reacts. For busy households, the speed and consistency can be a genuine game-changer.
How to Use It Safely and Effectively
Start with a quick dry sweep or vacuum to remove grit; no solution can shine over dust. Fill a bucket with 4–5 litres of warm water, add ½–1 teaspoon rinse aid, and mix gently to avoid froth. Attach a clean microfibre mop, wring well, then glide in straight lines, following the grain on wood-look floors. Work from the far corner towards the exit to avoid footprints. The sheeting action speeds up evaporation, so rooms return to service quickly.
If you hit a sticky spill, spot-clean first with a drop of mild washing-up liquid, then resume the rinse-aid solution. For an extra-fast dry in winter, add one cap of isopropyl alcohol to the bucket. Do not over-wet wood-based floors; damp, not dripping, is the rule. Finish with a dry microfibre buff along sightlines for a showroom gleam. Store pads washed and fully dry to prevent musty odours that can transfer back to floors.
Keep the dose minimal. Too much rinse aid can leave film and reduce traction. If you overdo it, a quick pass with plain warm water resets the finish. Hard water homes benefit from filtered or distilled water to cut mineral spotting. Swap pads as they load with soil; a saturated pad simply moves dirt around. Maintain a separate pad set for bathrooms to avoid cross-contamination with kitchens and living spaces.
What to Avoid and Where It Shines
This hack thrives on resilient, sealed surfaces: think vinyl, laminate, sealed porcelain and glazed ceramic. It’s less suitable for natural stone (marble, limestone), oiled or waxed wood, and any unsealed timber. On these, even trace additives may interfere with the finish or penetrate pores. When in doubt, check the floor manufacturer’s care guide. Avoid pairing rinse aid with strong acids or bleach; you’re aiming for clarity, not chemical battles. If you love vinegar for degreasing, keep it away from stone, where acid etching is a real risk.
Use the table below as a quick reference before you mix your bucket. Stick to the conservative end of the dose range for first trials, then adjust slightly if needed. Remember: the shine here is optical—clean water behaviour—rather than a slippery coating.
| Floor Type | Rinse Aid Dilution | Safe? | Notes |
|---|---|---|---|
| Luxury Vinyl Tile (LVT) | ½–1 tsp per 4–5 L | Yes | Use damp-only mop; quick buff enhances gloss. |
| Laminate | ½ tsp per 4–5 L | Yes | Minimise moisture; follow plank grain. |
| Glazed Ceramic/Sealed Porcelain | 1 tsp per 4–5 L | Yes | Excellent for spot-free drying. |
| Oiled/Waxed Wood | None | No | Use products compatible with oil/wax systems. |
| Natural Stone (Marble/Limestone) | None | Caution | Use pH-neutral stone cleaner only. |
Pro Tips From Cleaners’ Kits
Shine starts with clean tools. Wash microfibre pads at 40°C without fabric softener; softener coats fibres and kills absorption. Rotate two or three pads for larger areas so you’re always cleaning, not smearing. If pets or toddlers track in oils from skincare or paw balms, pre-treat traffic lanes with a spritz of warm water plus a dot of washing-up liquid, then run the rinse-aid pass. Never mix rinse aid with bleach or ammonia-based products; simplicity wins for clarity and safety.
Water quality matters. In hard-water areas, use filtered water or add a splash of isopropyl alcohol for faster, clearer drying. If streaks appear, you’ve either overdosed the rinse aid or need a cleaner pad—reset with plain water, swap the pad, and try again at the lower dose. A final light buff with a dry microfibre cloth along the main sightline can elevate the finish from tidy to magazine-ready in under a minute.
When time is tight, this small tweak delivers the kind of brightness that makes a room feel newly refurbished. The brilliance is in the chemistry: encourage water to sheet, then let clean fibres do the rest. Keep the dose tiny, tools immaculate and passes methodical, and the effect is immediate—no waxes, no heavy perfumes, no tacky films. Test quietly, adjust lightly, and enjoy a smarter shine. What floor in your home would benefit most from a speedy, streak-free refresh, and how might you adapt the method to suit your space?
Did you like it?4.5/5 (22)